This post is Step 3 of a 5 part tutorial on creating your own family history blog. Find the first post in this tutorial here, Intro and Step 1 — or quick jump to Step 2, Step 4 or Step 5.
BlueHost will have sent you a couple of emails by this point. They contain important information about how to manage your account moving forward and how to access your wordpress site. We don’t need them now though, just save them for the future.
Disclosure: Family History Daily receives compensation when you sign up with BlueHost as your web host. This helps us support the site and keep it running. However, all of our opinions here are our own. BlueHost is known to be a very reliable service, has been around for many years and is trusted by many small, medium and large websites.
To access your new blog you are going to type in http://www.yourdomainname.com/wp-admin.
So, whatever domain you registered, add /wp-admin to the end to access the area where you can change your blog look and add posts. Don’t forget the http://www: part first.
If this does not work, wait a few hours and try again. It sometimes happens that it may take a bit of time to update. In our case it was immediate, but delays can happen. Also be prepared that sometimes a web host may put your account on hold at first so they can verify your identity. This is normal, although unlikely.
Here is what you will see when you visit yournewdomain.com/wp-admin:
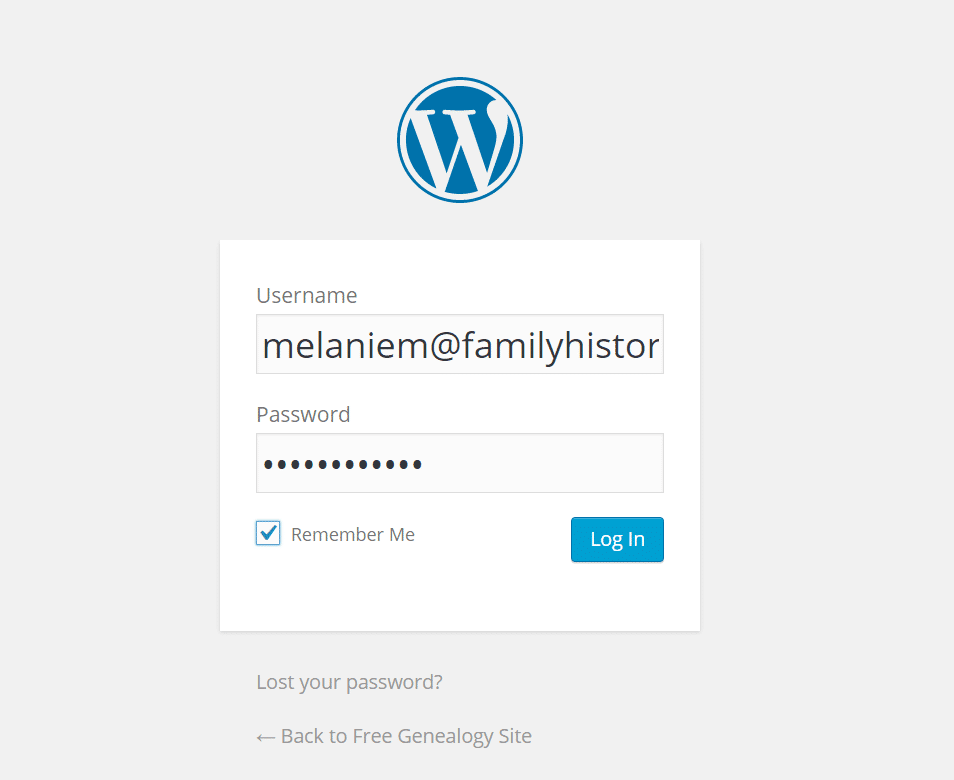
Enter your email as your username and your blog password (the one you set up in the ‘Advanced Options’ section above) and continue.
You’re now logged into your blog admin panel! Congratulations!
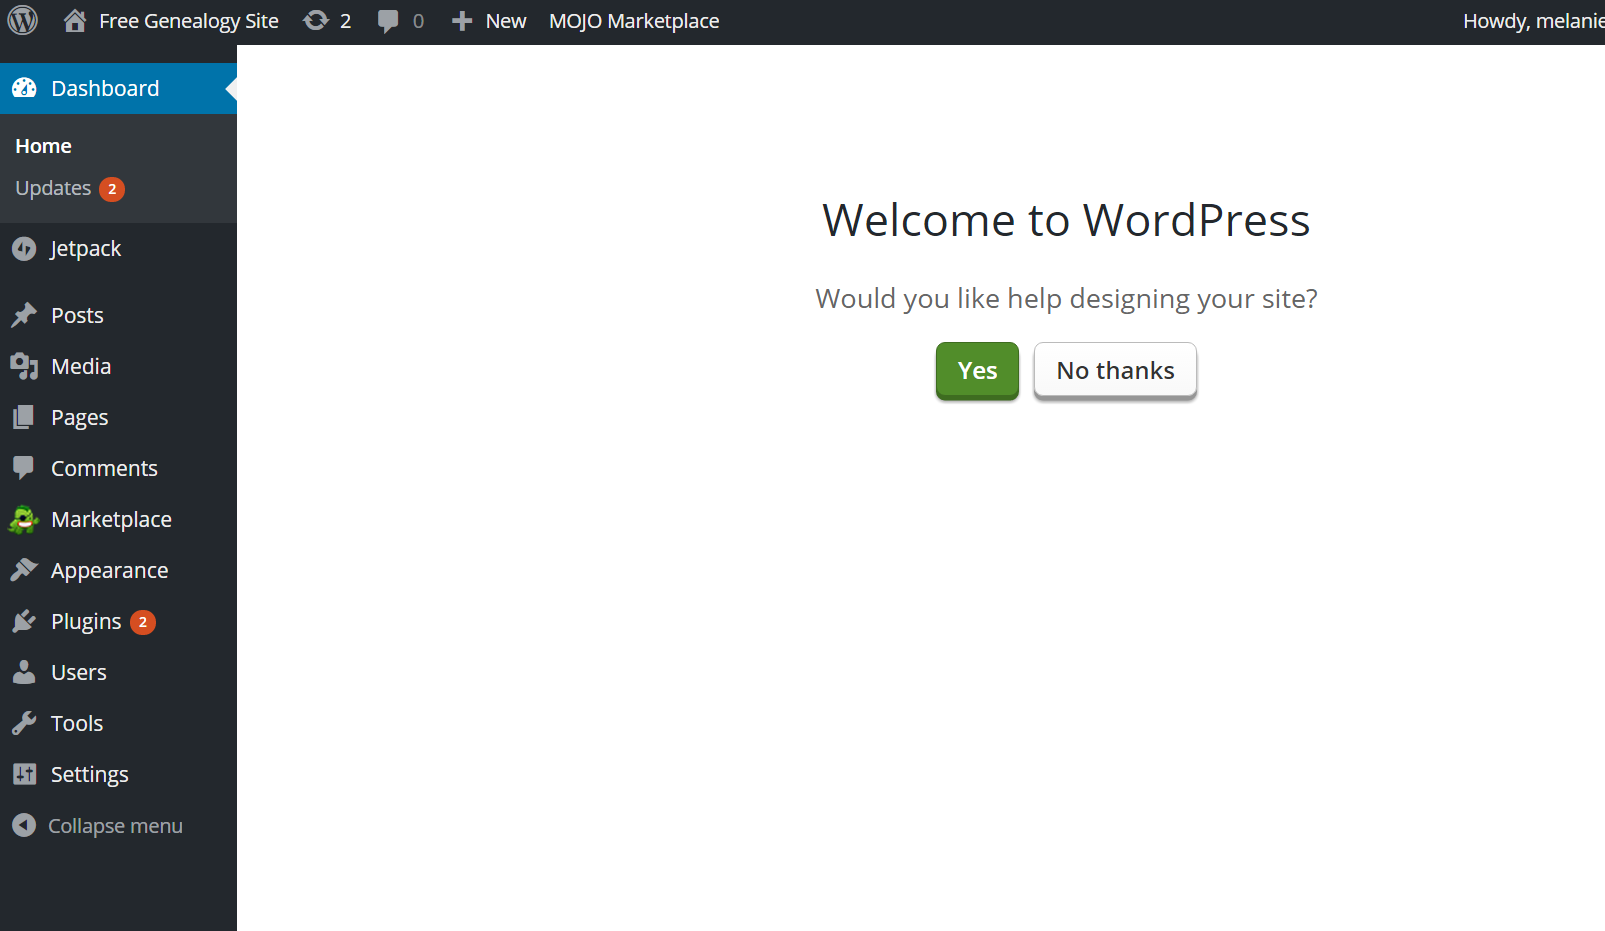
At this point you may be wondering “What have I gotten myself into?!” But don’t worry, you’ll see how this all works shortly.
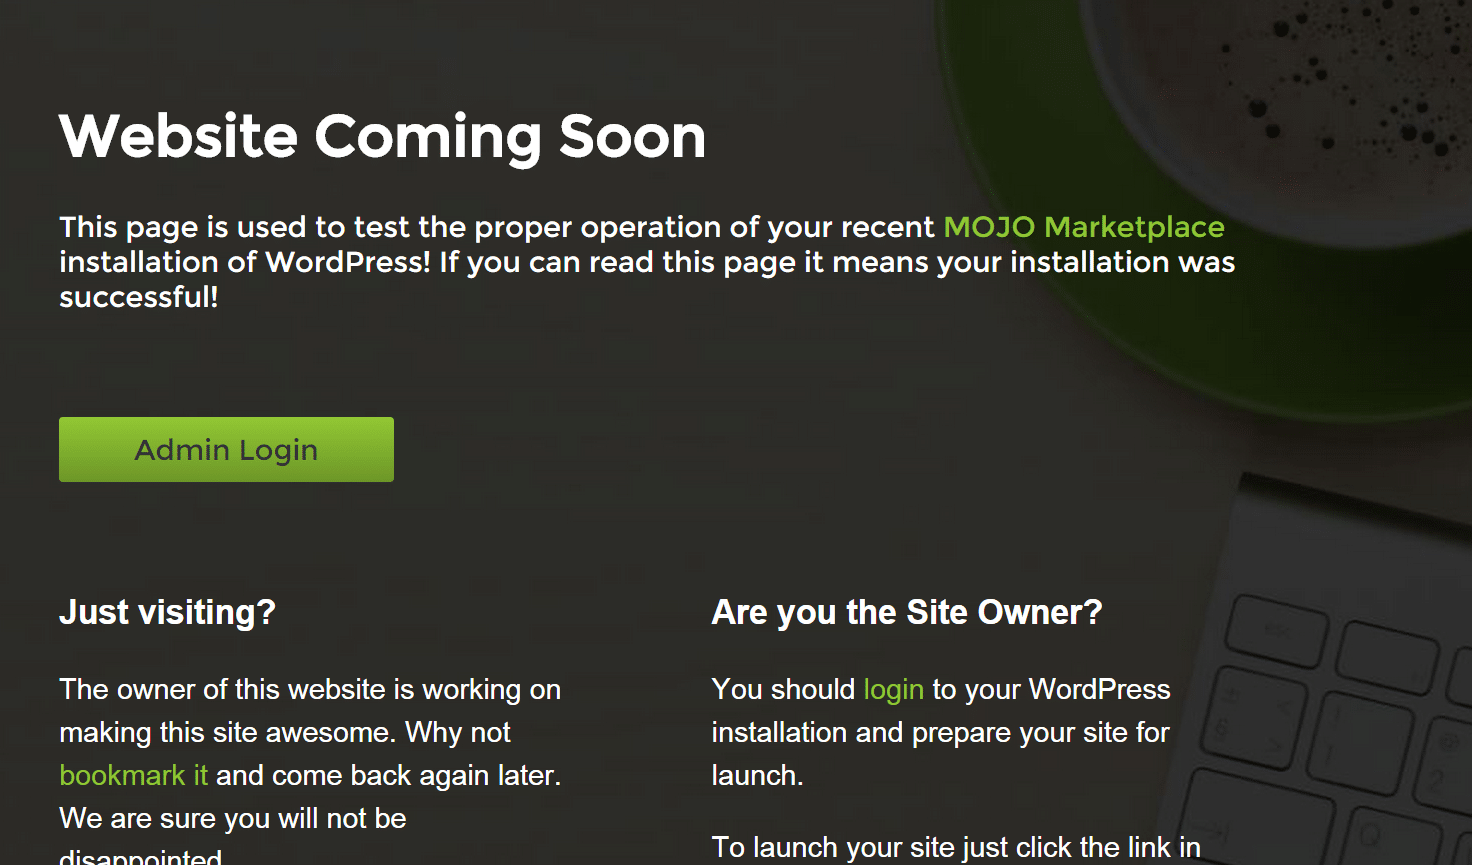
You may notice that, at this point, if you visit your domain name you will see something like this. We certainly don’t want your family history blog to look this way, so continue on.
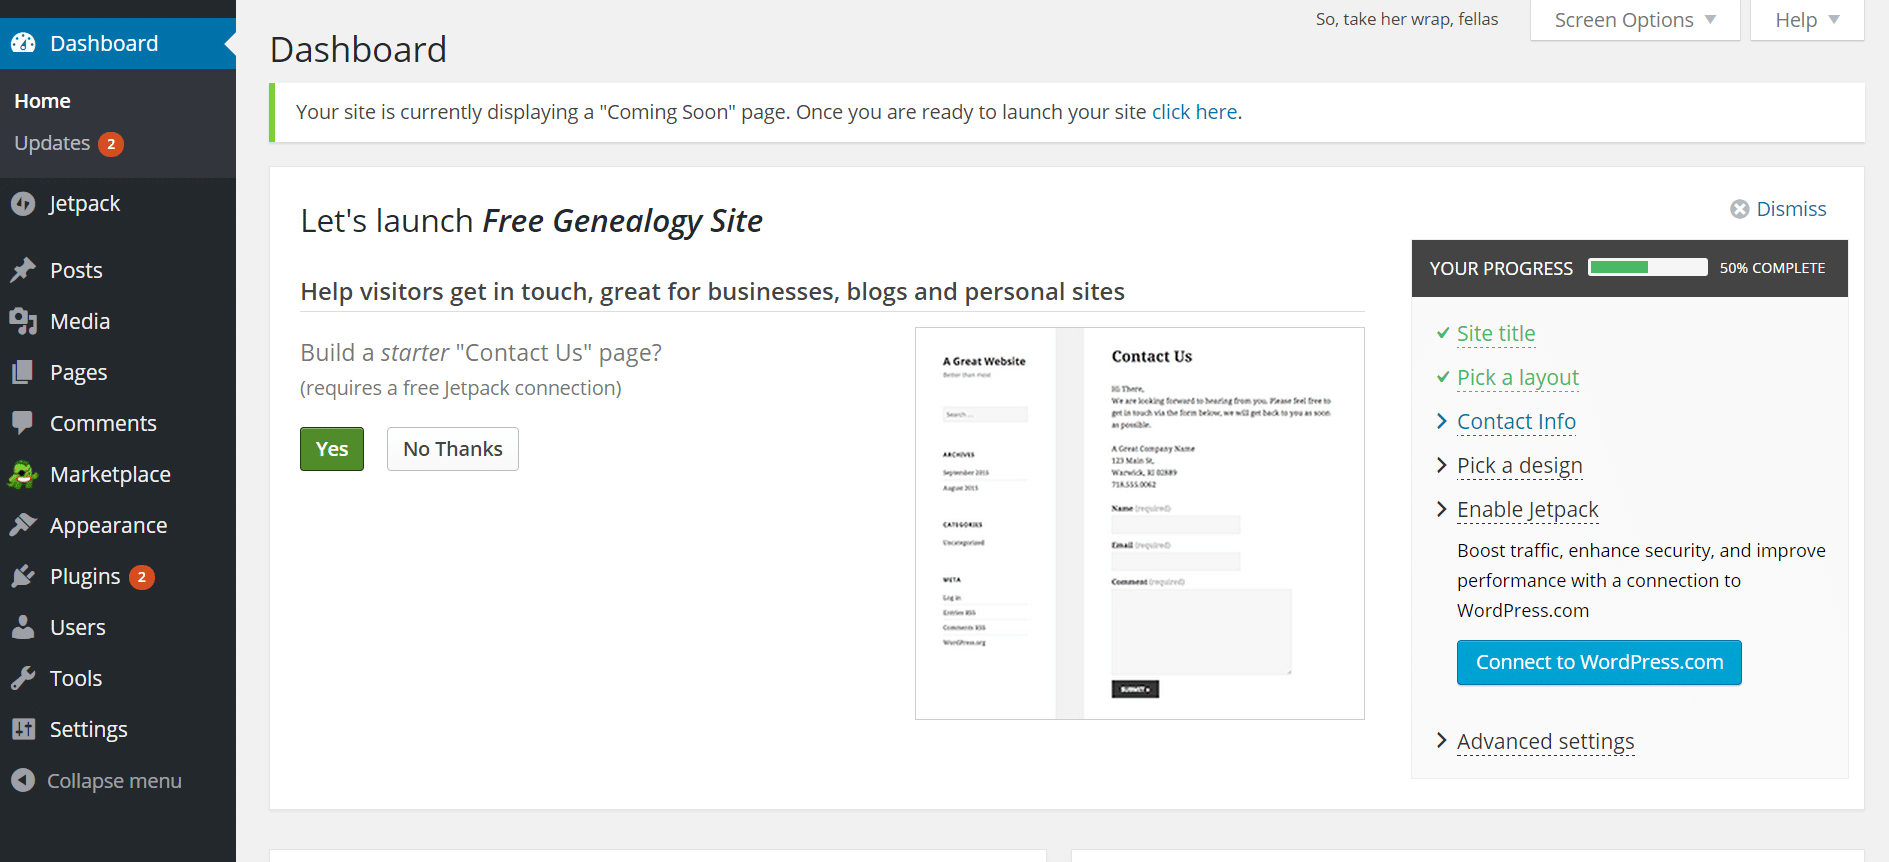
The easiest way to set up the look of your site is to follow the handy new guided setup that WordPress has created. To do this, select the green yes button on the screen you’re on (see the admin panel landing page image above).
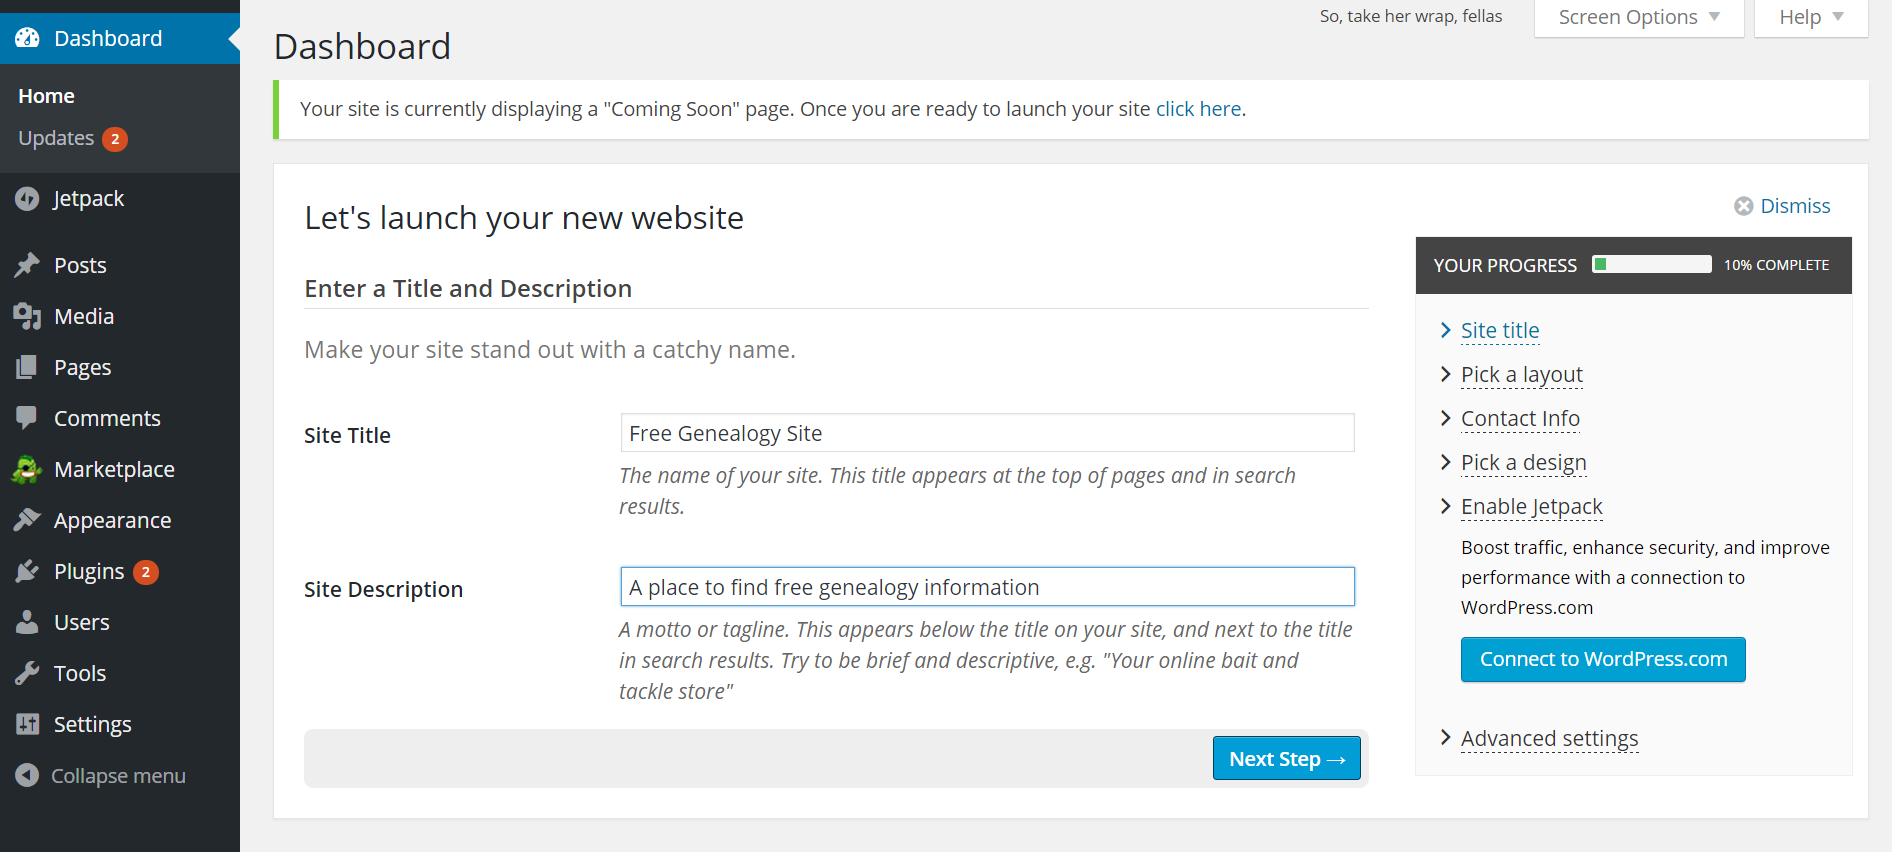
First, you’ll want to enter your site name and description. Some of this may already be done for you. Then hit ‘Next Step.’
Now, select the “Just a Blog’ radio button and hit ‘Next Step’ again.

The next screen will ask you about creating a contact page. You don’t need this now so select ‘No Thanks’ and ‘Next Step’ or skip to ‘Pick a Design’ in the right sidebar.
You’re now to one of the most exciting steps, blog design. Here you will choose a theme for your blog. Luckily, for personal blogs, there are a wide variety of 100% free themes.
Chose one of the preloaded themes or install one of the free additional themes by clicking on it.
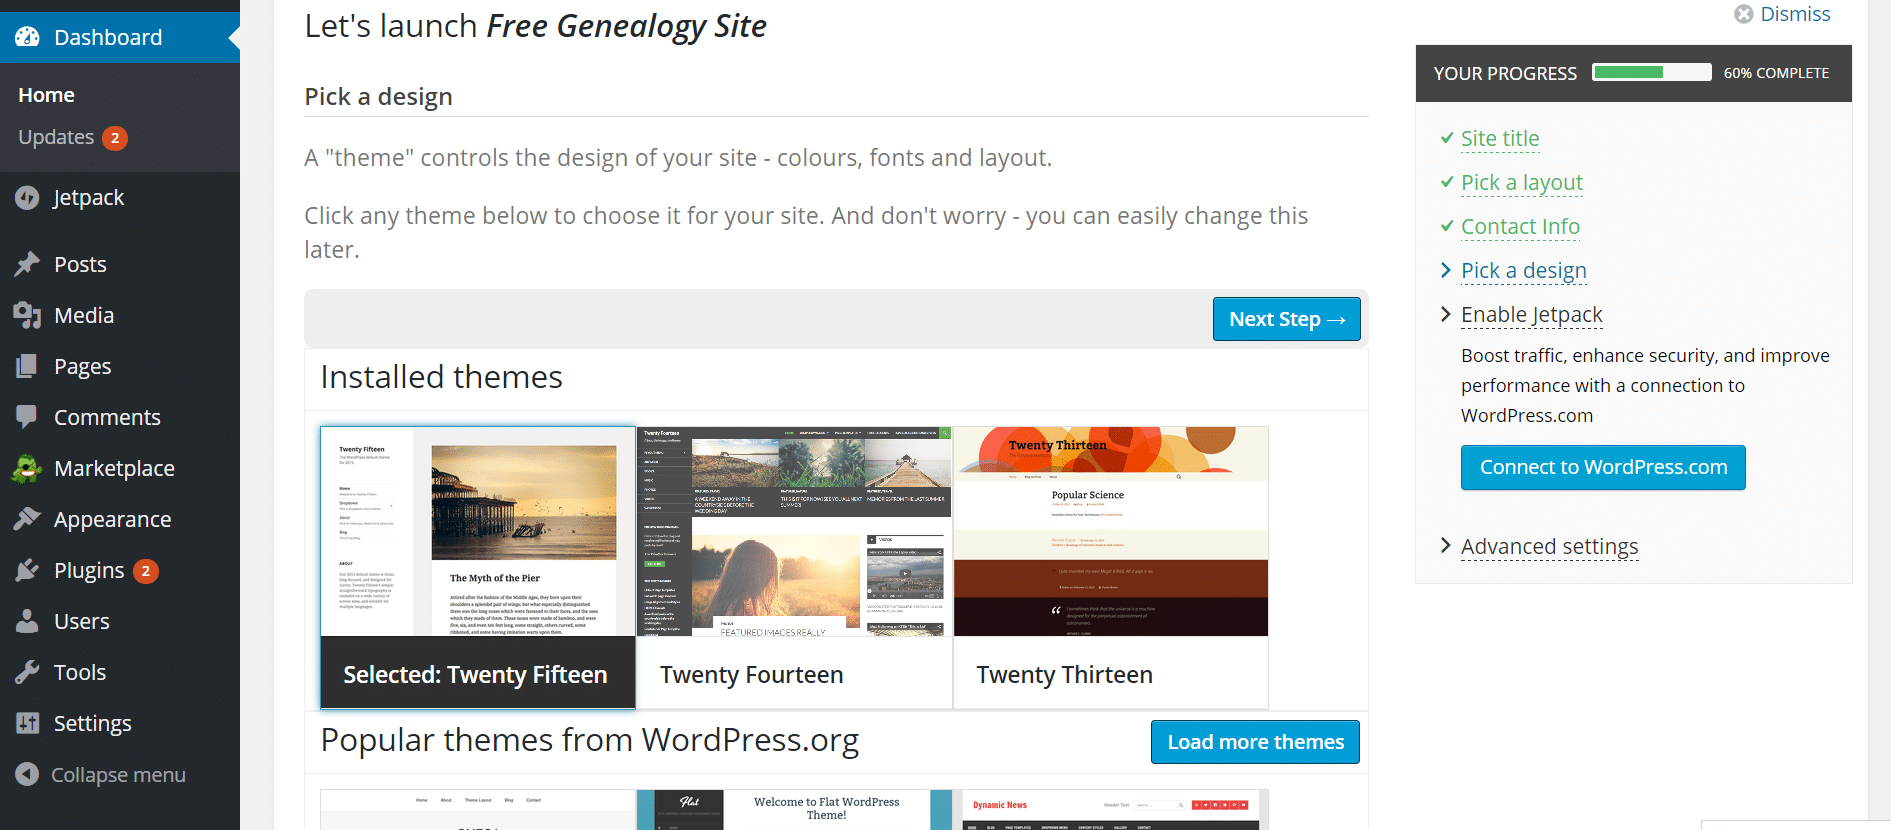
Once you choose a theme you can click on it to select it and hit ‘Next Step.’ The theme is easy to change later (under Appearance > Themes) in the sidebar, so don’t worry if you get one you don’t like.
We chose the Twenty Fifteen theme for this tutorial because it’s the built in WordPress theme for this year and it has everything you need.
The next page will ask you to connect to Jetpack. Jetpack does have some great features that make WordPress more powerful (like social share buttons, stats and a contact form) but if we covered them here this post would be much too long. You can read more about Jetpack and how to use it here. It is already installed for you so you can play with it when ready (upper left sidebar).
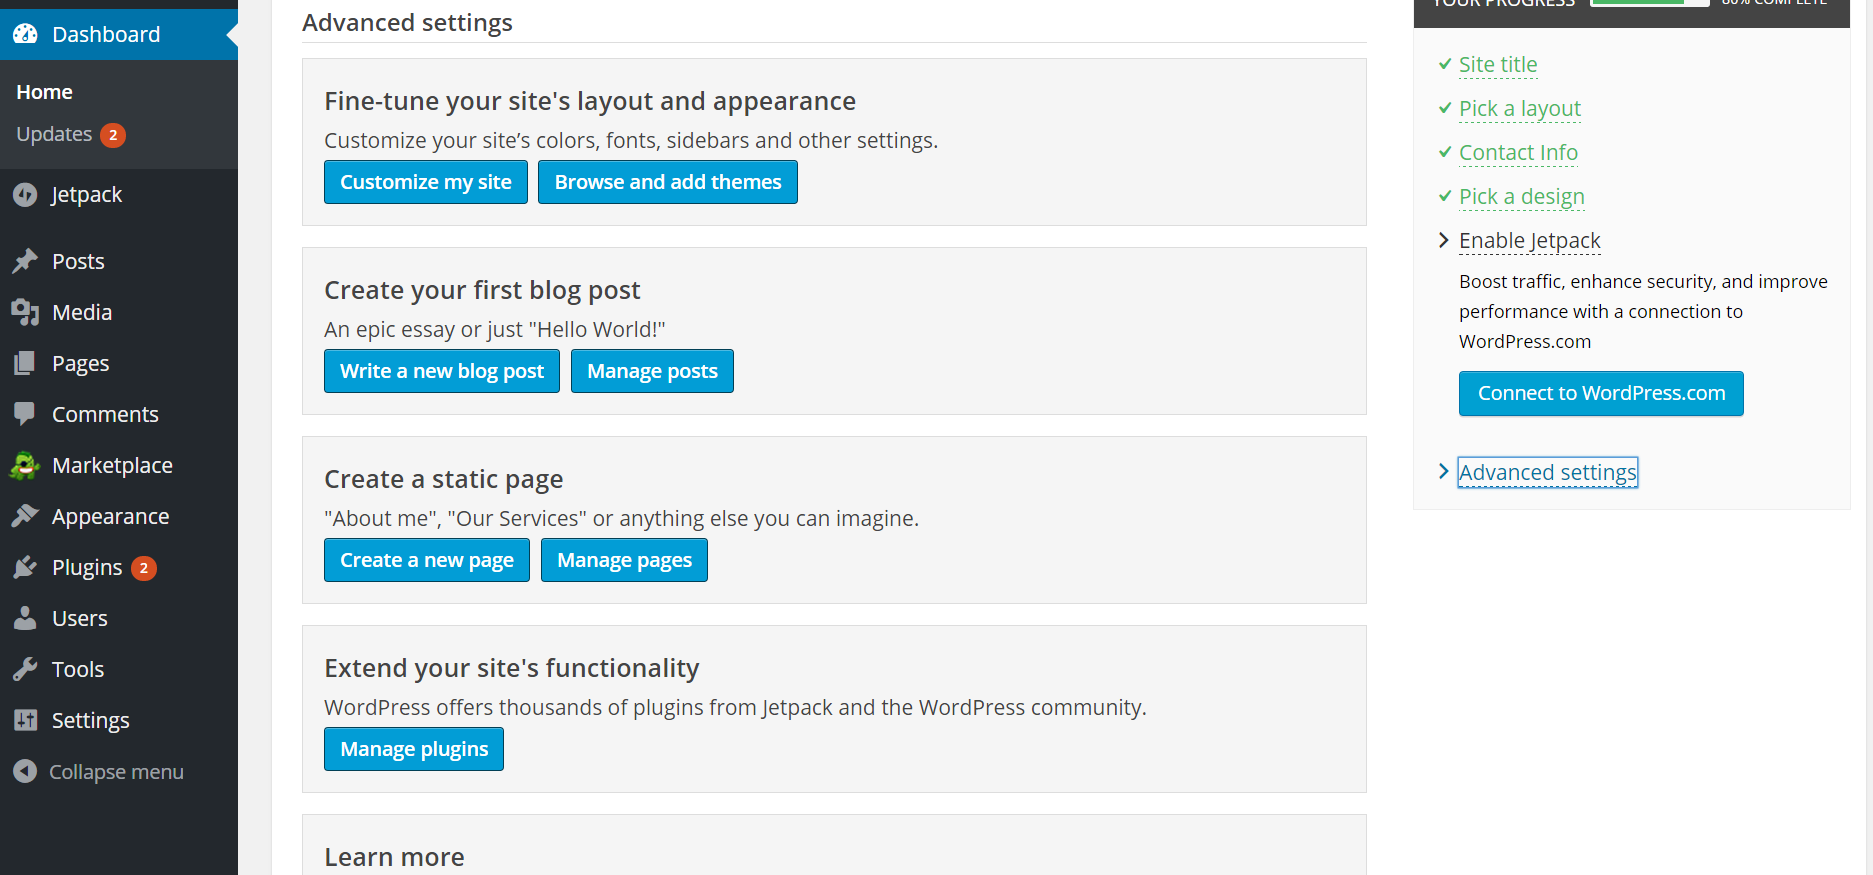
For now, just select ‘Advanced Settings’ from the right sidebar to move on.

You will now see a screen with some options as to what to do next.

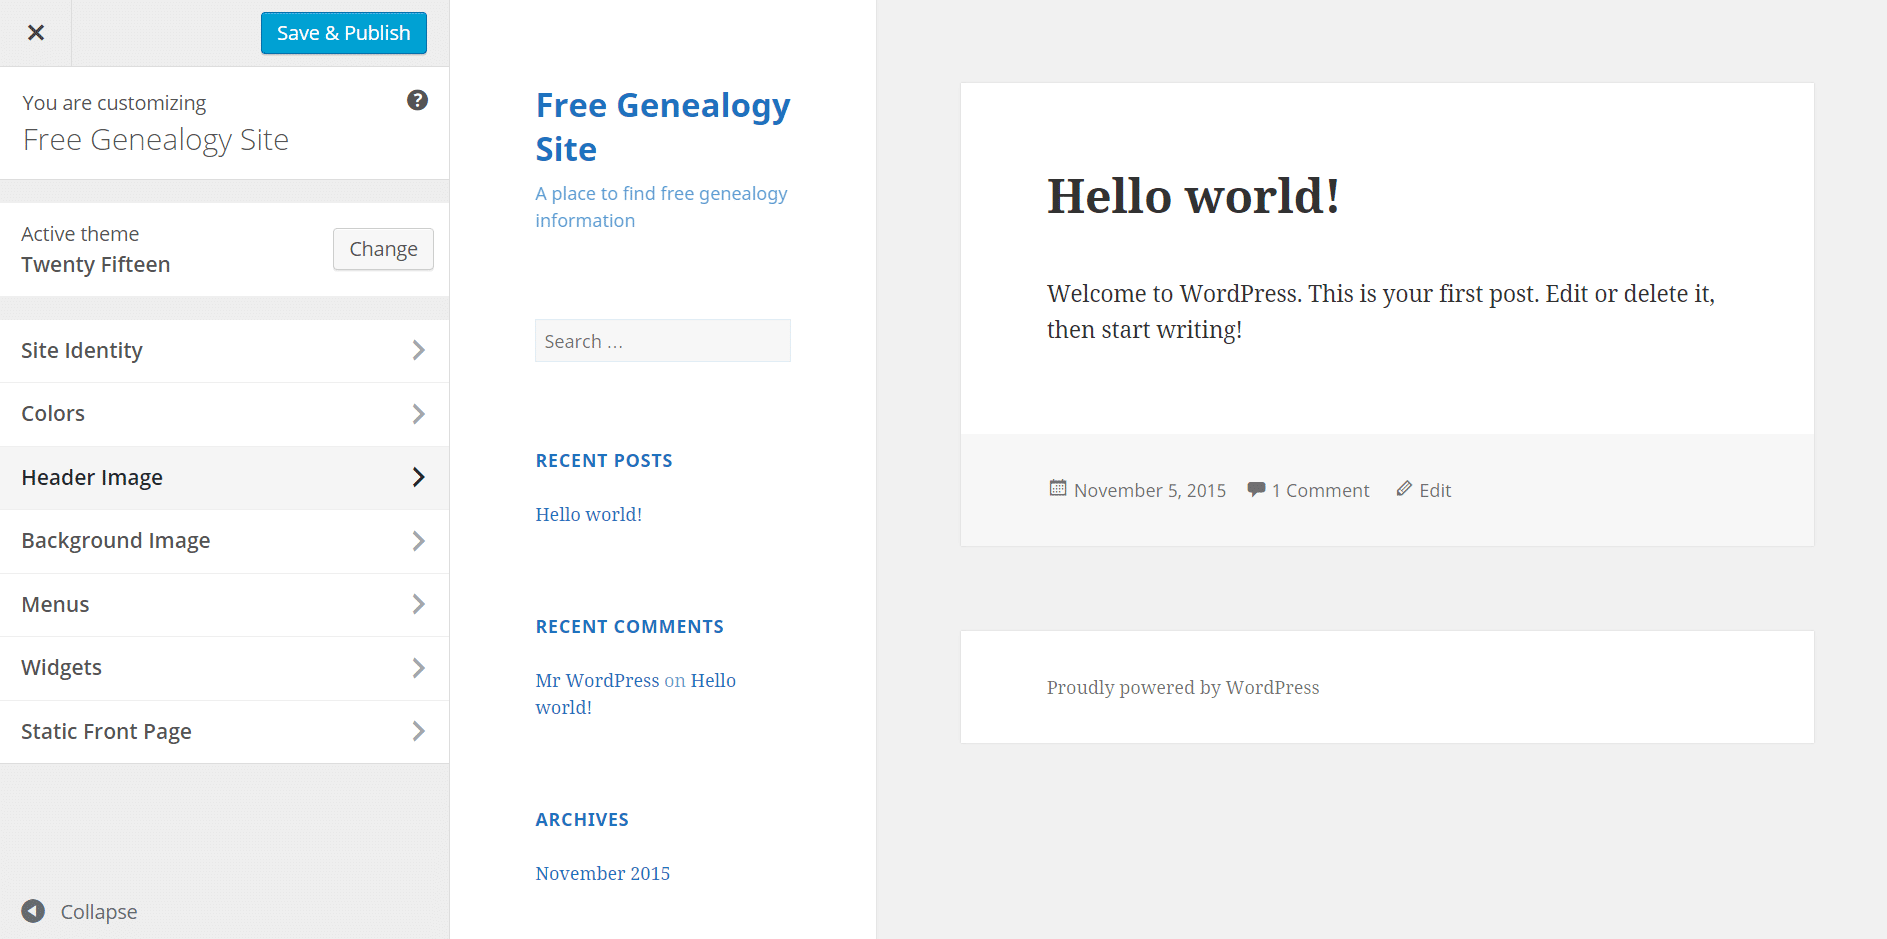
Let’s go customize first! When you follow the ‘Customize my site’ link you will see a preview of your new blog off to the right and some options to the left. This is the place to change colors, upload an image to your header (the top of your site where the title is or sometimes the sidebar as in the Twenty Fifteen theme) and change other design options.
Depending on the theme you chose, the options will vary. Whatever you do here, don’t forget to select the ‘Save and Publish’ button when you are done! You should do this every few minutes or so and a final time before you complete your changes.
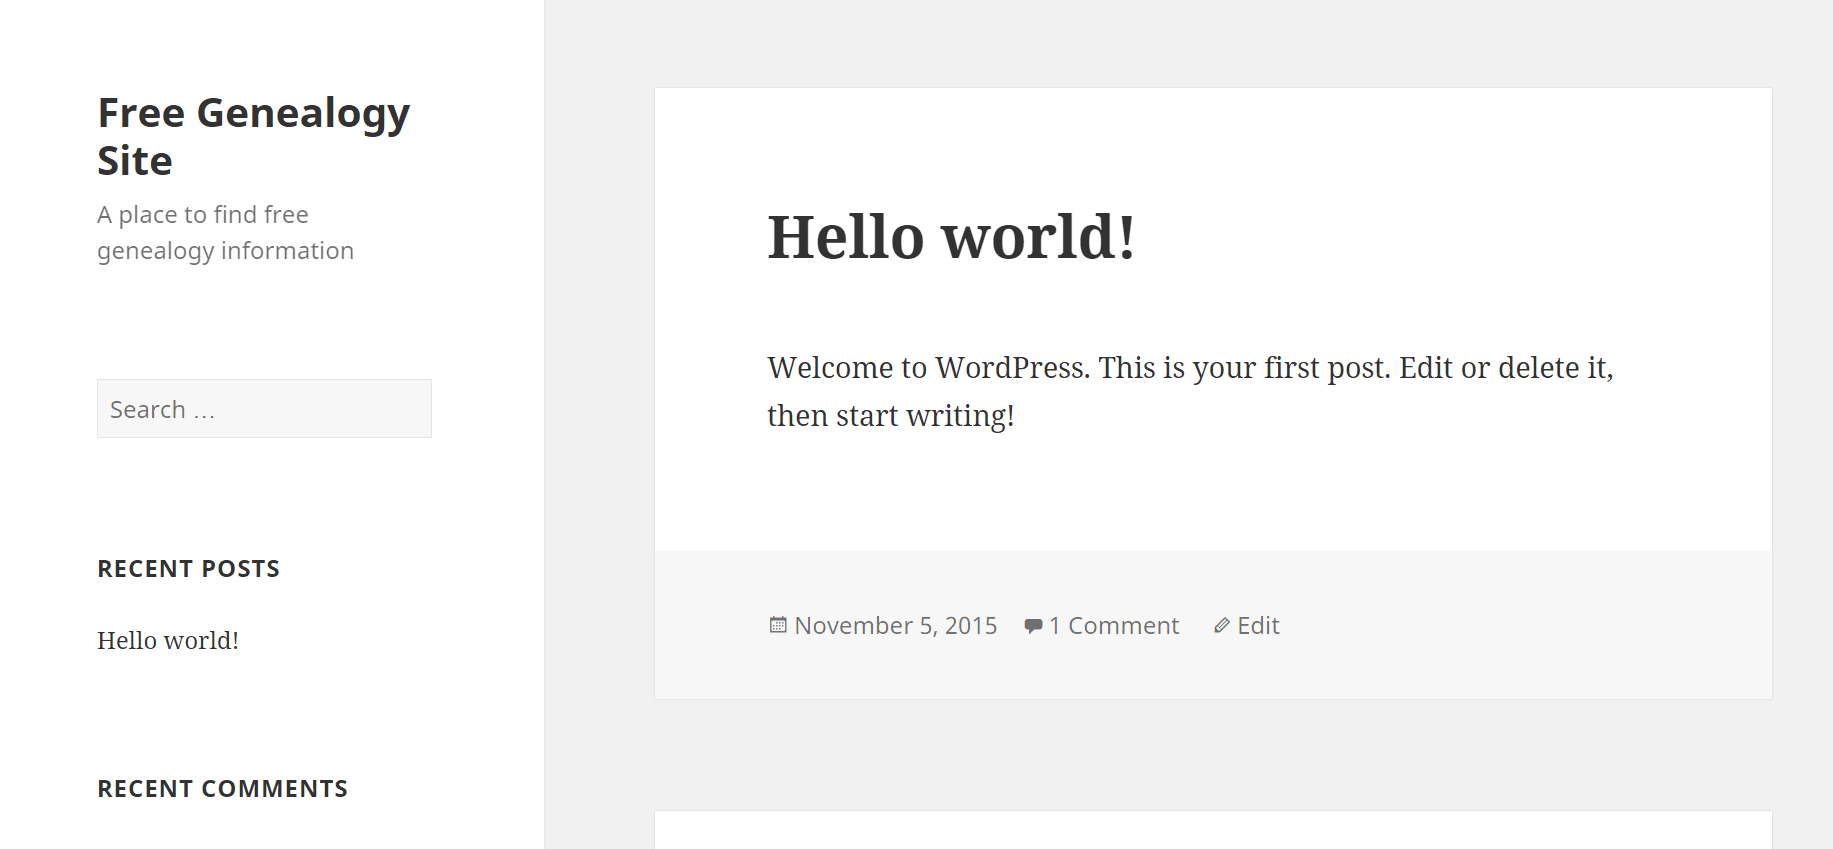
You can now see your new blog live at your domain. http://www.yourdomainname.com. Here’s what ours looks like. You can view this also by selecting your blog’s name in the upper left hand corner of the admin panel screen.
This is very simple, and we want it this way for now. There are many free themes to choose from and, if design is your thing, you’ll want to take a look at them under Appearance > Themes in the left sidebar. To install a new one just click on it. Hit the blue ‘Install’ button at top and then activate it. But remember, setting up more advanced themes takes a lot of time and energy. So be prepared to learn, make mistakes and have fun. More help can be found here.
For now, you can simply stick to the awesome, easy to use Twenty Fifteen design. Now we’re on to Step 4!
Go to Step 4 – Add Important Plugins
Head Back to the Main Post – Step 1
Disclosure: Family History Daily receives payment when you sign up for web hosting with BlueHost. This helps us support the site and keep it running. However, all of our opinions here are our own. BlueHost is known to be a very reliable service, has been around for many years and is trusted by many small, medium and large websites. Plus, they have great rates.