By Janet Meydem
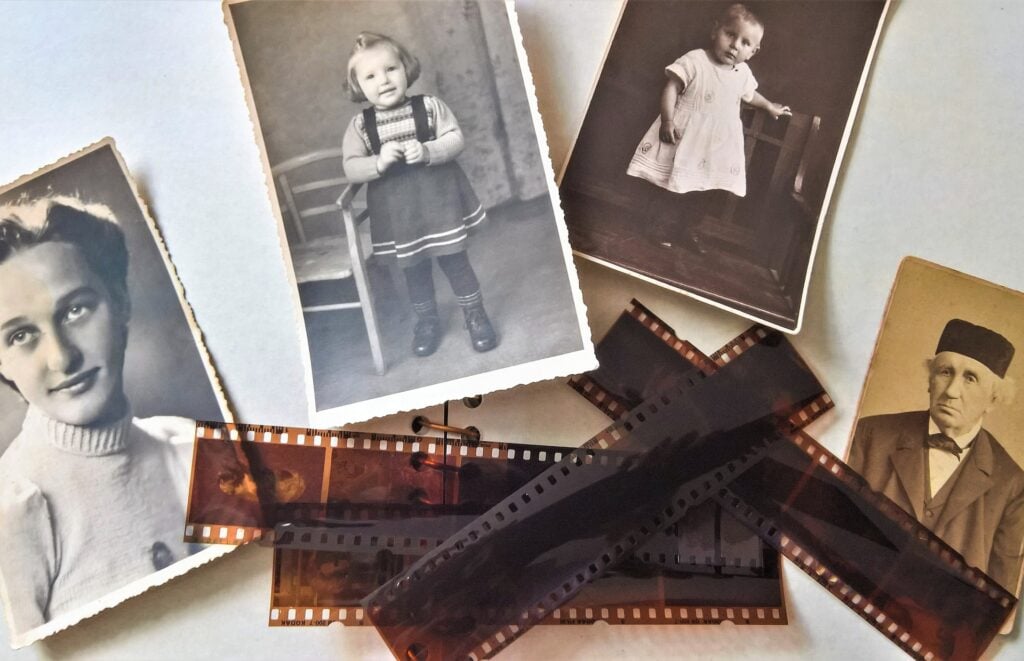
Wouldn’t it be nice to see what’s really on all those old family photo negatives or slides you’ve been carefully collecting and storing? If so, you might be ready to try out a negative scanner app (also known as a film scanner app). These free apps are designed to quickly scan old black and white and color film negatives and positive slides and turn them into digital photos.
Sounds amazing, right? Well, I wanted to find out how well these apps actually work, so I did a comparison of the three best-rated negative scanner apps for Android available through the Google Play Store. While I did not test the apps on an iOS, similar versions are available for your iPhone or iPad.
Here are the three apps I tested:
- Photo Negative Scanner by Appdictive
- Helmut Film Scanner by Code United
- Kodak Mobile Film Scanner
While all of the apps tested are completely free, Photo Negative Scanner requires a purchase to access photo editing. As I wanted to use only free genealogy apps for this comparison, I did not purchase the upgrade for this app.
And, while I chose to use 35mm film negatives in this article, many of the available apps can also accept 120 film and old slides. Do your own careful experimentation to see what works best for your needs.
This article was updated on 10/11/19 to reflect suggestions made by readers that improved the outcome of the scanned images. Thank you to everyone who took the time to share advice.
How to Begin Scanning Old Negatives or Slides
To begin scanning negatives, you will need a smartphone with one of the above apps downloaded (I used my Samsung Galaxy 8) and some kind of lightbox which can be described as a flat box with a side of translucent glass or plastic containing an electric light to provide an evenly lit flat surface.
To quickly fashion a lightbox for this purpose, I used my laptop computer in tablet mode, with Windows Notepad (any word processing app would work) open so that the majority of my screen was white.
When I first scanned my negatives this way, I got a pixel effect in my scanned photos. One of our readers pointed out that the reason for this was not due to the scanning apps, but due to the pixels from my computer screen. Following his suggestions, I placed my negatives on a piece of glass from a picture frame and elevated it from the computer screen using two cans of mushrooms. The point is to provide some distance between the screen and the negative.
Below is my laptop screen laid flat with two cans for height and then a piece of glass from a picture frame and my negative on top. 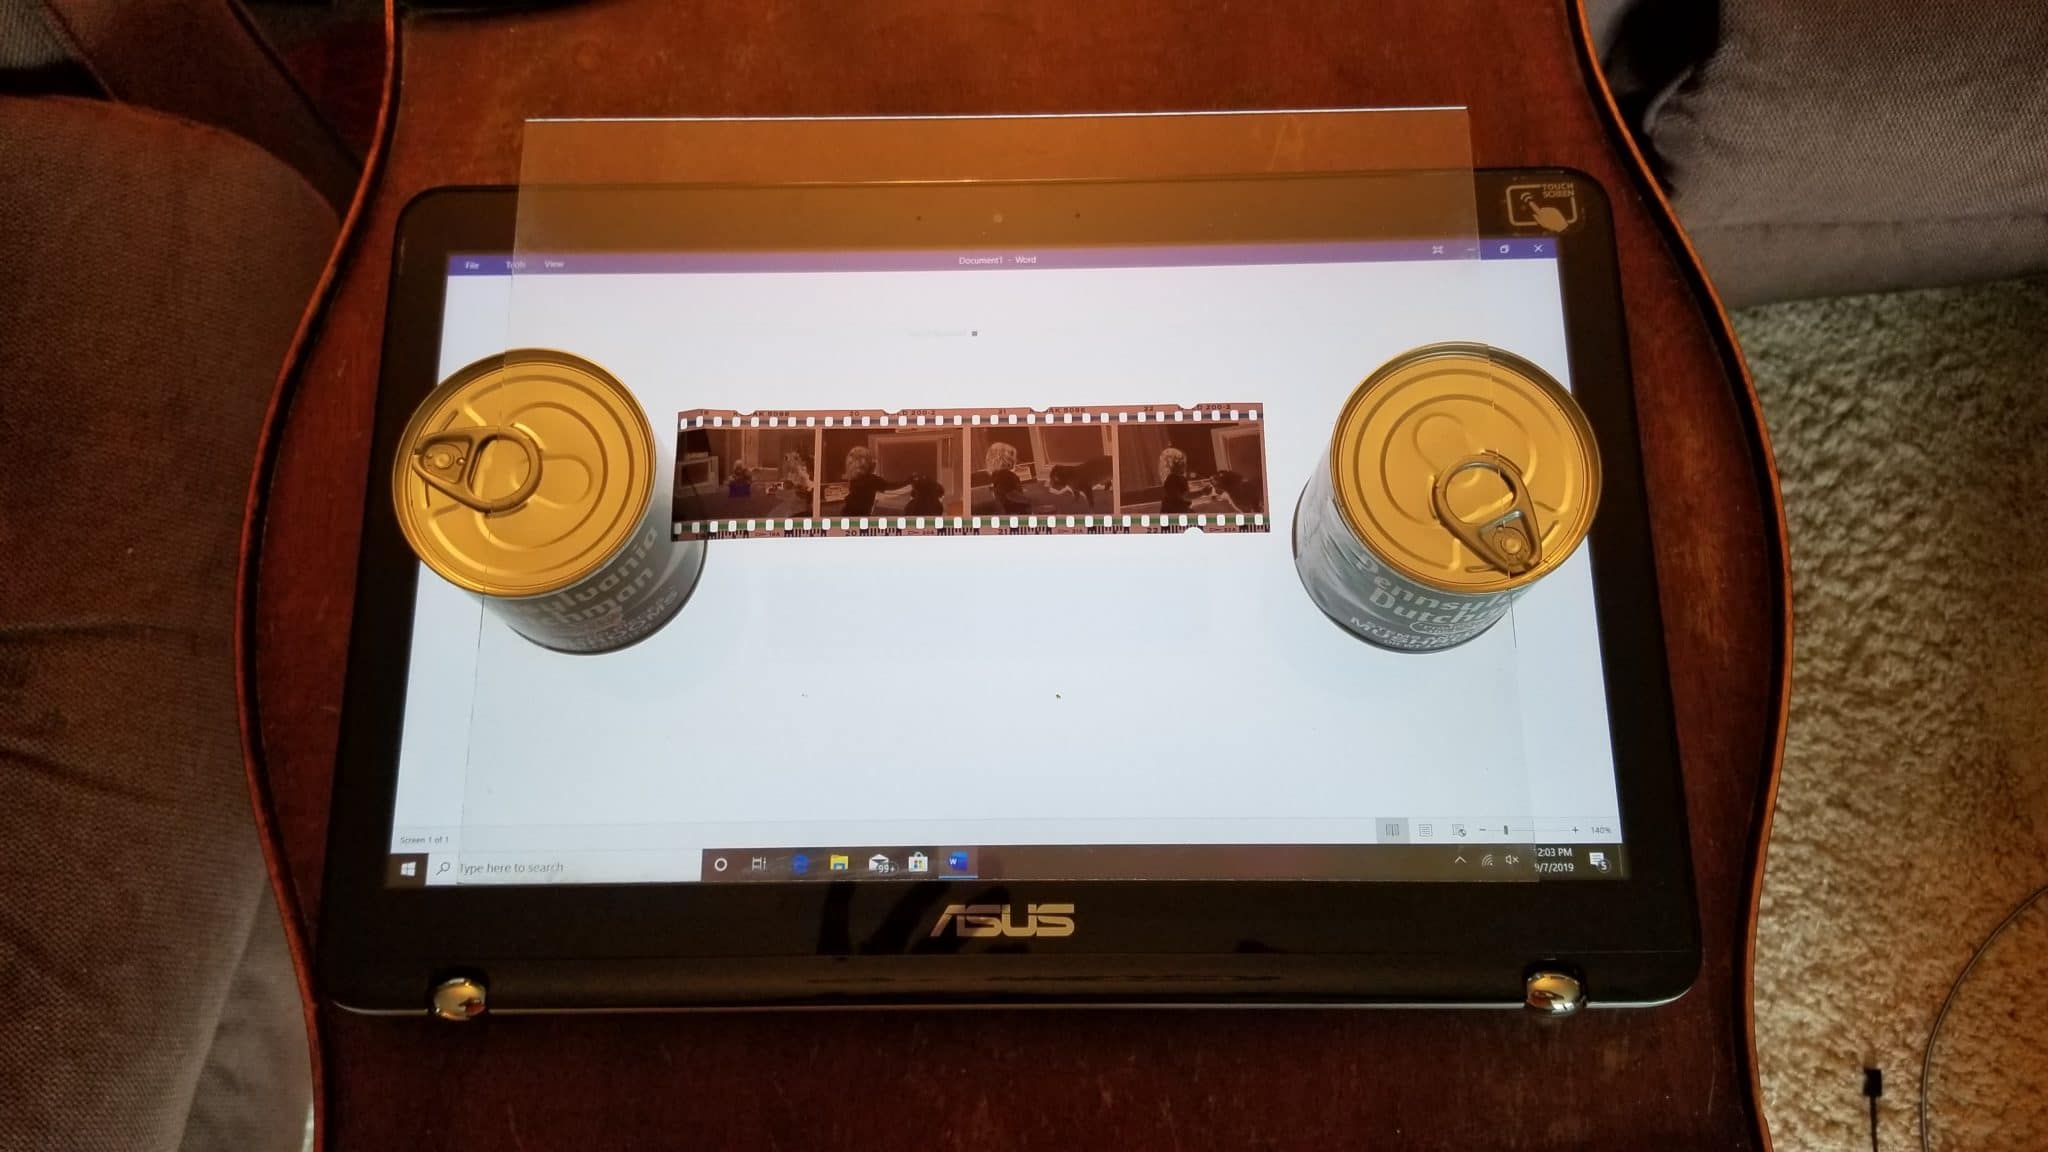
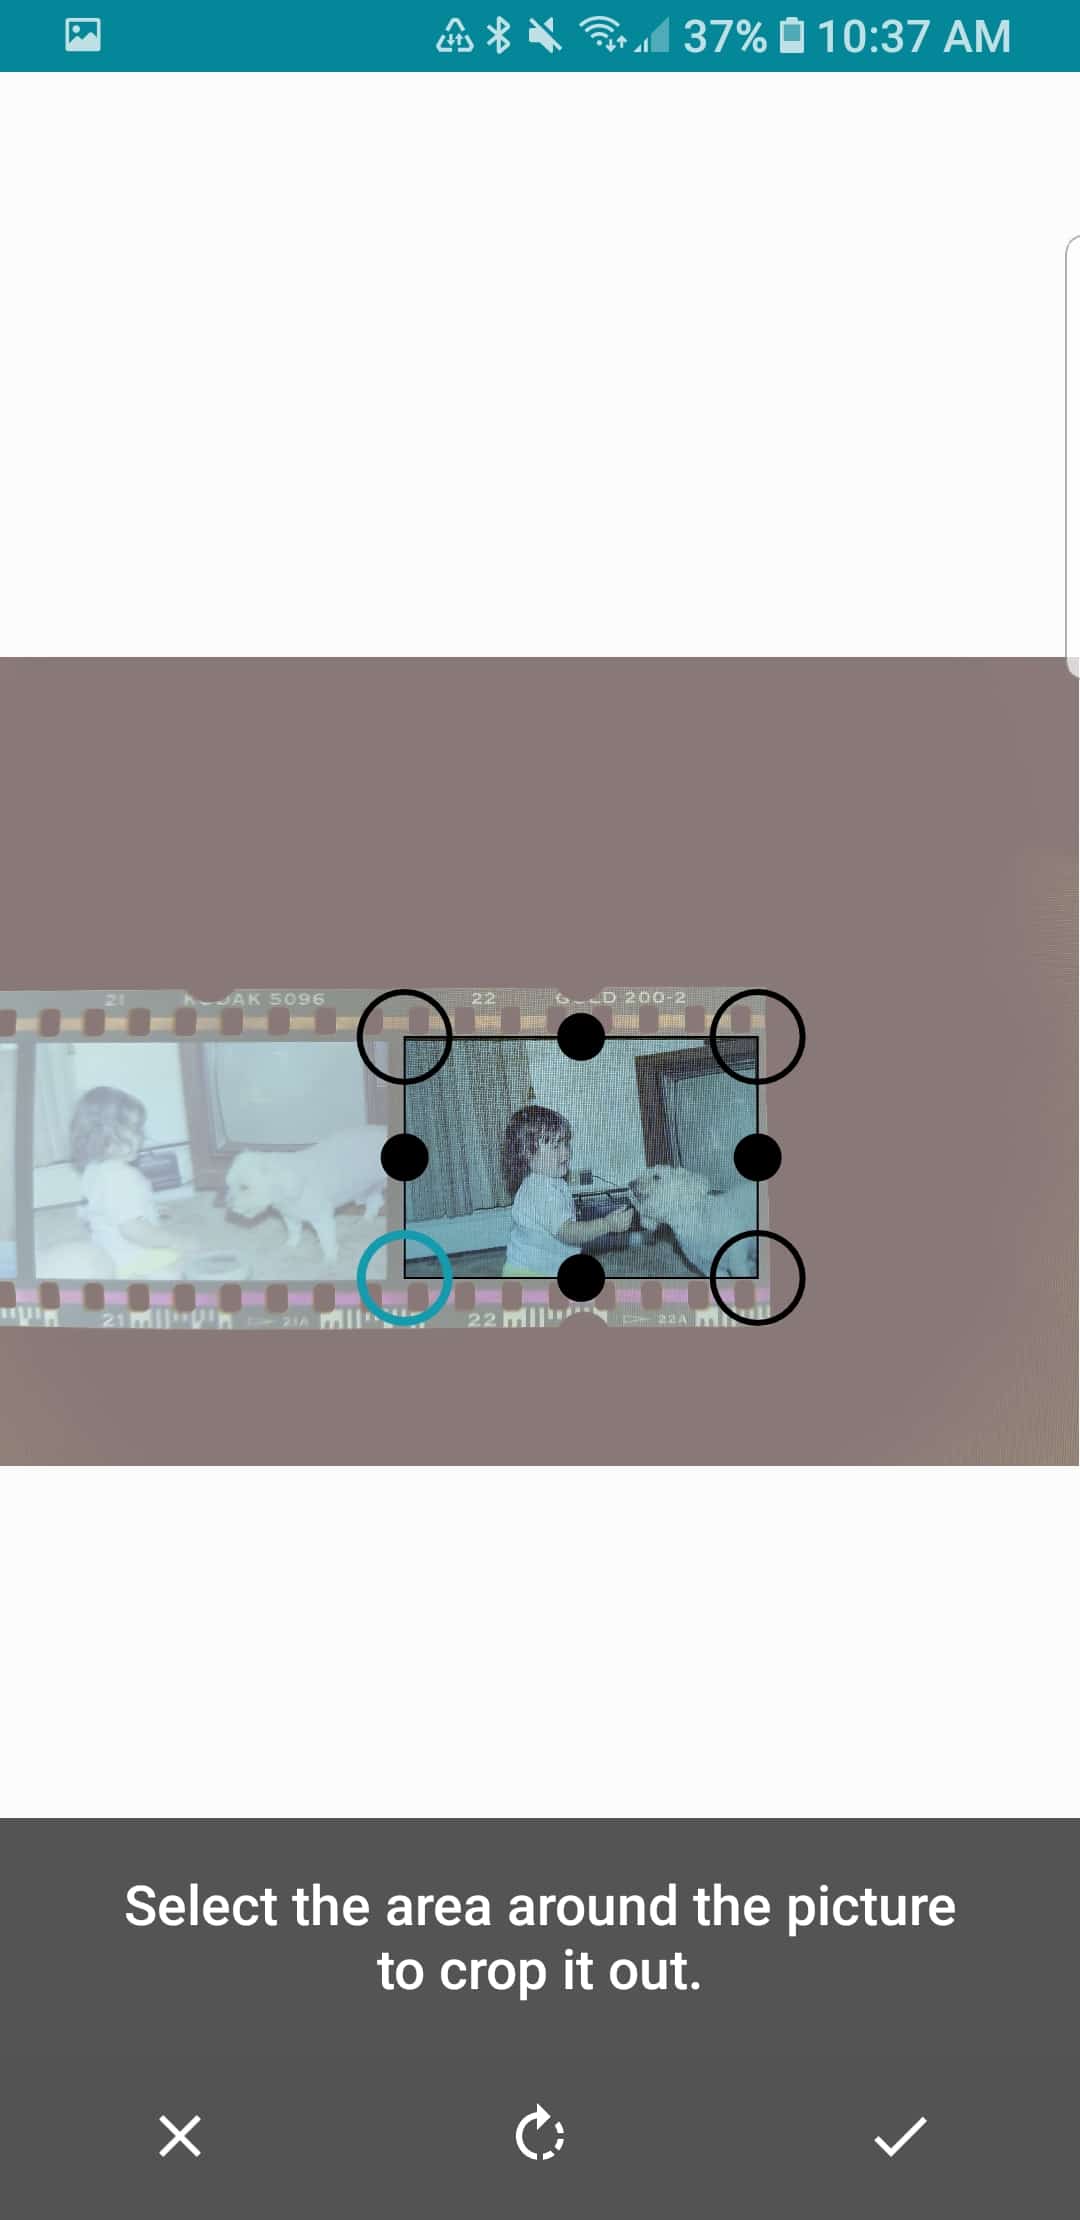
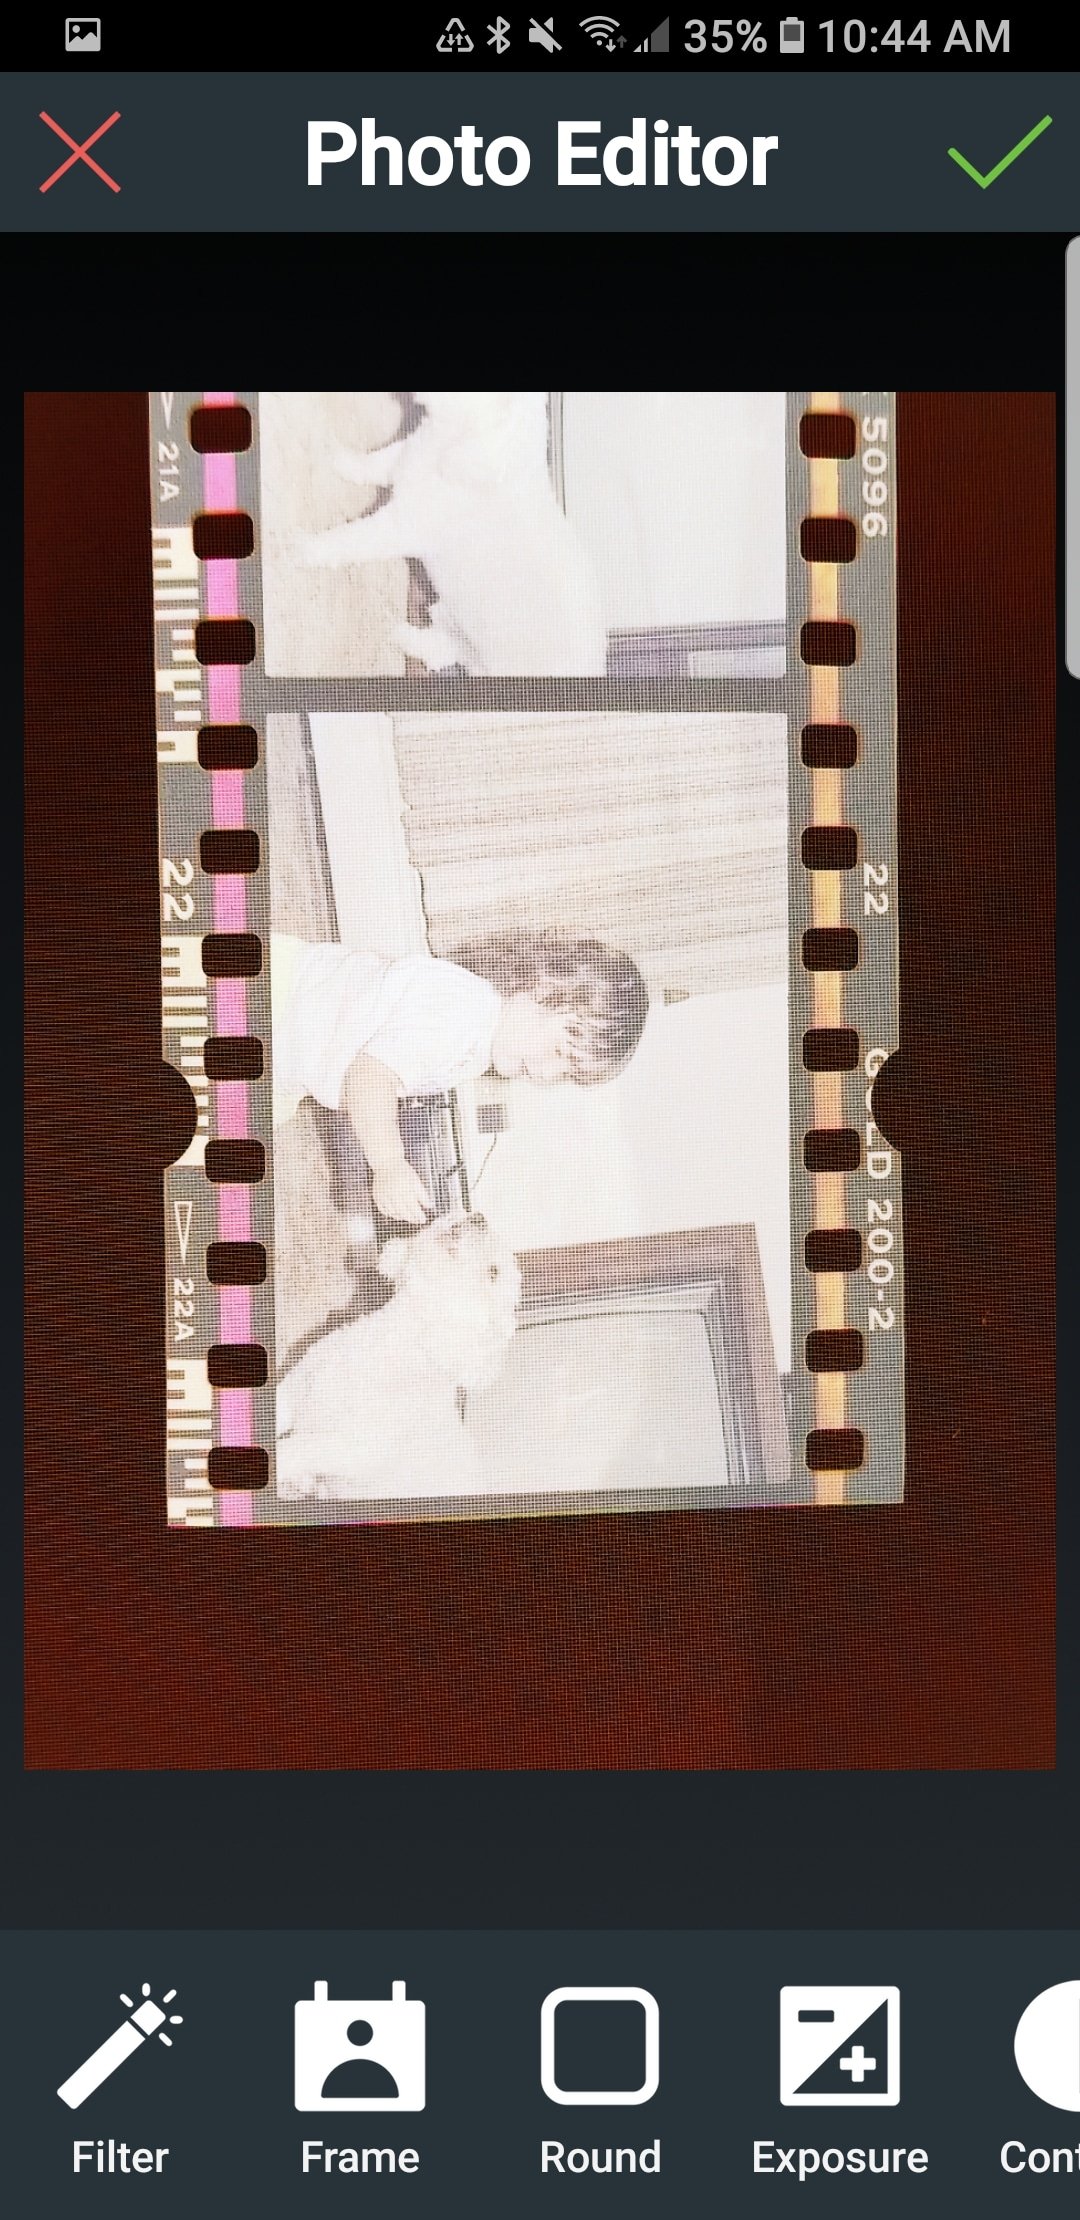
Once you place the negative or slide on the “lightbox” (being careful not to touch the negatives and get fingerprints on them, dust and dirt should also be carefully removed off ahead of time) open your app and use it similar to how you would a scanning app for a photo. You will hold your phone with the camera facing the negative, align your target with the app’s help and press the supplied button for shooting once you are ready. You will find specific instructions for use with each app.
You can also purchase a set up such as the Kodak Mobile Film Scanner or other such devices that work in conjunction with, or independently from, your smartphone to make the job easier. The link above (and at the end of the article) points to Amazon’s most popular choices for this and we may receive small kickback to help our site if you choose to use it.
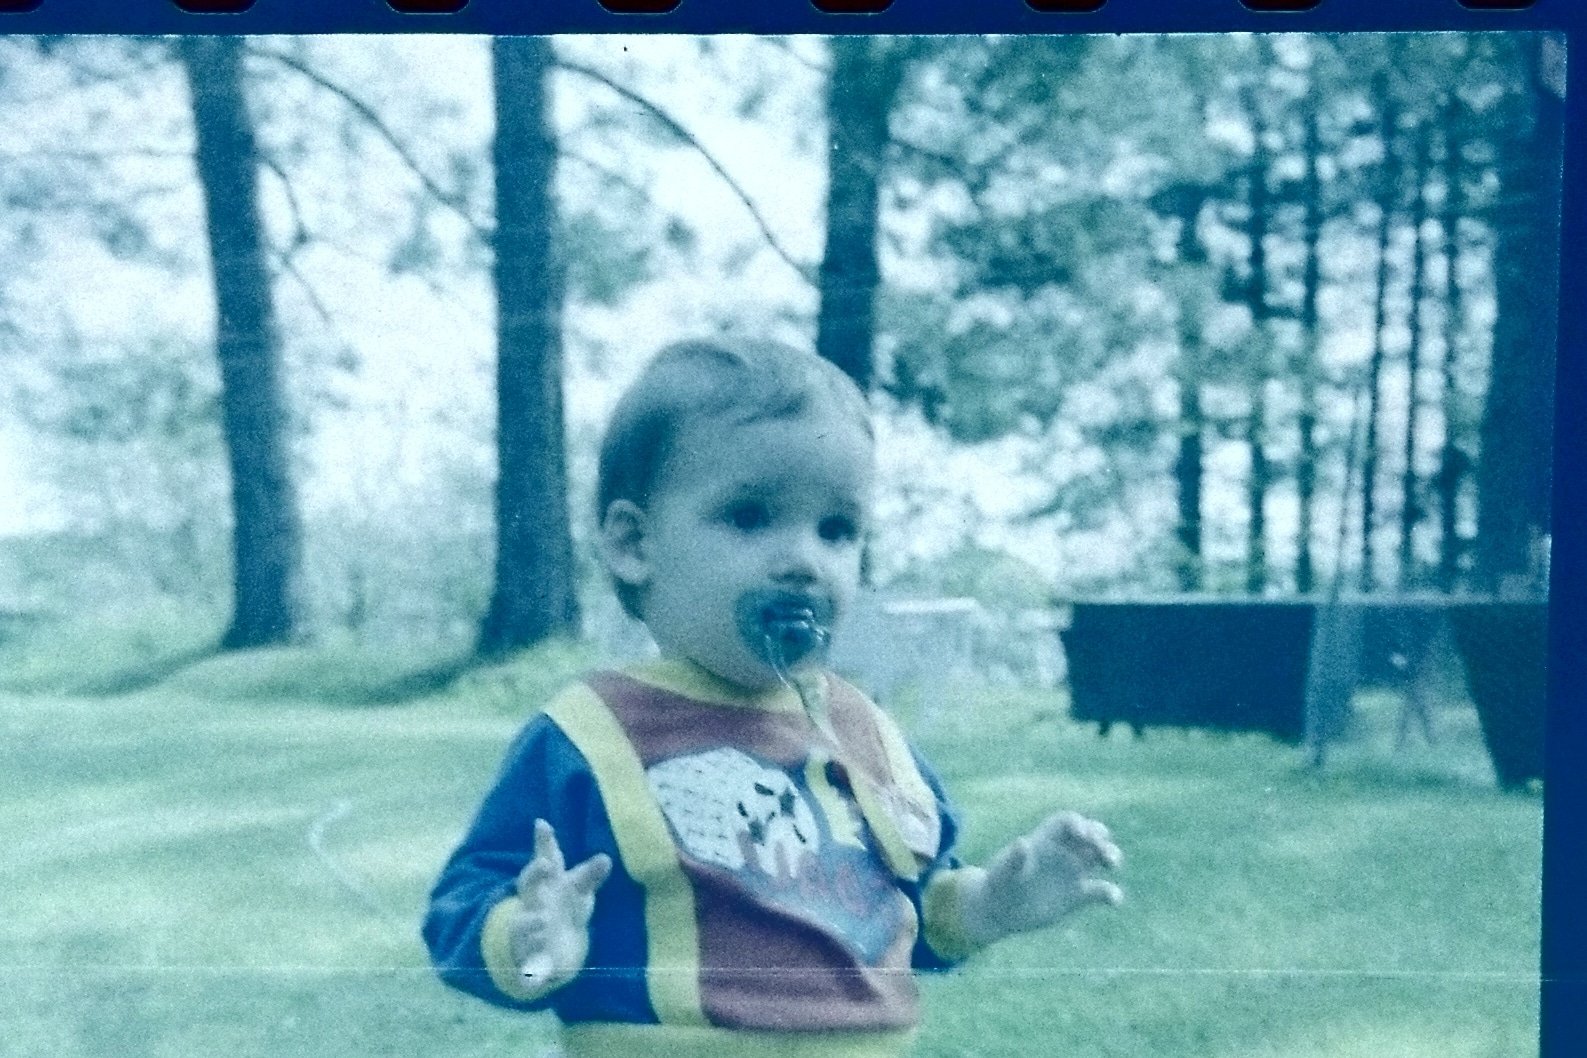
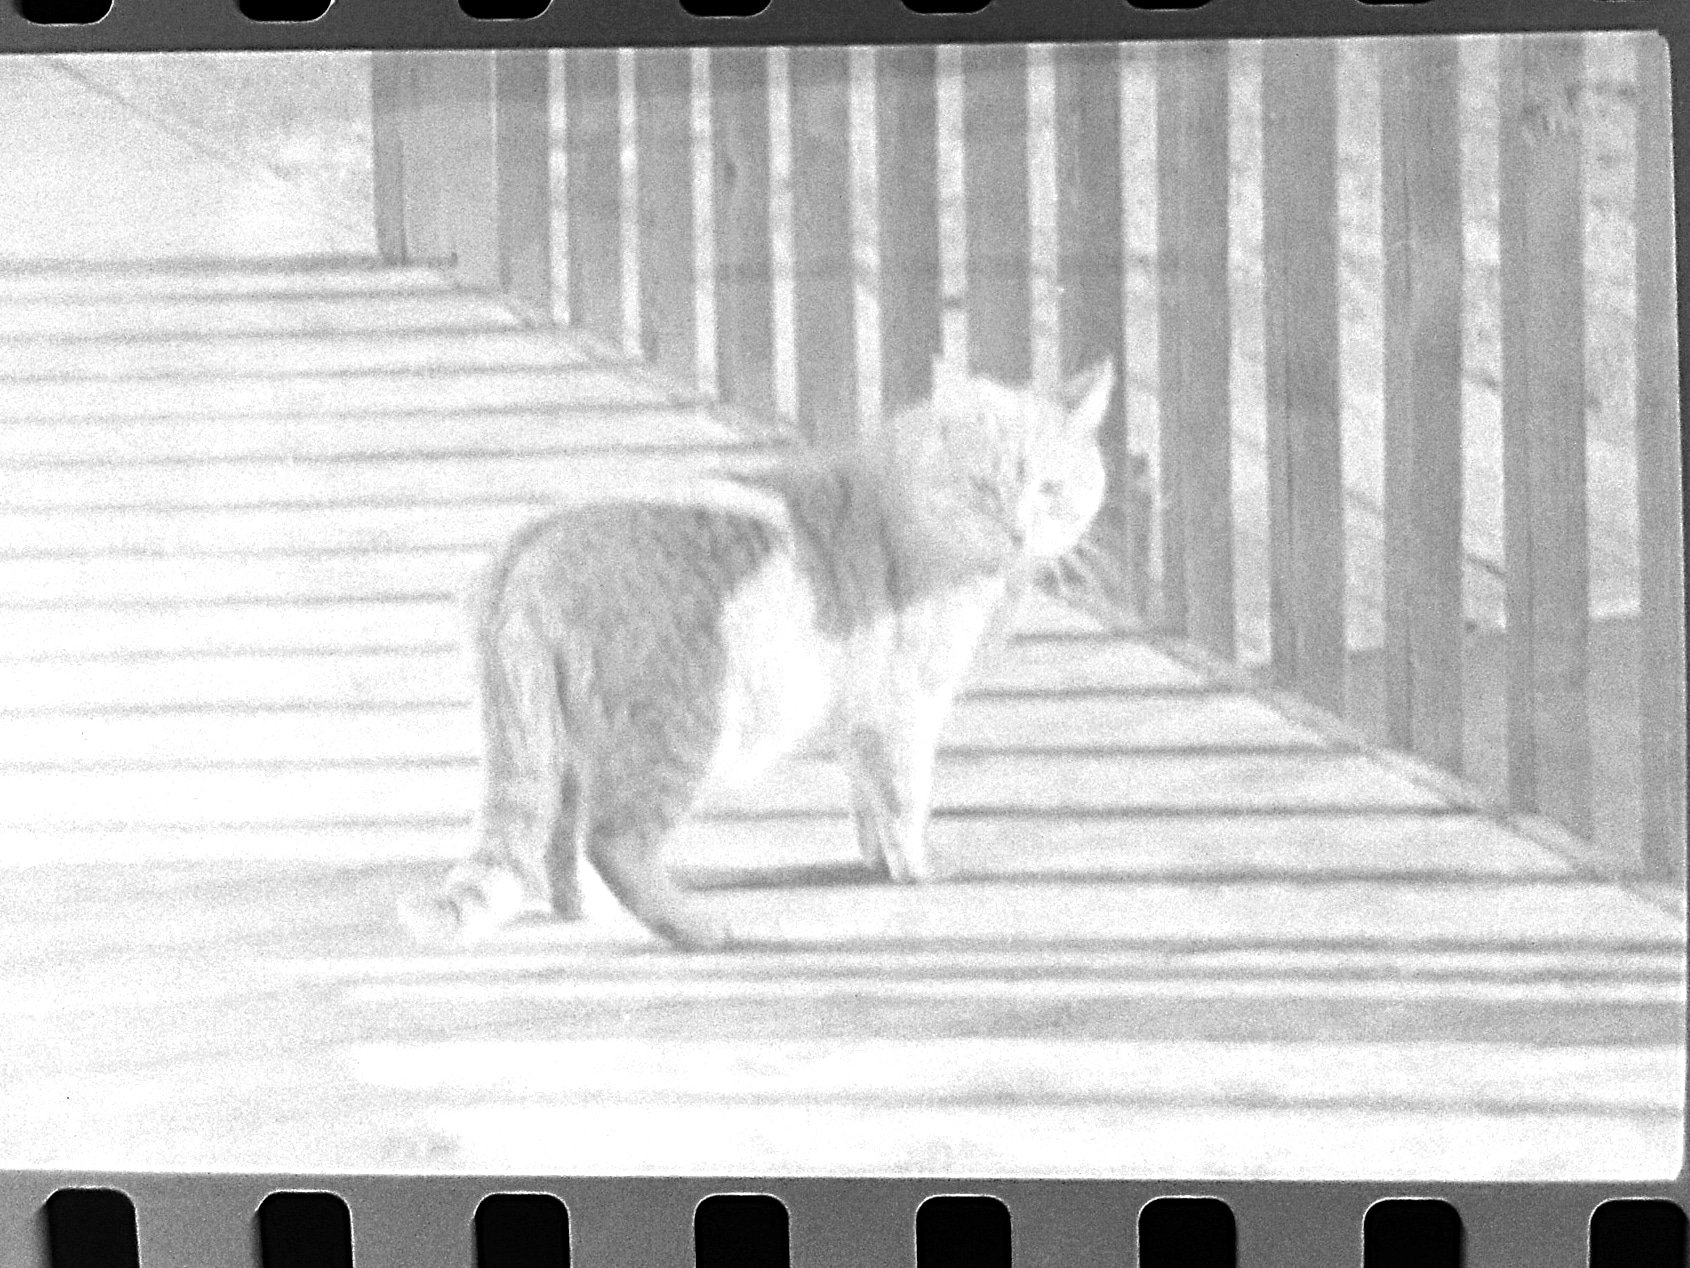
For the purposes of this test, the negatives I scanned were all from the early 1990s. The picture of my daughter is a negative in good condition with some fading, the picture of the cat is from a black and white negative and the picture of my son is from a water damaged negative.
How Did the Top Three Negative Scanner Apps Perform? Here Are the Results
Photo Negative Scanner App
This app is easy to use. It gives you an easy introduction, alignment prompts, and a large photo button once you are ready to scan the negative.
This app allows cropping and rotation, but all other photo editing functions require payment. The app also places a watermark on the positive image, which can be removed by purchasing the app.
Here are my three photos, scanned from negatives using the free version of Photo Negative Scanner:
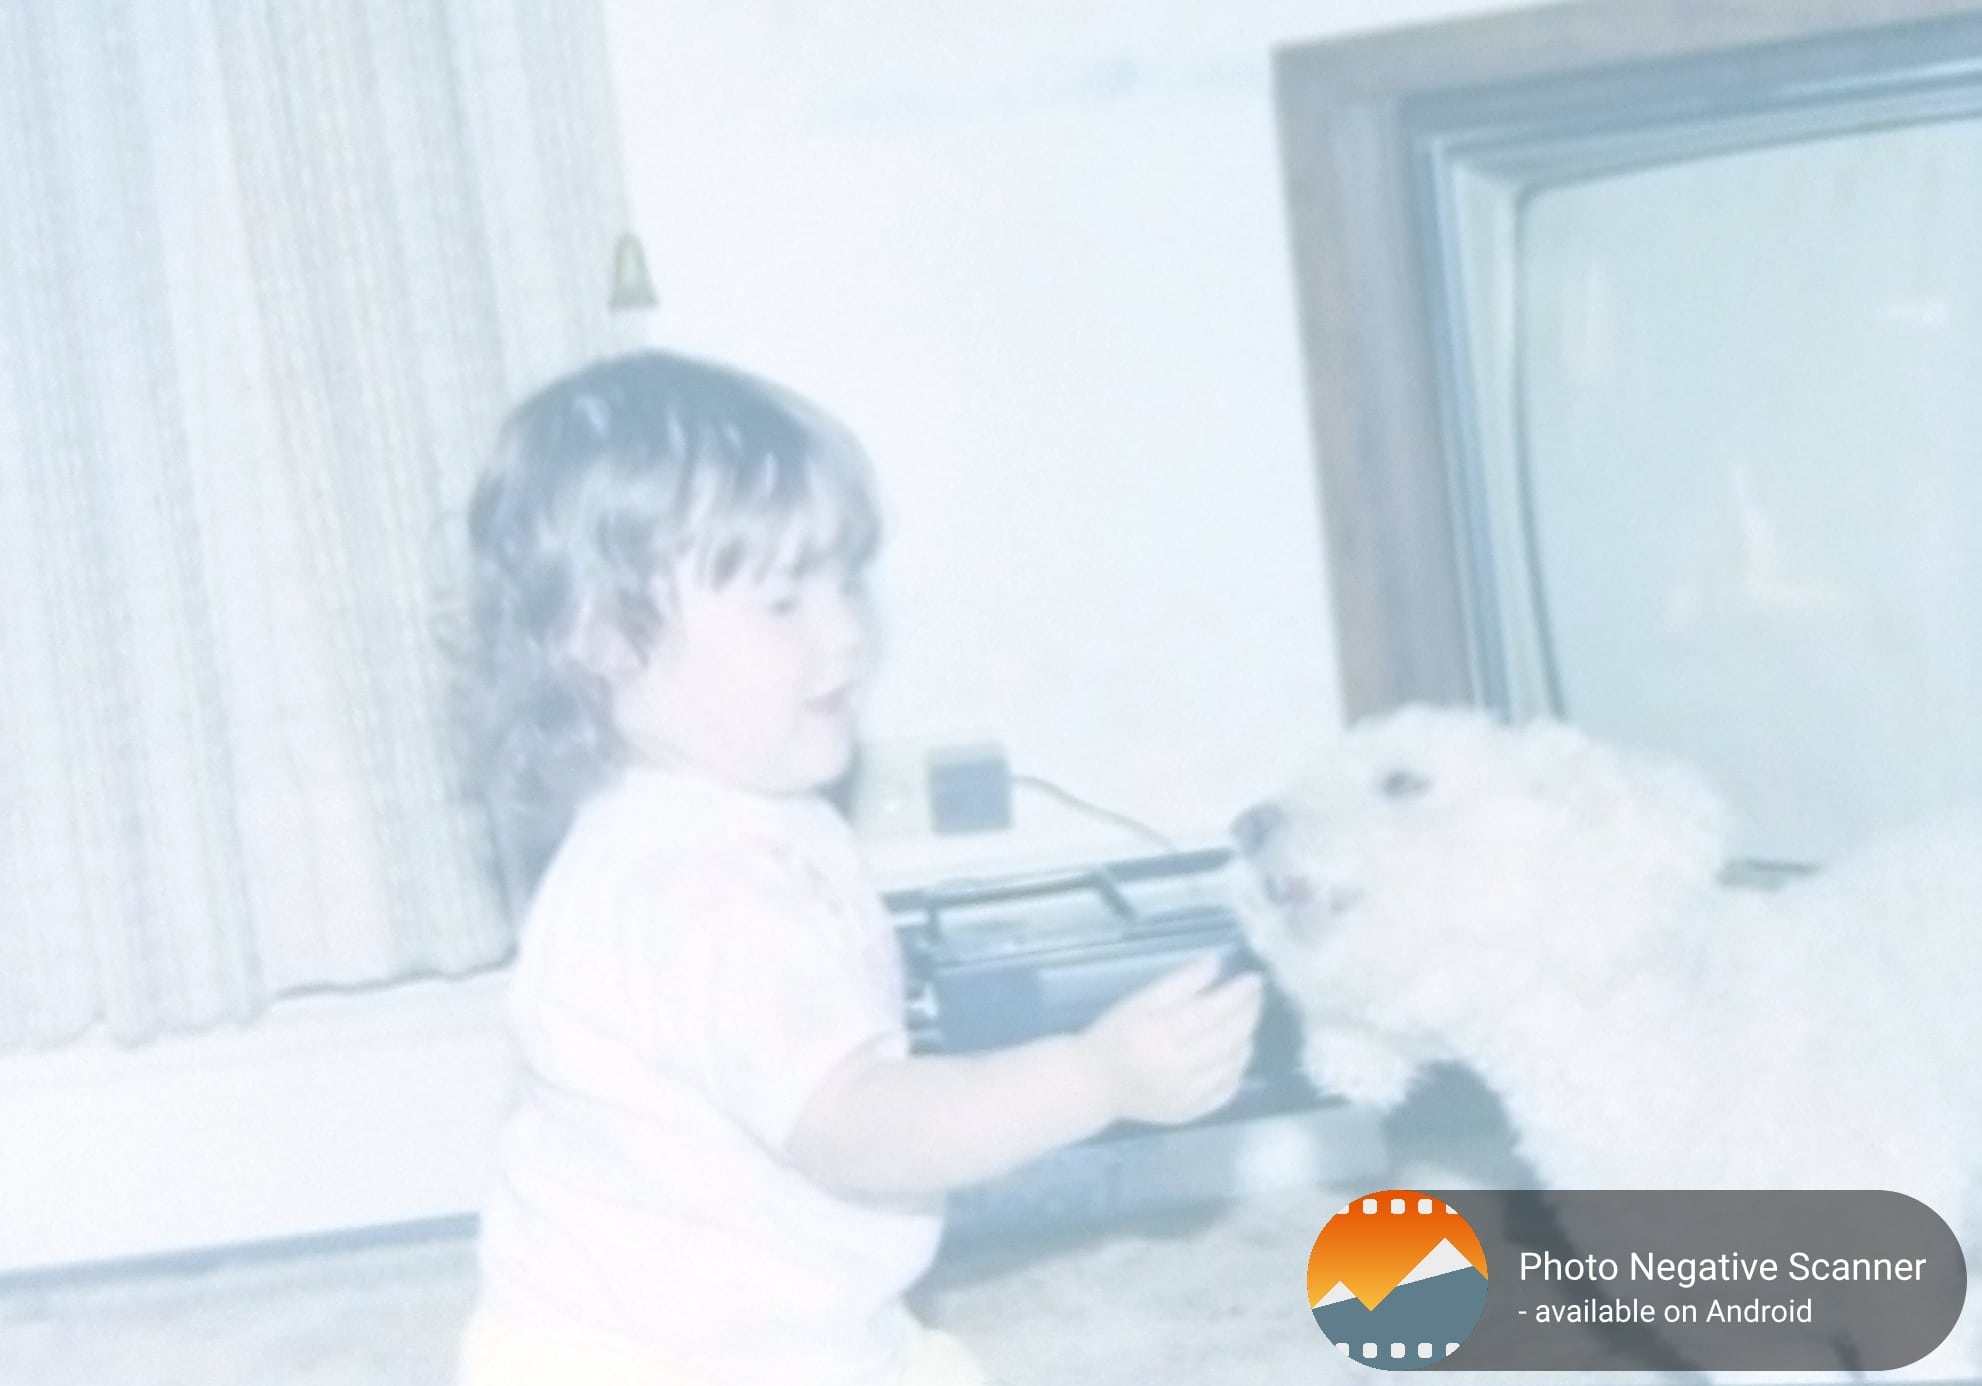
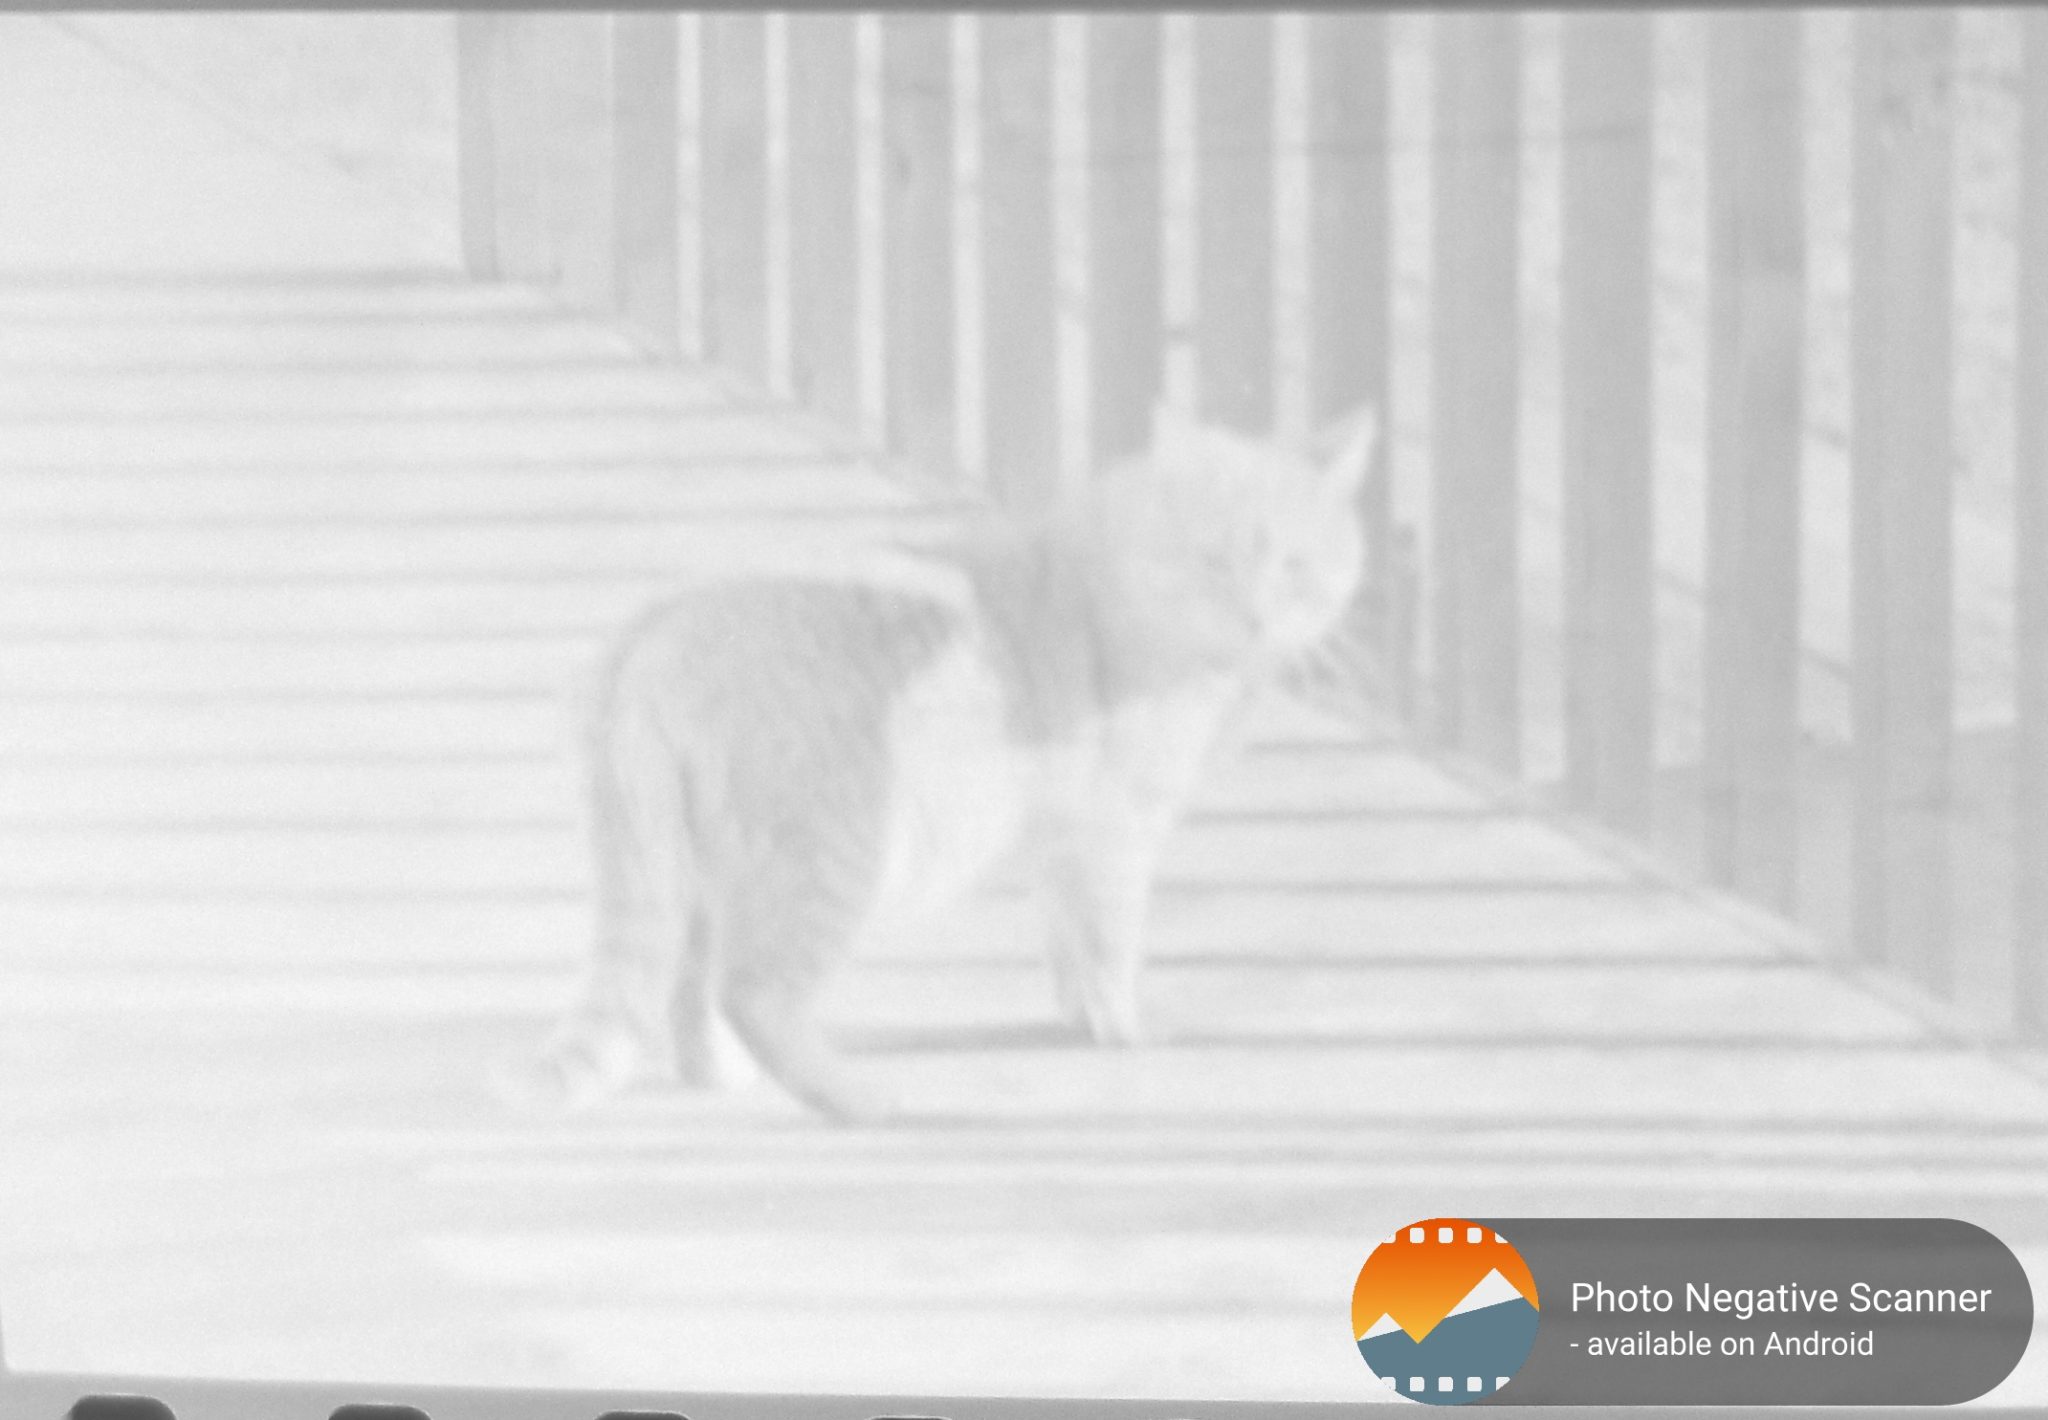
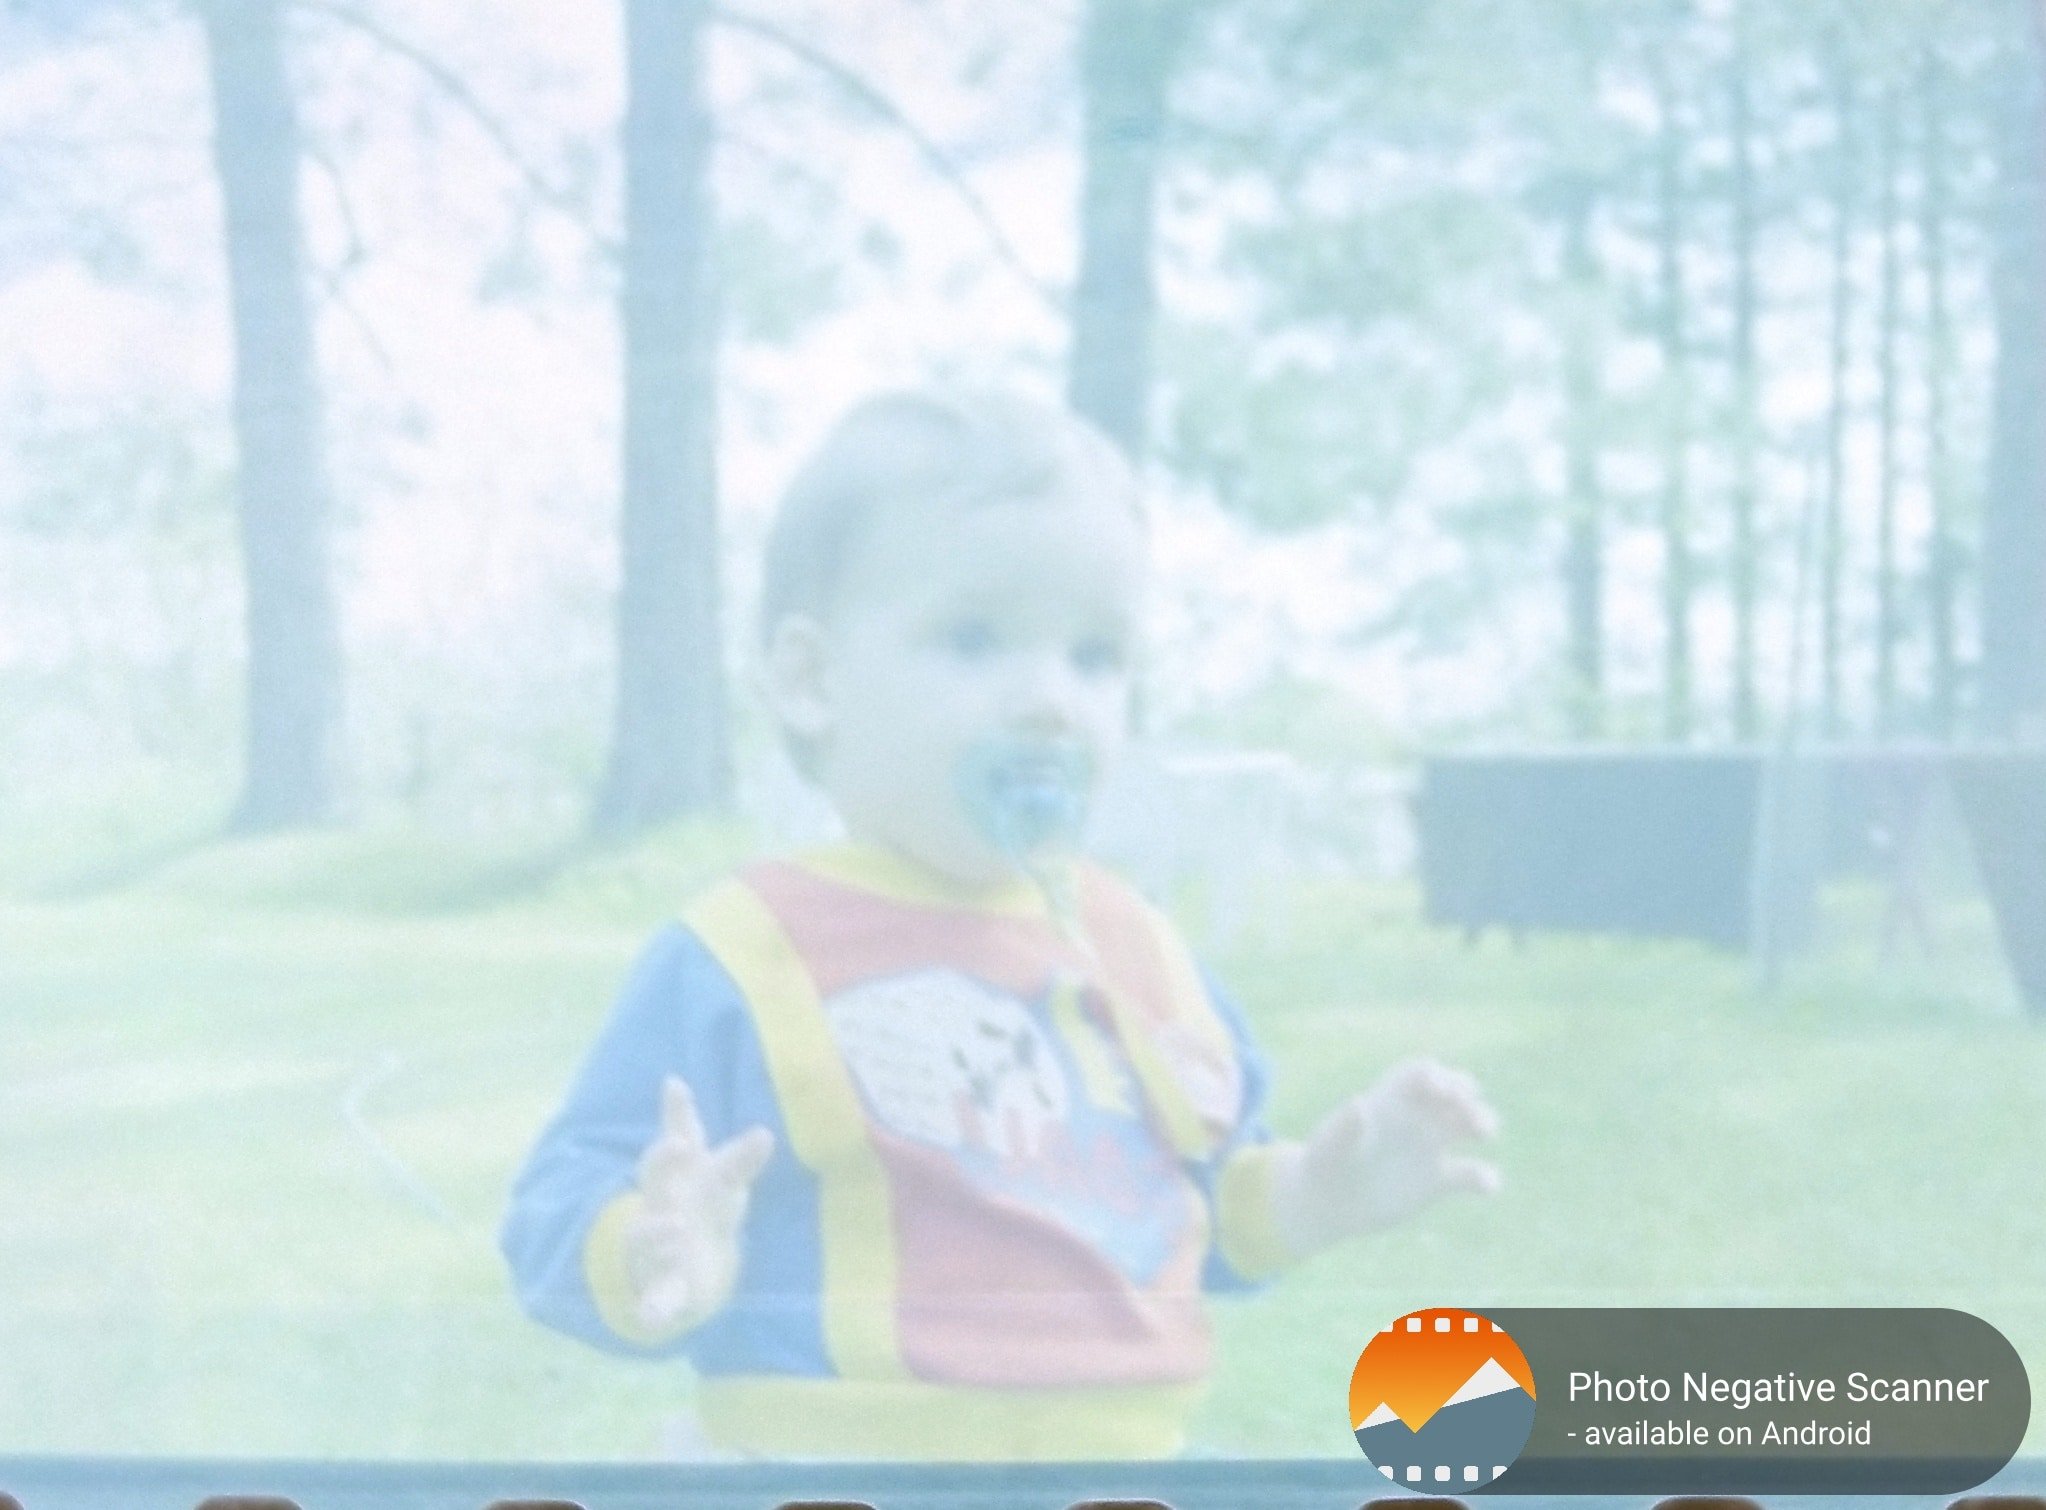
As you can see, the free app does not do a great job of adjusting color and exposure. The full, paid, version is really needed to edit brightness and color.
Helmut Film Scanner App
The Helmut app is a little more complicated to use. The scanner window does not have a cropping function, but you can “crop as you go” by aligning your camera with the rectangular window and adjusting your distance from the negative.
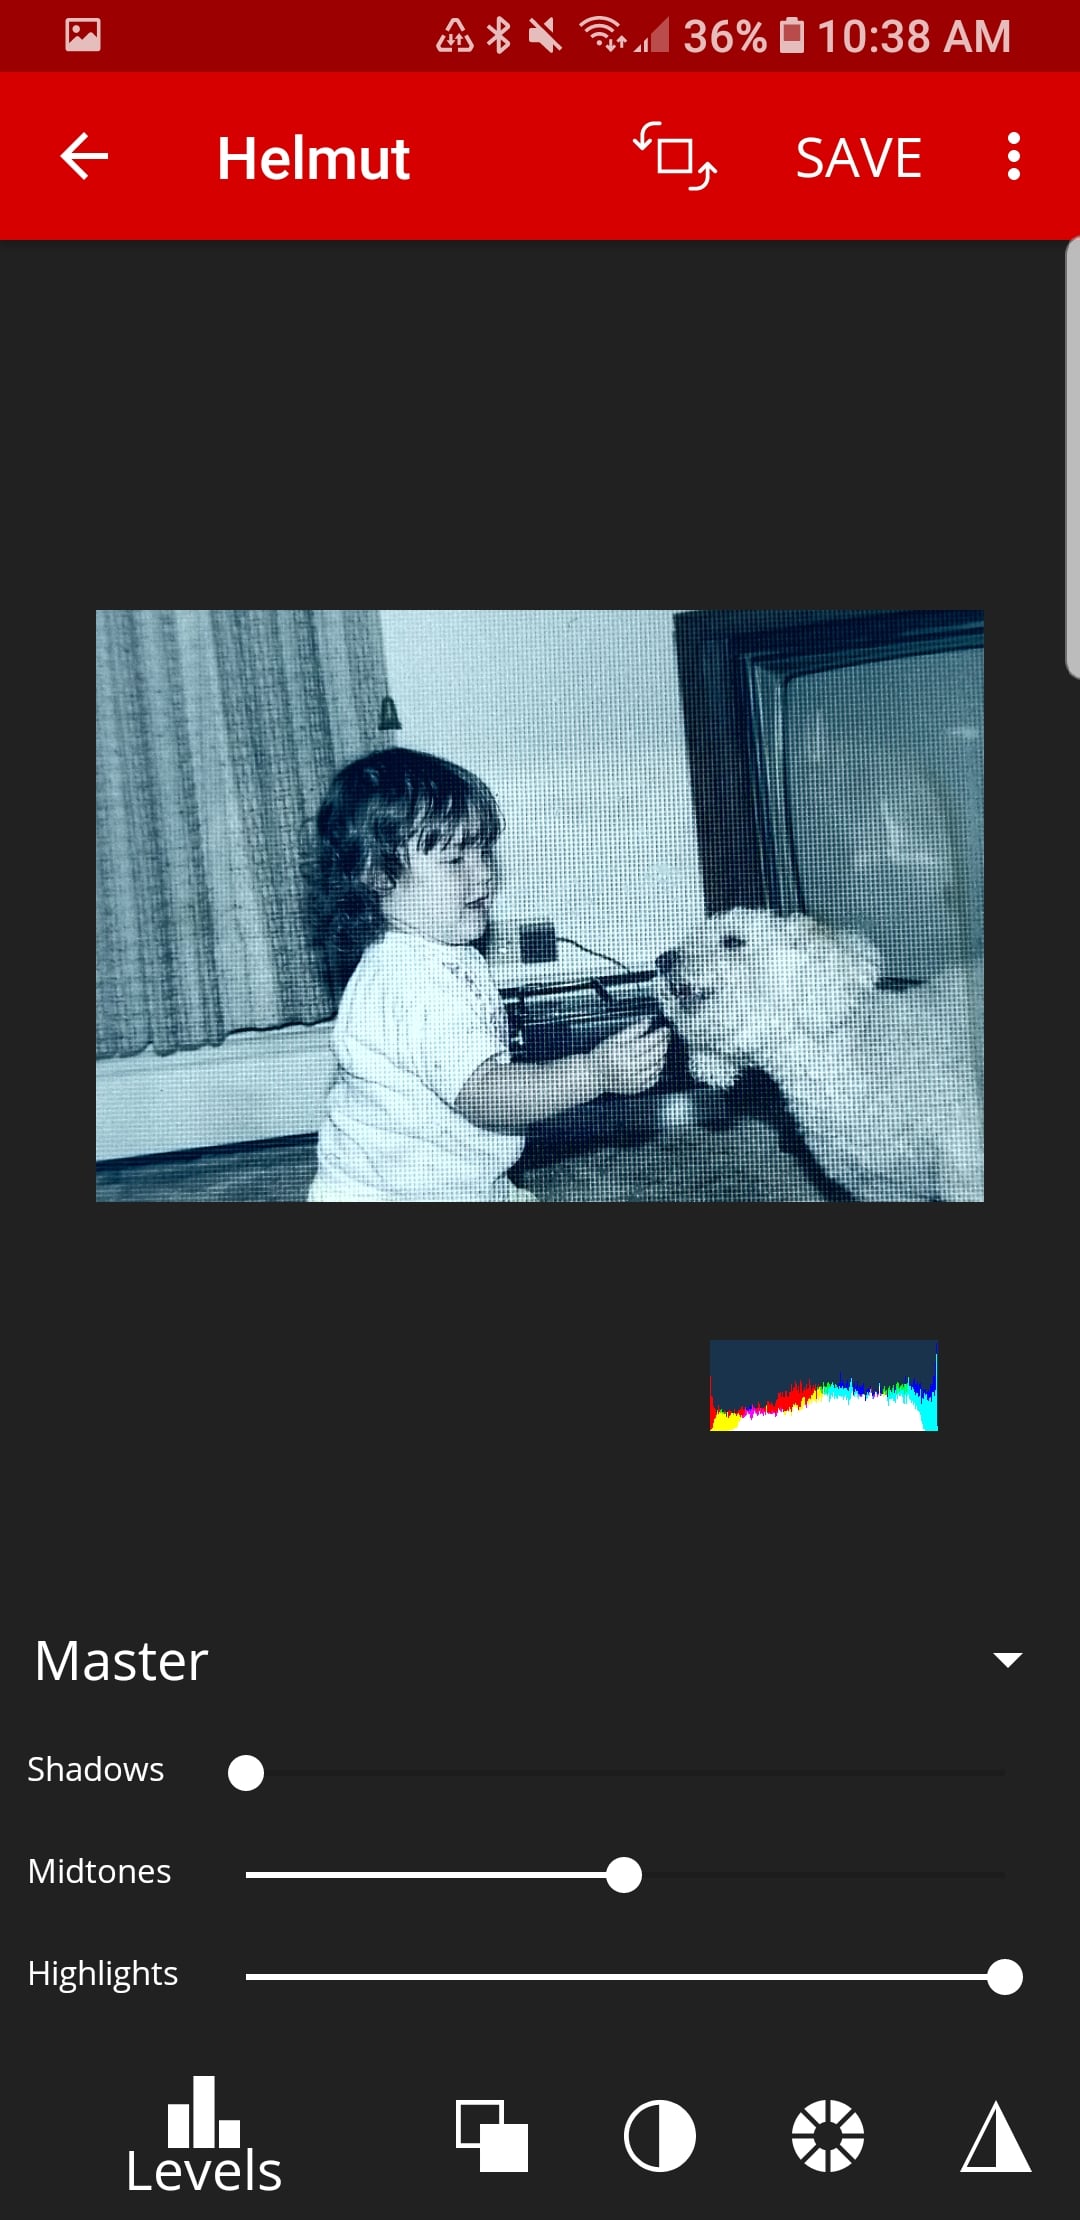
All other photo editing functions are available free with this app. The controls use photo terminology that we amateurs may have a little trouble understanding, but I found that I could adjust my picture just by playing with the sliding buttons.
Here are my three photos, scanned from negatives using Helmut Film Scanner:
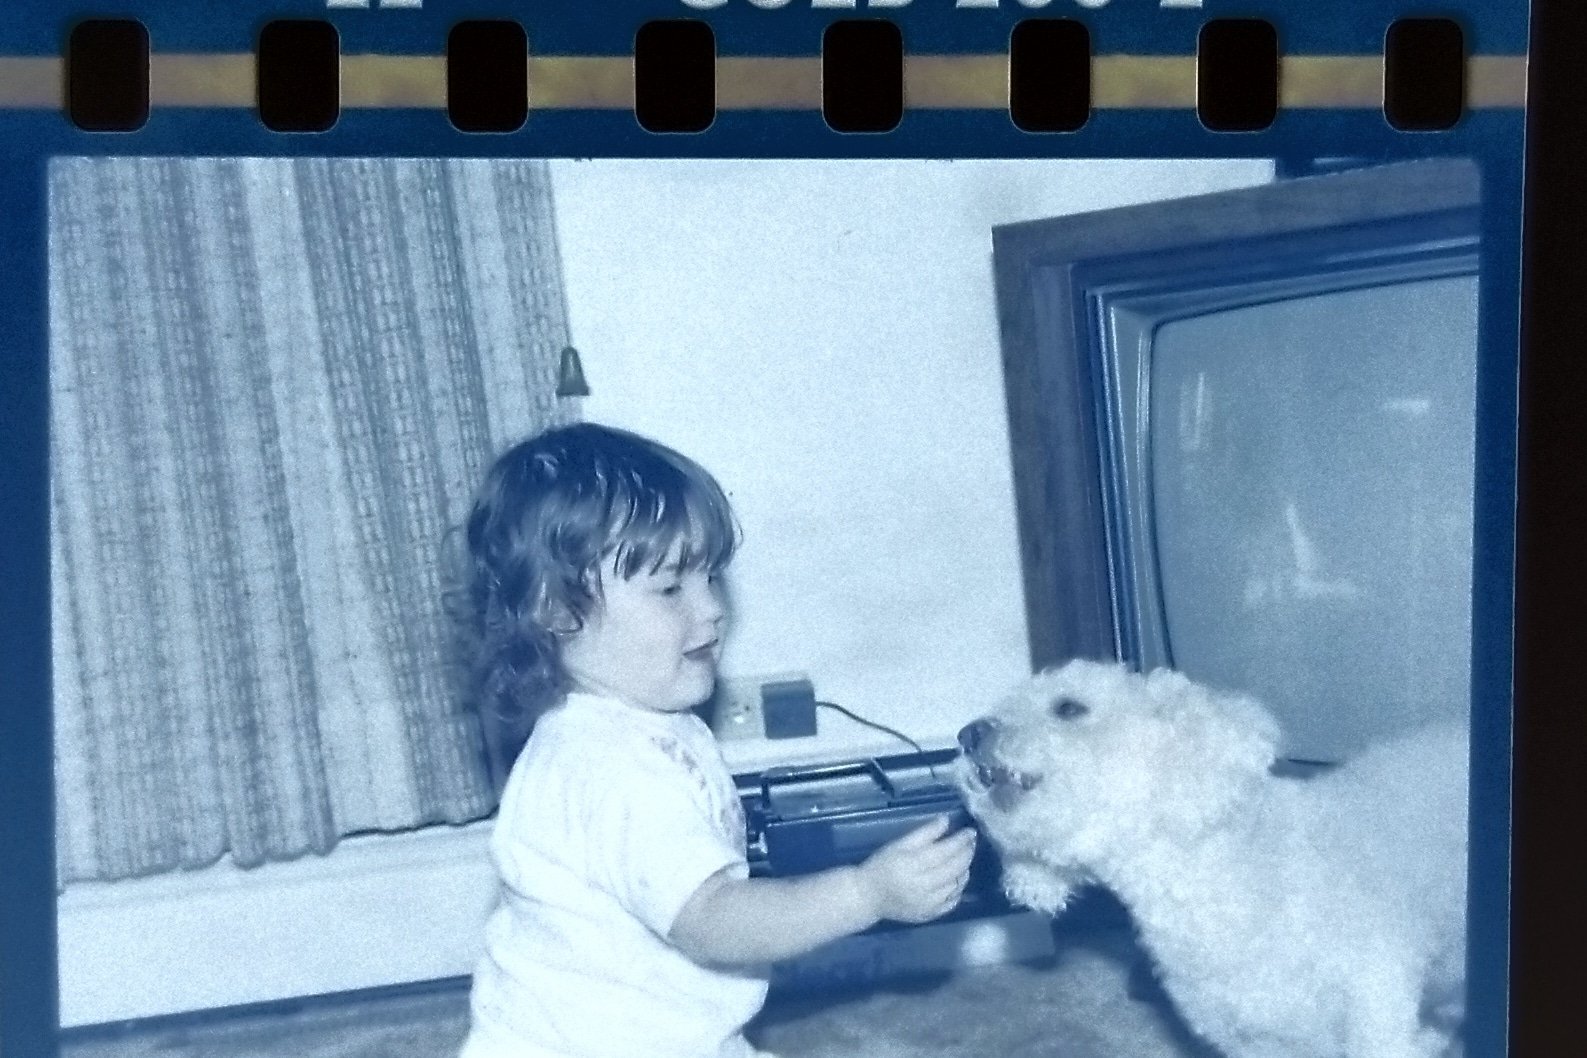
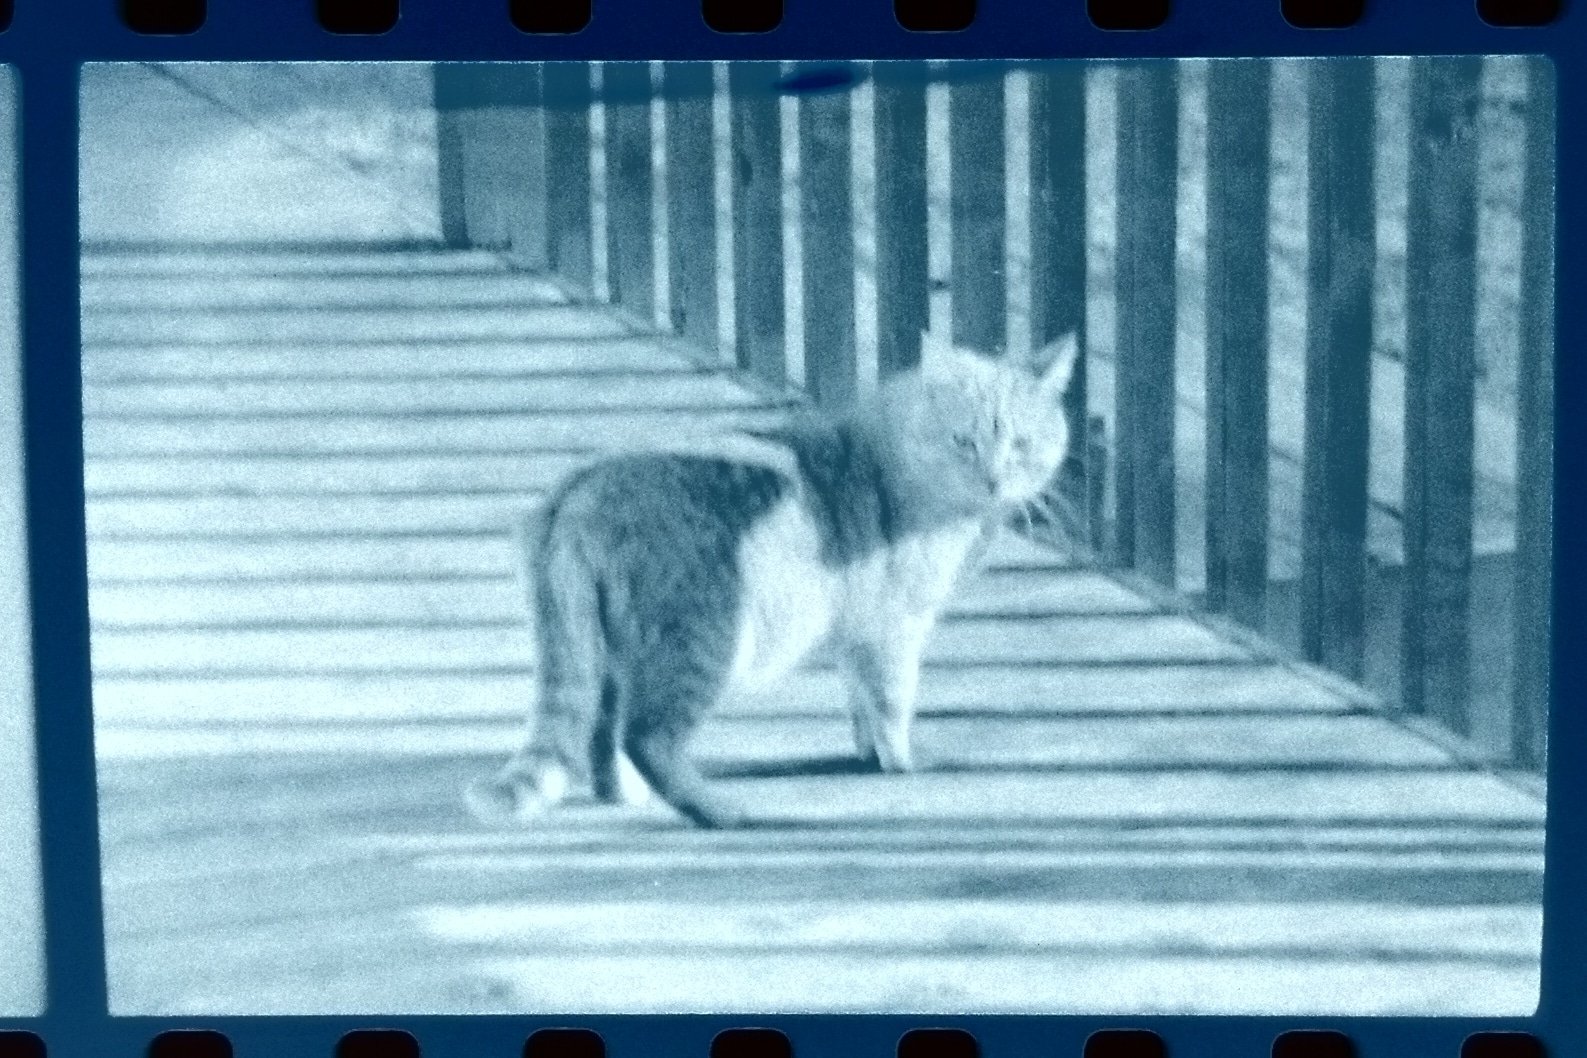
These photos are sharper than with the first app. As you can see, the pictures would require further editing to crop. It was also difficult adjusting my cellphone to get pictures without reflections of my cellphone case, but those could be cropped out as well.
Kodak Mobile Film Scanner App
This app has a simple scanning screen with a zoom function. After scanning, the positive image can be fully edited. The functions are easy to see and use.
When I originally used this app, it spontaneously shut down whenever I held my finger in one spot for slightly too long, forcing me to rescan a picture several times. I recently rescanned these pictures and I did not have the same problem, so this glitch in the app appears to have been fixed.
Here are my three photos, scanned from negatives using Kodak Mobile Film Scanner:

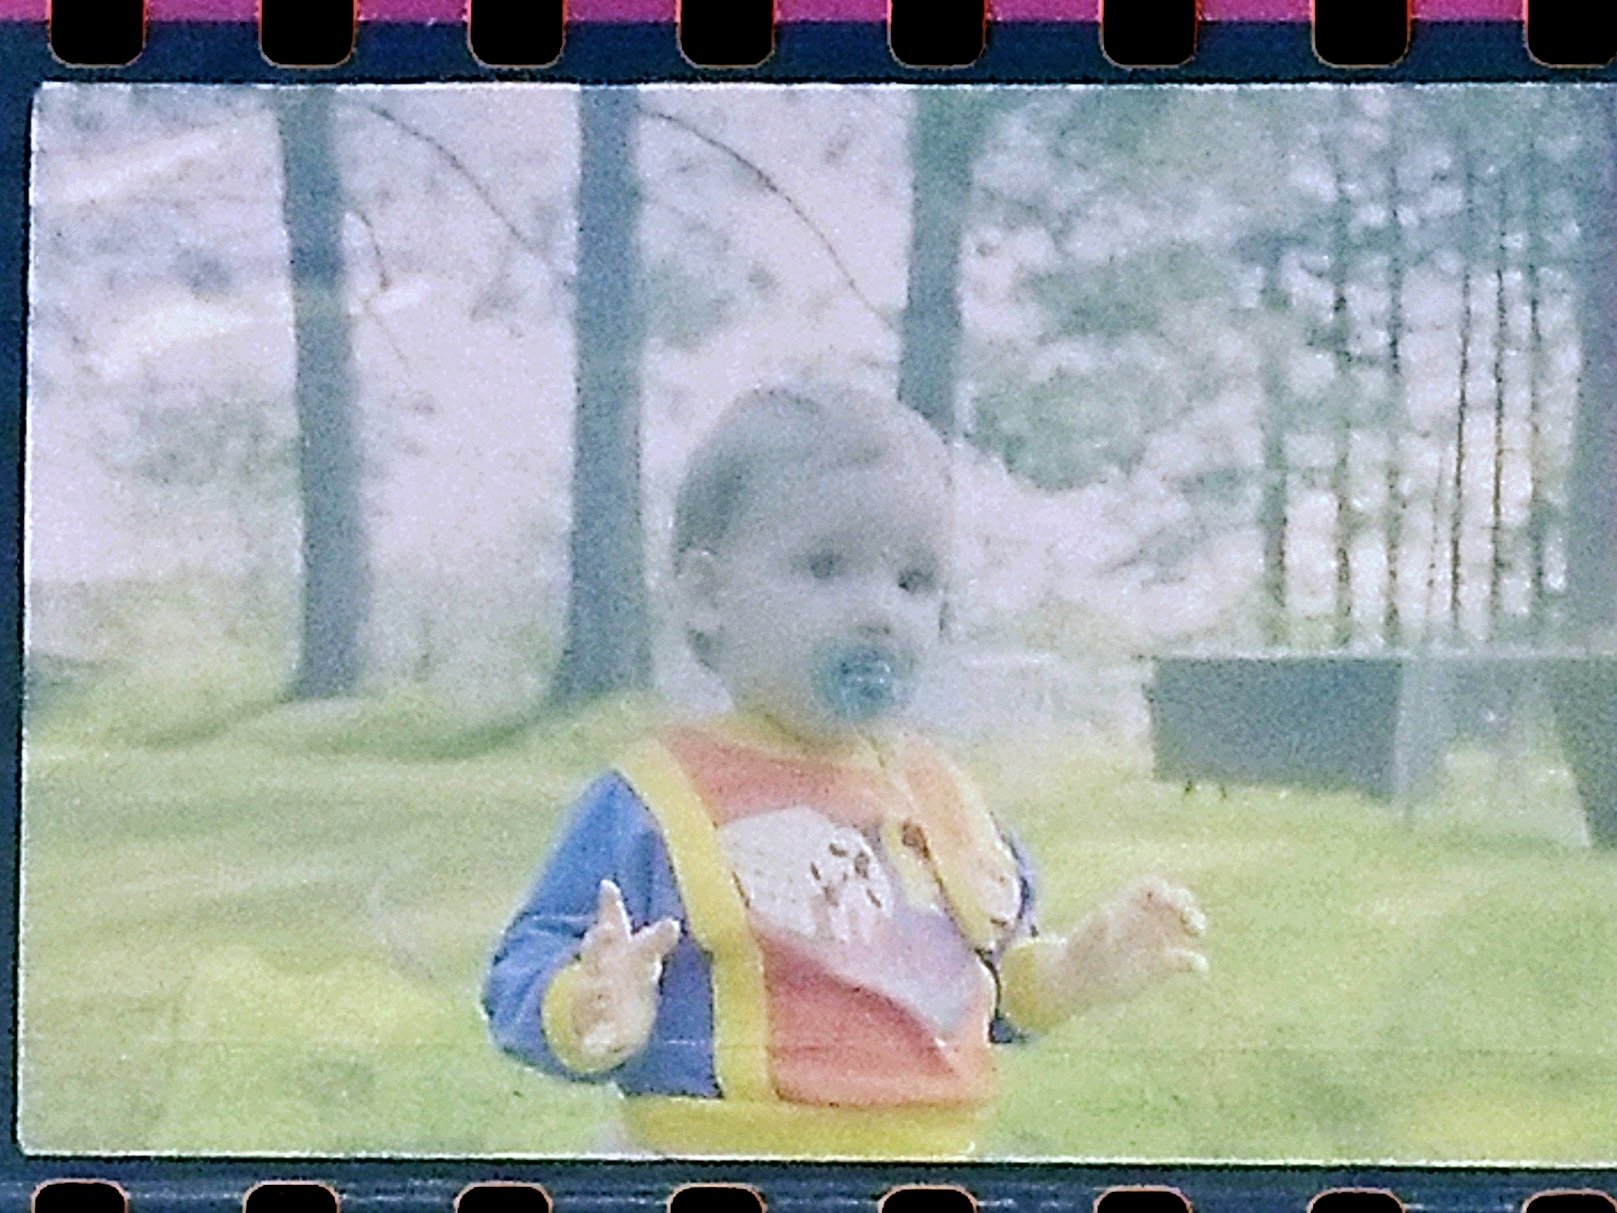
I was quite happy with the color adjustments using this app, as well as its performance scanning the water damaged negative. Cellphone reflections are still there but not as prominent.
Which Negative Scanning App is Best?
I achieved the sharpest pictures using the free Helmut Film Scanner app and the best color using the free Kodak Mobile Film Scanner app. I found the editing features of the Kodak app the most versatile as well. The Appdictive Photo Negative Scanner App, free version, did not perform well in my tests.
I found all three apps easy to use however. What I like most about each of these apps is they make it simple to see the positive image of the negative, so they are all useful for identifying pictures on a negative strip. In my opinion, all three apps did a better job of scanning the black and white negative than they did the color negatives.
If you are savvy with photo editing you could certainly improve the pictures further. There is an interesting article about how to do that using GIMP (free image editing software) here. However, if you want a high-quality picture to preserve for generations you may want to consider a professional service or one of the recommended physical scanners we mentioned above. After all, those old photos are priceless!
You might also like:
The 3 Free Scanning Apps That Helped Reveal Long Hidden Details in This Old Photo
4 Simple Steps to Help You Decipher Old Family Photos
Janet Meydam is a freelance writer who has over 40 years of experience in genealogy as a hobby. Her knowledge includes researching many different records from the United States, Germany and Poland. She is also a co-author of her parents’ family history book “I Come from a Long Line of Dilleys.” Janet works as an occupational therapist. She and her husband Tim have three adult children and live in Wisconsin.
Hello, my name is Kimberleigh from TDS. We have a domain that is currently on sale that you might be interested in – FilmScanningServices.com
Anytime someone types Film Scanning Services, Film Scanning Services Near Me, The Best Film Scanning Services, or any other phrase with these keywords into their browser, your site could be the first they see!
The internet is the most efficient way to acquire new customers
Avg Google Search Results for this domain is: 77.800.000
You can easily redirect all the traffic this domain gets to your current site!
EstiBot.com appraises this domain at $1,200.
Priced at only $998 for a limited time! If interested please go to FilmScanningServices.com and select Buy Now, or purchase directly at GoDaddy.
Act Fast! First person to select Buy Now gets it!
Thank you very much for your time.
Best Regards,
Kimberleigh Valencerina
I have some old dim proofs of my Mother which were probably taken in 1940s. Is there any way to develop proofs?
Couldn’t you use that Photomyne app since it actually crops and color corrects? It’s free (with limitations). Or just use your phone’s camera directly?
Thank you for your help with this article. Beautiful pictures of your family and cat as well. I will try the Kodak app, I have a bunch of old negatives so I am excited to see what may be there. Back in the late 90s I lost everything I had in Houston but somehow I still have these negatives so maybe I will see the people I was involved with back then, which would be nice.
Thank you fir you brilliant article on how to convert an old negative into a photo. Found out negative photos of my husband as a baby were actually of his sister!
Thanks very much for the detailed guide and the suggested Apps to use Janet. I read another article earlier which has made me want to try the Kodak App for starters, but only after downloading did I think about needing a lightbox and of course something to place the phone on to make sure it’s steady when taking the photo.
You have some great ideas for for the lighting. I think I will need to experiment as I hope to get higher quality scans and I would rather not spend a lot of money on hardware if I don’t have to.
Just tried the Kodak apps on some negatives from photos taken in the 50’s and am very impressed with the results.
Thank you so much for this! Today I recovered my favorite photo of my deceased Mom and I. I have always been hesitant to send the negative away for fear it would be lost or damaged. THANK YOU!!
Hello Janet,
I came across your post after experimenting with Apple ios iphone and using Photomyne for the first time. The user has the option of a 3 day free trial and then the subscription becomes live with a payment of GBP 5.99 per month.
Managed to use but the instructions all indicate holding the negative in front of a computer screen 2” away and getting as close as you can with you phone. However, there was a reference to using a light box and they had a link to buy one from Amazon!
Anyway, I was very pleased to read your article and all the nice helpful people out there.
In the 3 days I have, I will test it out for quality. It’s not attempting to beat a dedicated film scanner but I am looking for a good reproduction as you mention Janet, the images we have mean a lot to us all individually. I have always thought the quality of old photographs is excellent and I want to keep it that way.
Professional help may be needed but for now I am going to use two tins of beans and glass.
Thank you everyone, I hope this works out, I will use an ipad laying flat as a lightbox.
Mike
Hi, I just bought the Kodak device and used the app for the first time.
My results were far better than illustrated here, and turned out quite well, significant ltly better than those demonstratef here (using pixel 4).
Although I wish I had a mask feature so I could crop once, and if I could set the default colour adjust. I find it hunts for it, always finding it perfectly, but occasionally going one step further and then decides to stay with a slightly yellow tinge on occasion.
Be great if I could set the default focus as well, as after I use it a bit zoomed in once, it won’t auto focus until I unzoom it.
It would also be great if it would have adjustable height, instead of zoom and a pixel shift mode for taking multiple pictures slightly shifted then stitching together for greater results.
Couldn’t find the Helmut film scanner int the App Store for my iPhone. Is it under a different name?
Thank you Art and R. for your helpful comments! The article has been updated with your suggestions and the outcomes were greatly improved.
I never thought to use my phone as a ‘scanner’ of negatives in combination with a laptop screen as back-lighting. It’s good in a pinch. I tried the Kodak app. It didn’t do well. I have a printer (HP Photosmart C8180) that’ does a decent job at scanning slides and negatives. It’s about 15 years old, so I imagine newer versions will do a better job. Thanks for this post. It has given me other ideas to try.
You might also just get a translucent sheet of plastic or ‘film’ and place over the computer screen… not so opaque that it substantially darkens the light source, but it shouldn’t take much translucence to obscure the pixels. Even a piece of thin paper might be better than the naked screen.
Hi Janet,
I believe the pixelation you see in your scans is actually the pixels of your light source, rather than any pixels from your negatives. When I viewed your posted samples on my Dell laptop, using the Windows Magnifier set to 500%, I see the exact same pixel pattern in all of your samples, including the ones showing the two negative frames. In them, even the unexposed film rebates, the orange spaces between images and near the sprocket holes. Since there are no image pixels there, the pixels in your scans must be coming from the light source. A Youtube video I watched recently suggested placing 3 tuna cans between your light source (monitor screen) and a piece of glass supporting the negatives to create enough separation between the screen’s pixels and the negatives. I know from personal experience that placing any negative directly against a white monitor screen and photographing with either an iPhone 6/6s camera or a Sony DSLR, the screen’s pixels are similarly visible. You may find a different distance between light source and negative works better for you than the video’s 3 tuna cans, but that should be just a matter of simple experimentation.
I appreciate your post about these apps and I’ll investigate the iOS versions. Thanks for posting.