This post is Step 5 of a 5 part tutorial on creating your own family history blog. Find the first post in this tutorial here, Intro and Step 1 — or quick jump to Step 2, Step 3, or Step 4.
If you made it this far you can really feel great about yourself. You’re ready to start adding content to your new family history blog!! Go you.
To add a post look at the sidebar at left. You will see ‘Posts’ near the top.
Click on this (or rollover) and then select ‘Add New.’ You will see a ‘Add New Post’ page.
Add a title at top, add content by typing it into the main box and format your text with the menu. The image below highlights some of the key areas.
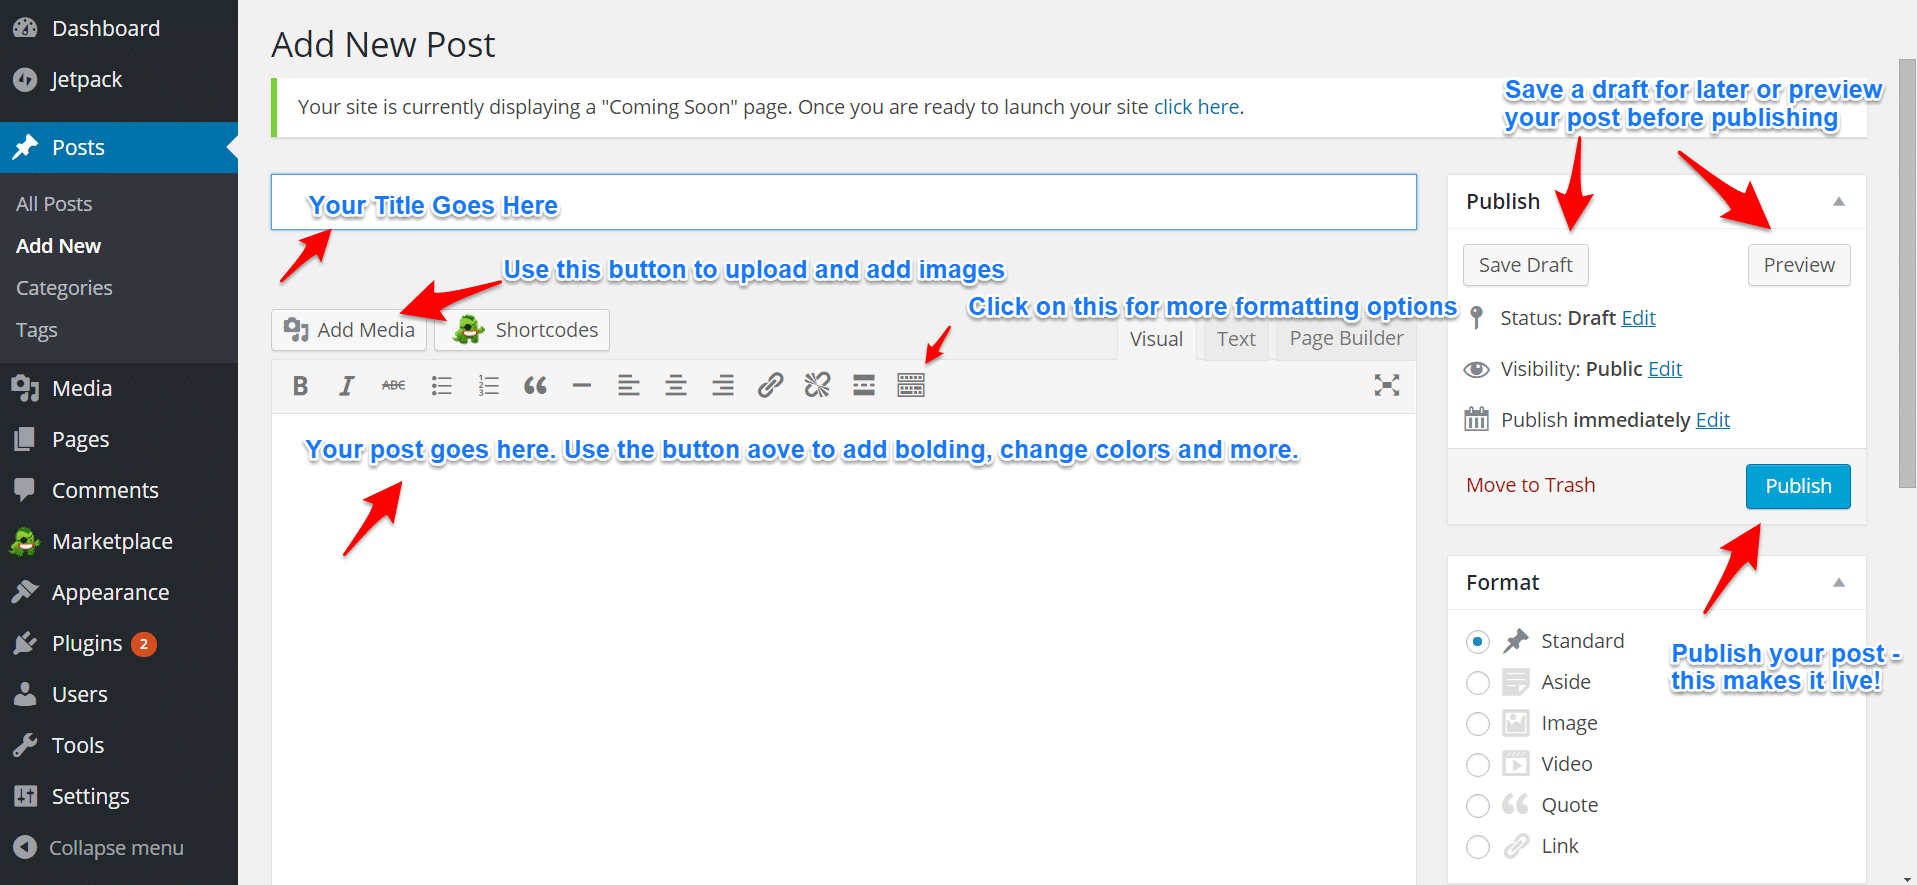
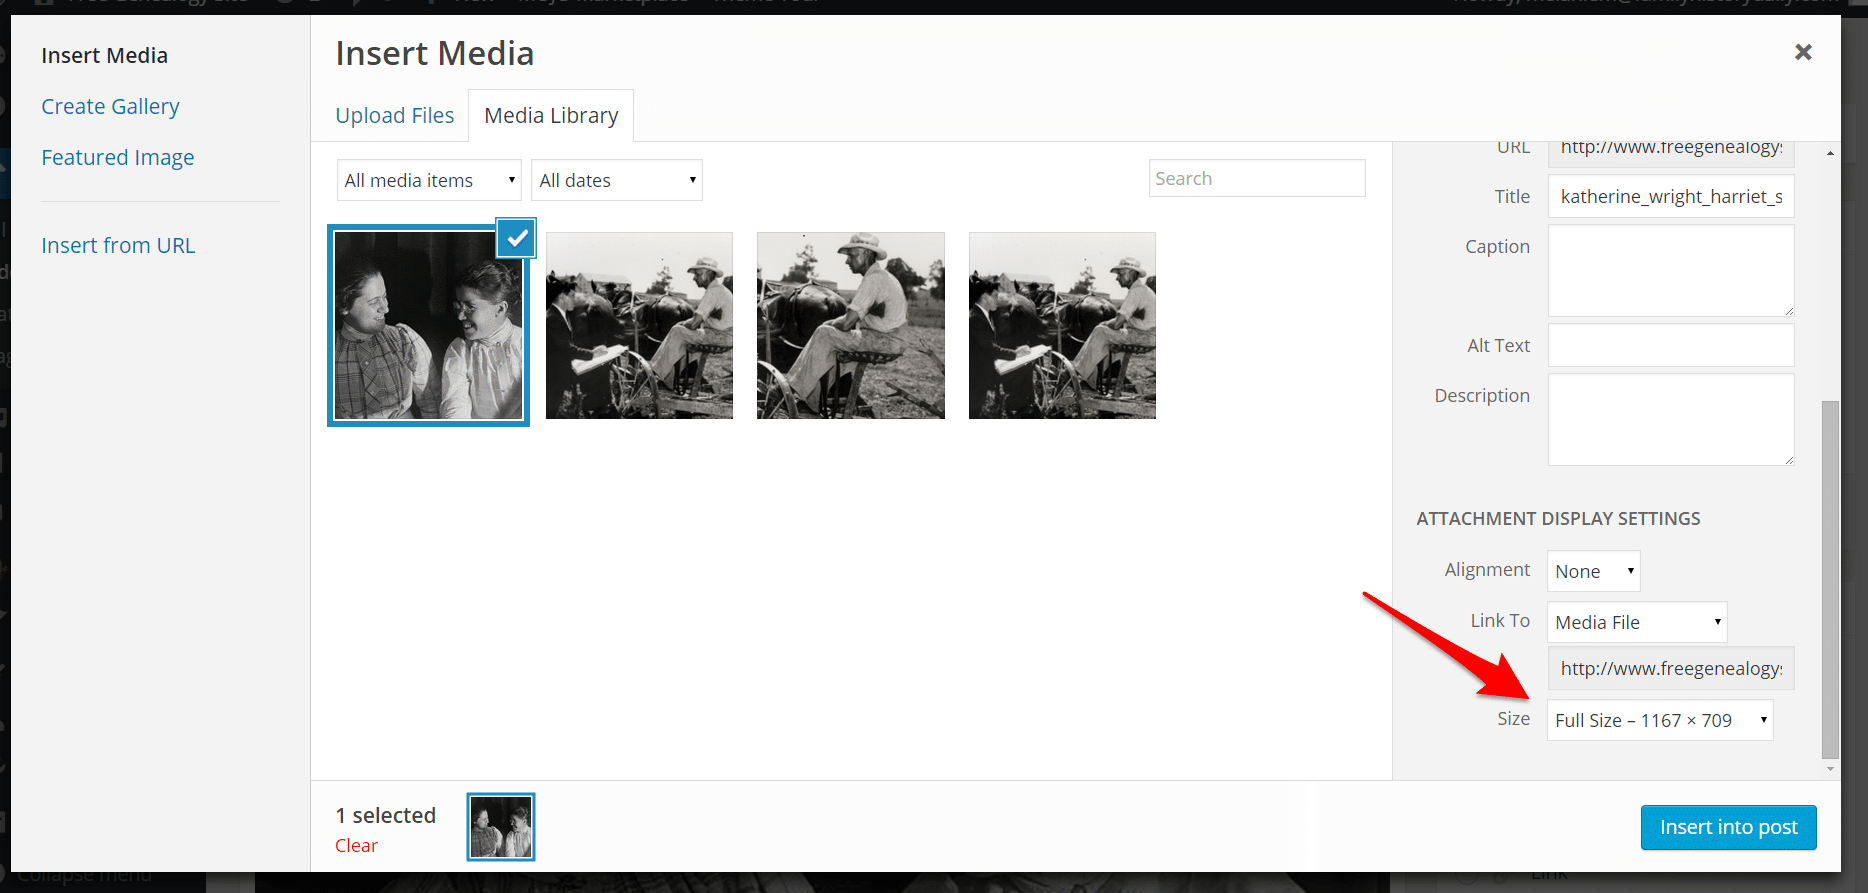
Note that adding images can be done with the ‘Media’ button and then ‘Insert Into Post.’ Be careful because WordPress will default the images to the ‘Medium’ size, which is actually quite small. Look for a dropdown above ‘Insert Post’ to change the size after clicking on the ‘Media’ button.
You can resize the images pretty easily in the post with the little pencil icon or by dragging the corner as well. Move them by cutting and pasting elsewhere.
Some themes require that you use the ‘Featured Image’ area in the bottom right sidebar to add images. Click on ‘Set Featured Image’ and then upload and image and insert into the post. You won’t see these images unless you ‘Preview’ the post (see above) or ‘Publish’ and view.
Once you have added content and images you can ‘Save a Draft’ (to work on it later), ‘Preview’ it to see how it looks or ‘Publish’ to make it live!
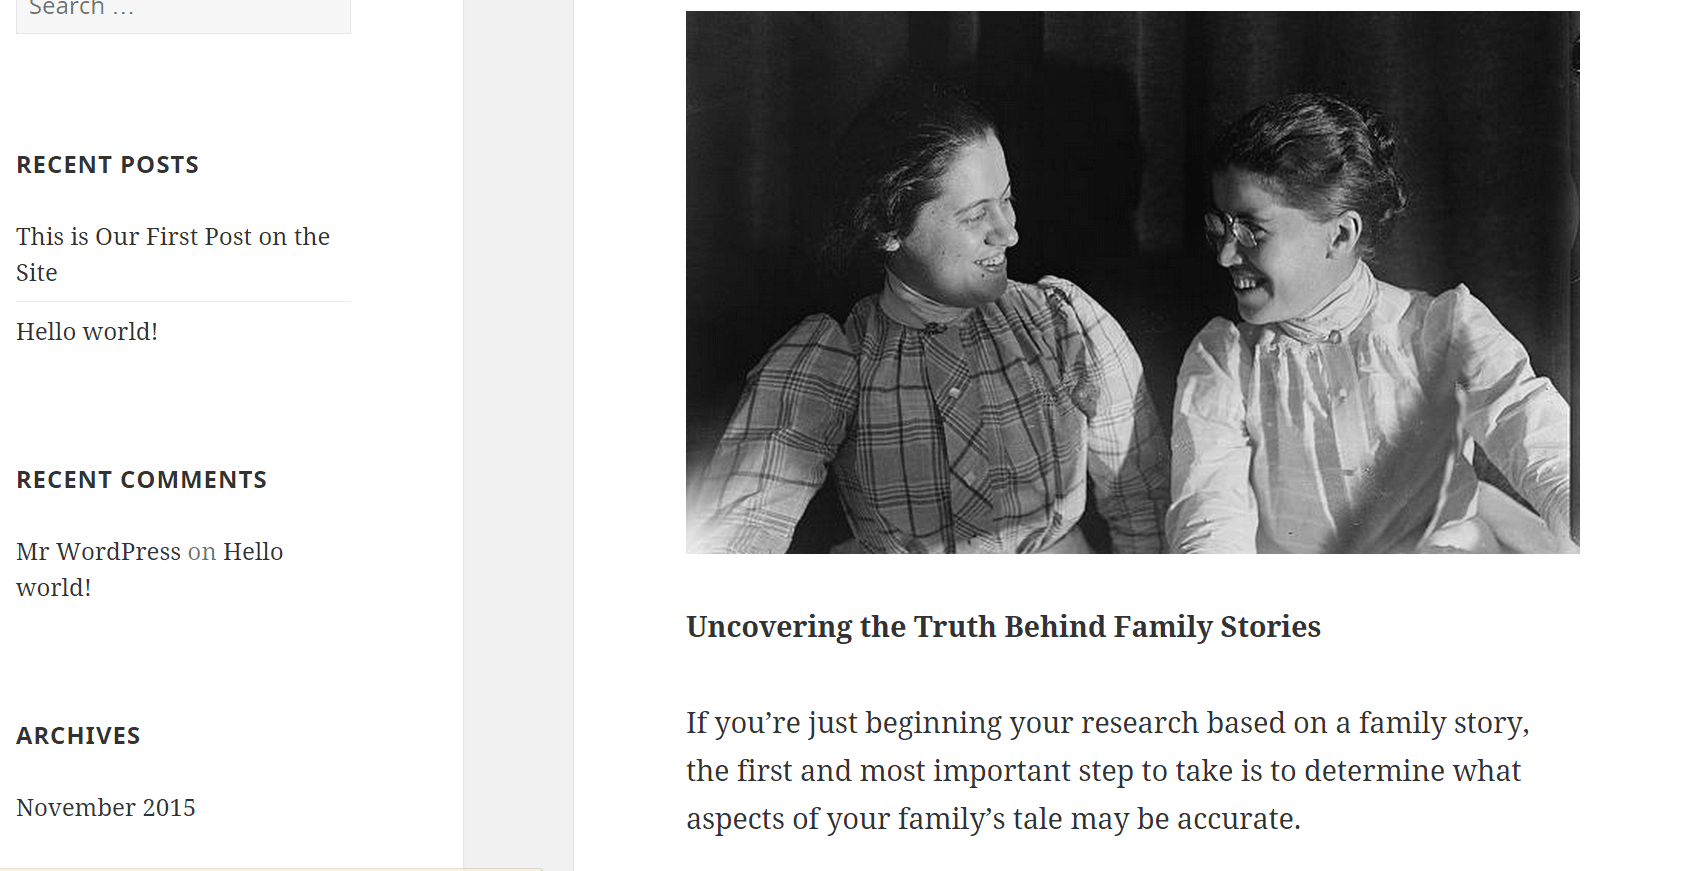
You can now view your post by clicking the ‘View Post’ under the blog post title or by going to your homepage and clicking on it.
Here’s our homepage after publishing the first post.
Now that you’ve got a real post on your site you might want to delete that default post that WordPress installs — Hello World! You can do that under Posts > All Posts. Just roll over the title and hit ‘Delete.’
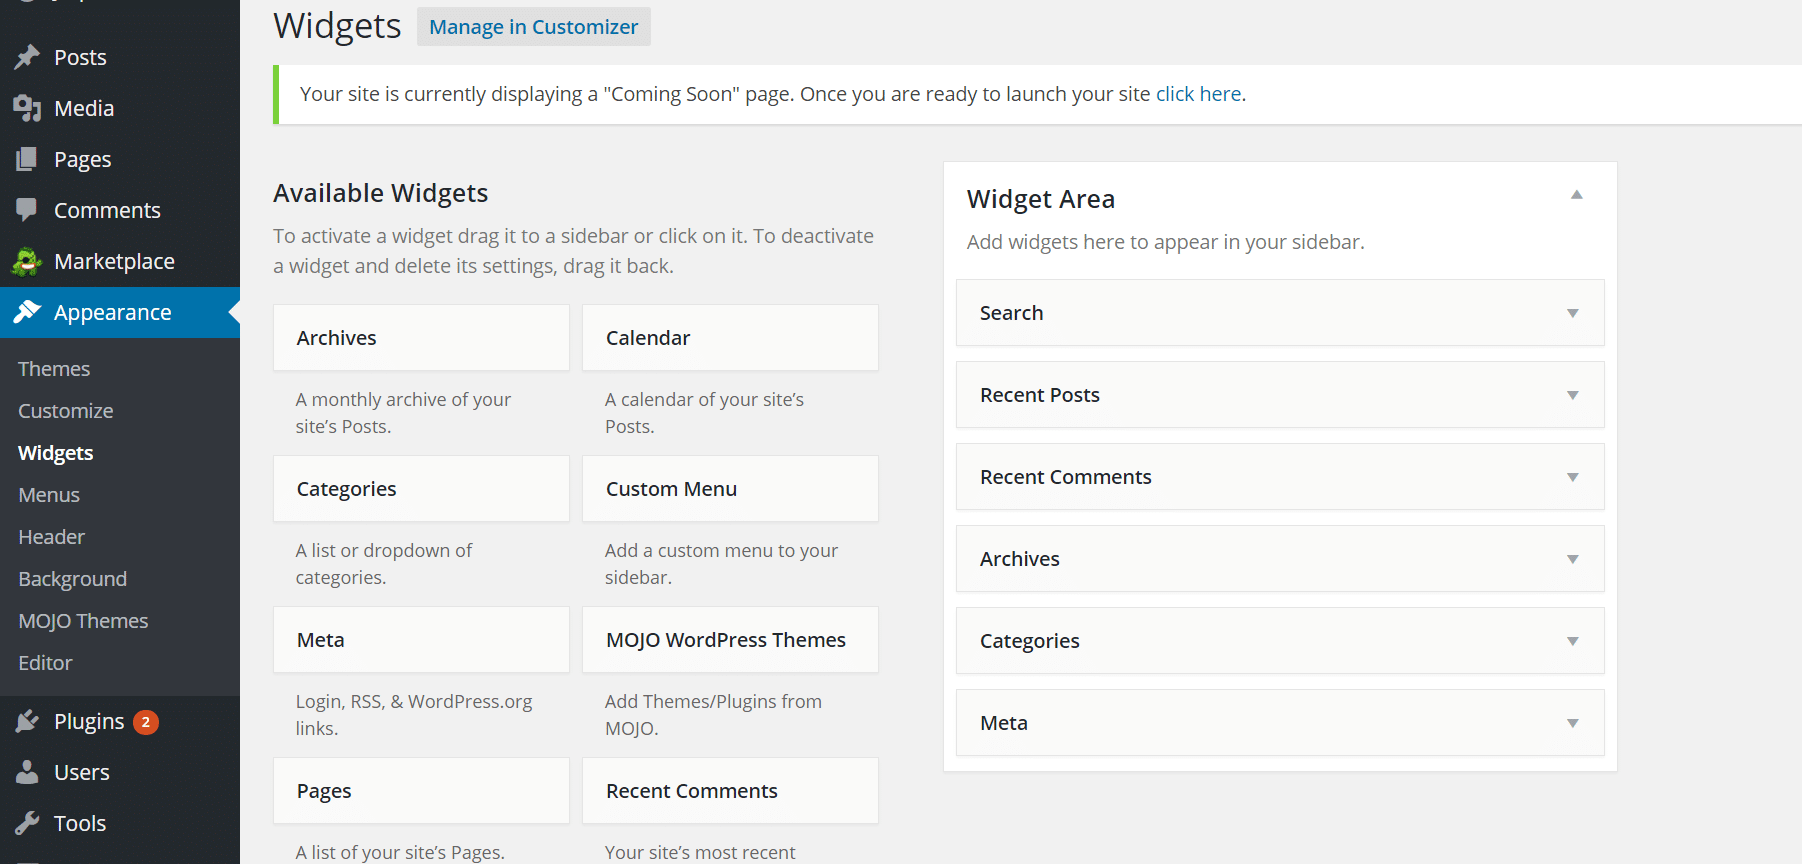
Finally, you’ll want to change up your sidebar options. You can do this under ‘Appearance’ in the left sidebar and then ‘Widgets.’ You can add or remove things from your sidebar here, and sometimes things from other locations of your site. Play around until you get it right.
The interface is drag and drop so it’s pretty simple.
You may also want to explore ‘Theme Options’ under ‘Appearance’ as well as that is where many themes store advanced features and settings. Some themes may not have options at all.
Overall, don’t be afraid to play around and have fun. There are other areas you will see on the left sidebar. Most you will never need, but it’s pretty hard to really mess things up. If you’re careful and make only one change at a time, then check to see how you like it (and undo if needed) you’ll be fine and learn as you go. Check Google and Youtube for ‘wordpress help’ for many free resources to further help you on your journey.
What about adding more posts?
When you’re ready to add another new post just follow the steps to post again. You may need to login first.
That’s it, you are officially a family history blogger! You can keep track and store your research and share it with family, friends and fellow researchers.
Don’t forget to make your yearly web host and domain payment (although this will come out automatically if you added a credit card that will not expire by then). If you ever decide you don’t want to have a blog anymore you can make it private (see step 4) or back everything up using one of the plugins we mentioned in that step and delete it. Keep your backup files to add to a blog later. There are also plugins, like this one, that will allow you to back up your blog in PDF format to be backed up, saved or shared.
Note that there are some genealogy specific plugins that can help you upload your mass genealogy data. We have not tried them and so cannot detail them here. Search for ‘Family History’ or ‘Genealogy’ in the add new plugins area to see what is available. Only choose plugins with good reviews that have been updated within the last year.
You’re done!! Congratulations on becoming a family history blogger!! Return to the first post in this series to share your blog with us or leave comments. We can’t wait to see it!
Disclosure: Family History Daily receives payment when you sign up for web hosting with BlueHost. This helps us support the site and keep it running. However, all of our opinions here are our own. BlueHost is known to be a very reliable service, has been around for many years and is trusted by many small, medium and large websites. Plus, they have great rates.