Thanks to Janet Maydem for putting together this fun guide on planning a family reunion everyone will love.
If you’ve been hoping to gather your family (or distant genetic cousins) together for a reunion, now’s the time. The majority of these events, 65% in fact, are held in the summer when vacation time, outdoor venues and easier travel make the process simpler for everyone. But planning a family reunion, even in the summer, can seem like a truly monumental task. This simple guide will help you break down the steps and arrange your get together in just one week. Get ready for an adventure!
The Guide to Planning a Family Reunion in Just One Week
As you work through these steps remember to create a plan that will allow you to socialize and have fun at the reunion itself. Don’t set yourself up to do too much work on reunion day. Smart planning now will allow you to enjoy yourself later.
Day 1: Set a Date and Recruit Some Help
Start by setting a tentative date that makes sense to you based on your understanding of other people’s commitments but remember that it might change as you get feedback from others. Get some family members on the phone or start a discussion on social media for feedback on what date will be best for most people.
Now start recruiting some help! Your best time saver when planning your reunion will be bringing in people to help you. Siblings, adult children, genealogy contacts, even responsible teenagers might pitch in and take some of the load off your shoulders. Start your planning by contacting these people and assigning tasks to those who are willing to help you.
- Your computer-savvy college student could help with invitations and video displays.
- Your cousin who loves to bake could help organize the food.
- Your uncle the amateur photographer could help gather family pictures.
These are just a few examples of how you can delegate the tasks you will need to accomplish. This is an incredibly important step because a little help can make all the difference.
Day 2: Plan Your Guest List
Today’s the day to decide who will attend. You’ll format and send invitations on day 7 so don’t worry about getting the word out quite yet.
Who will you invite? If the reunion is for a special event – such as a milestone birthday or anniversary – start with immediate family and work your way out to extended family.
If the reunion is to reunite a branch of the family, designate a working title for your reunion, such as “Descendants of __________.” While this type of reunion requires more time to organize, modern technology can make some elements easier. (Read on to discover several technology time savers.)
You may want to invite your genealogy connections to your reunion. What better place to talk “shop” about the family tree? Close relatives and longtime genealogy contacts can be invited in the same way as immediate family.
If you are thinking about inviting a distant cousin that you have recently discovered through DNA, however, you might want to be a little more formal. Many of us genealogists might be thrilled at the thought of meeting a whole bunch of relatives for the first time, but some might be hesitant. For those distant “DNA” cousins, contact them first through your normal communication channels and ask if they would be interested in attending. If they answer yes, then mail or email them invitations with all the information they need – date, time, directions to the location, etc. If those distant relatives are coming from a long way away, you might also want to offer to help them arrange lodging.
Day 3: Book Your Location
Much of the advice about planning big family reunions recommends a central location for everyone who will come, preferably near an airport and hotels. But many venues dedicated to gatherings are expensive and often booked well ahead of time. If you need to save money or just want a more casual setting, here are some options:
- Your backyard. Do you have a big yard or even a couple of acres with a shed? Have the reunion at your house! You don’t need reservations or deposits. You just need to clean. If you don’t have time to organize your home, recruit your kids or grandkids to help in exchange for some extra cash. You may also be able to contact your local high school or area youth groups and ask about young people who need to complete community service hours or want to earn some extra summer cash – they may be able to help you out.
- A public park. Many parks have shelters or even party facilities that you can reserve and some are free. Choosing a park with a campground may help with lodging for your guests.
- Your church basement. If you belong to a church or synagogue that has a fellowship hall, ask if the hall can be rented. Fees on these types of halls are often less expensive.
- Your local American Legion hall or a similar venue. These facilities do frequently become booked up, but it’s worth checking, especially if your reunion is not on a Saturday.
- A hotel, resort or restaurant. While some hotels and resorts charge an arm and a leg, you might be surprised how reasonably priced renting an event or meeting room at some hotels can be if you call around. You might even be able to get one for free if several family members plan to stay there. And many resorts offer regular cabins or large rooms that can be used for this purpose. This can be much less expensive than renting an official event room. A restaurant will often provide the room free of charge if you are buying the food for the event through them. Plus, there is very little cleanup!
Take the time today to make calls and send emails so that you can get your venue locked down.
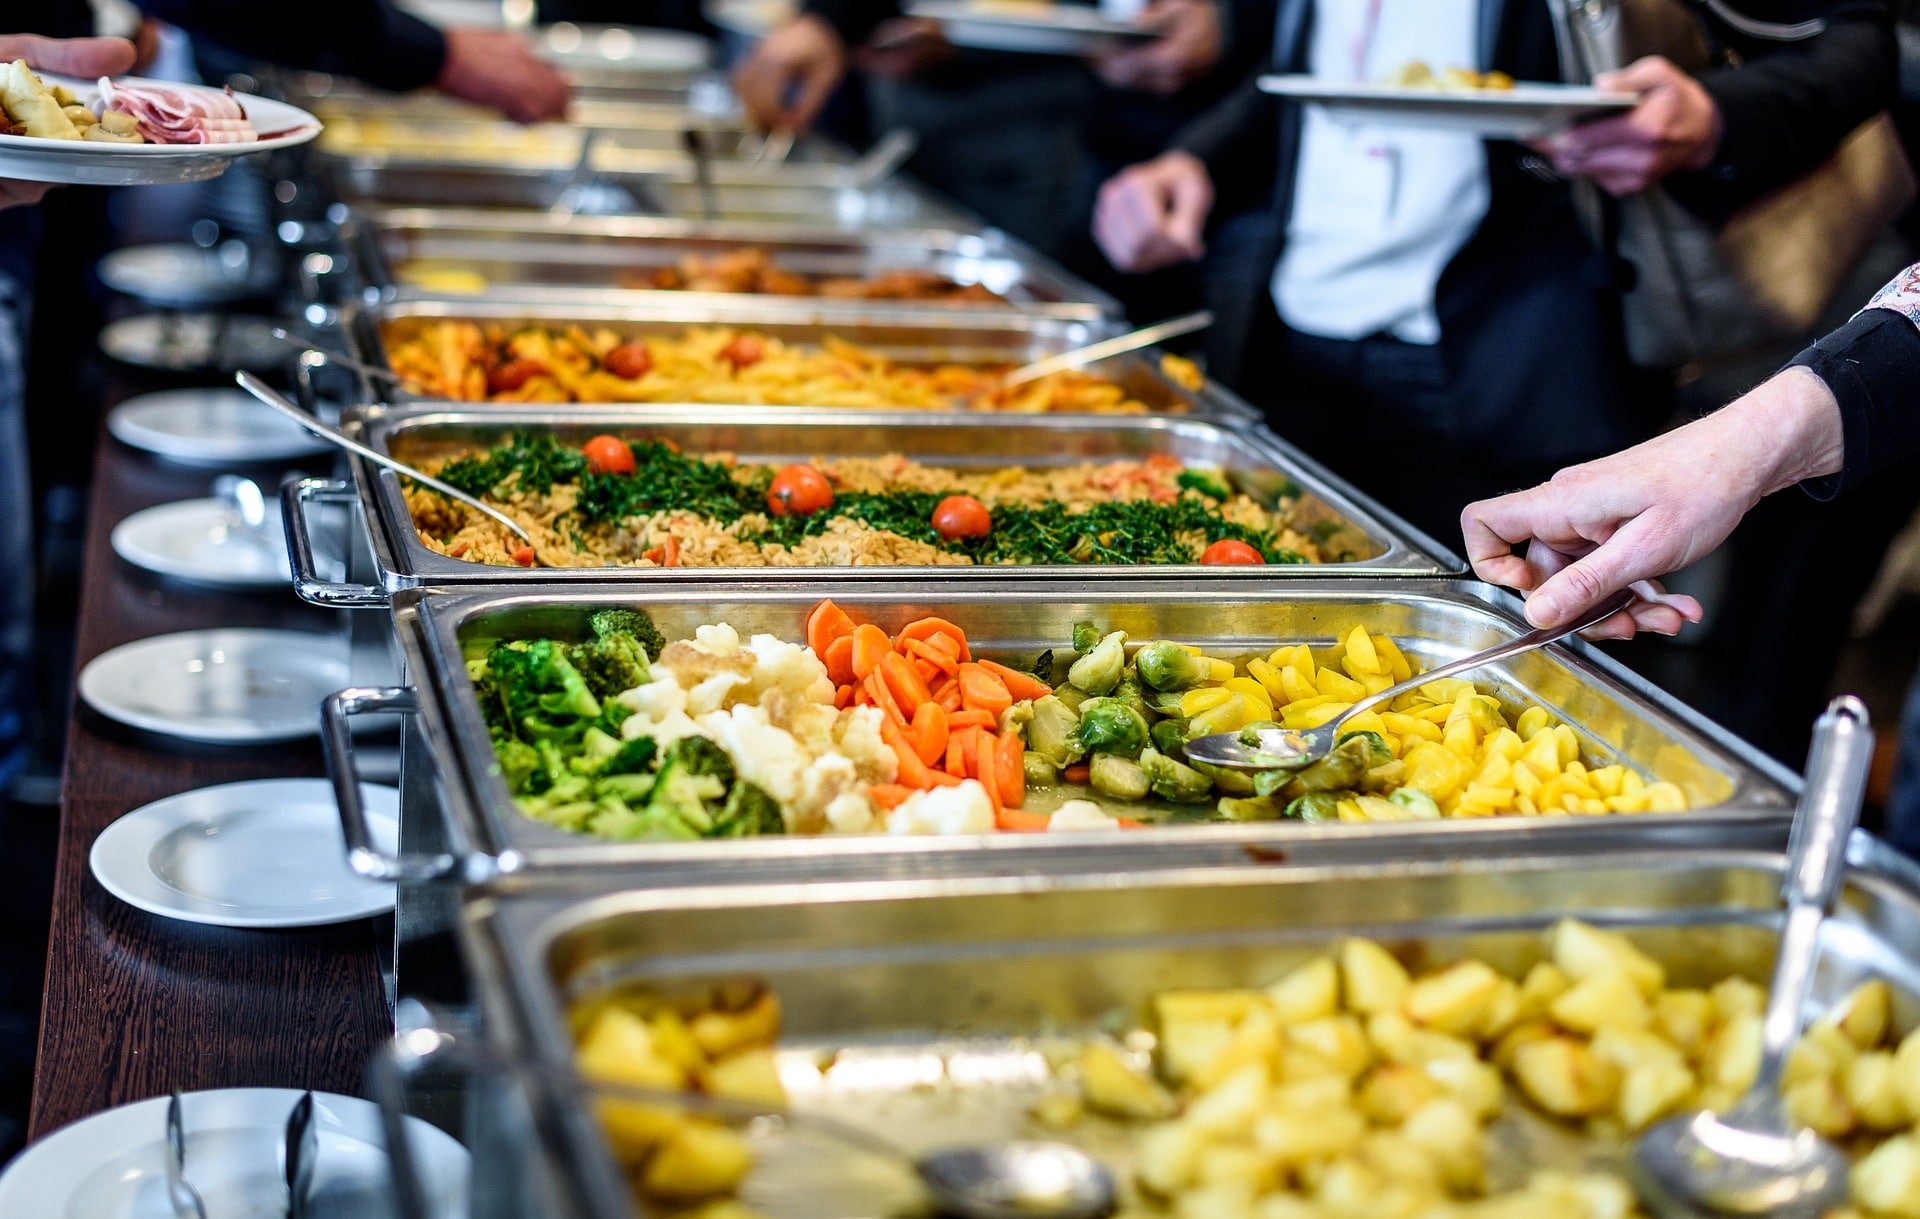
Day 4: Plan the Food for Your Family Reunion
Wondering how on earth will you have time to cook for everyone? Good news – you don’t have to! Consider these options when planning your menu:
- Make it a potluck. This option works well if your guests do not have a long way to travel. You provide the main dish and the method for cooking it (such as hamburgers, hot dogs, and a really big grill), and everyone else provides the sides and desserts. You can assign dishes to certain people if you want to make sure that certain types of food are provided, especially if some of your guests have special dietary needs.
- Check your local grocery store or deli. Many grocery stores and delis offer party packs that include sandwiches, deli sides, and dessert. You do need to order these a week or two in advance though so be prepared for that. You could also create a build your own sandwich (or taco) bar by laying out a variety of ingredients and pre-made sides and allowing people to create their own lunch.
- Hire a caterer. This is the fastest option with the least hassle (and is perfect for sit down dinners) but it is also one of the most expensive. If you have a large budget and very little time, book a caterer well ahead of your date (many large venues, hotels and resorts have a caterer they already work with). Another option, if you don’t want to cook but need to save some money, is to find a caterer who will contract with you for food preparation only. Costs are usually less if you transport and serve the food yourself.
- Hold your reunion at a restaurant (as mentioned above). Many restaurants have large rooms for gatherings and you can cover the venue and food all in one (often for a flat price just for food).
Day 5: Plan Your Entertainment
Every family reunion has bored children and antsy adults who need something to do. Here are some activities that are simple and quick to put together:
- Traditional lawn games. Do you have a Bocce set? Horseshoes? A slip and slide? Set them up on the grass and invite groups to play. Make sure games that involve throwing items or water are set up well away from your food and socializing area.
- Board games. You can designate a corner of your family get-together’s seating area for board games or cards. Leave these set up all day and invite anyone to use the game area. Don’t set up video games – we want people to engage with each other, after all!
- Open mike. Do you have talented family members who sing or play interesting instruments? Set up a microphone and invite the musicians in the family to perform. Make sure to ask family members to bring their instruments in the invitation if you are going to include this option.
- Karaoke: You can buy or rent these machines for a fairly low price and they are a lot of fun, especially for evening events.
- A story circle: The point of a family gathering is to get people together, sharing stories. Plan to have an hour set aside for everyone, young and old, to share a story about their lives. Pass a baton around the circle to keep things organized.
- A toy and craft corner: If kids will be attending your event (especially if it is inside) plan to have a room or corner stocked with toys, craft projects and art supplies to keep them entertained. Everyone will appreciate your thoughtfulness. You could even plan a genealogy or family-focused craft activity they can take home as a moment.
- Photo sharing. Ask everyone to bring old photos to share and have a table set up where people can view old photos and albums brought by others. You can even provide a scanner so that everyone can get a copy of photos they want. A computer can be provided for viewing digital photos brought in on a disk or USB stick. Just make sure to have someone responsible managing the effort so that old photos are properly handled. See more ideas for genealogy-focused reunion elements near the end of this guide.
Day 6: Add a Virtual Reunion to Your Activities
Do you have family members in far-off places who you know will not be able to attend? Well, if your location has access to electricity and internet, why not block off an hour and have a “virtual family reunion” for all the relatives who can’t make it?
My brother did this for his wife’s 60th birthday since it was in January and we live in Wisconsin. They set up monitors and webcams in their kitchen and people who were unable to attend were able to sign on to a link and join the party online. Follow these steps to arrange a virtual family reunion:
- Register with a video conferencing site and sign up for the date and time of your virtual reunion. Copy and save the link that the conference site gives you.
- Share the link for the virtual reunion in your invitations. Highlight this link as a virtual gathering time for people who can’t attend the reunion in person.
- When you are setting up your reunion venue, include an area with monitors and webcams that will focus on groups of people. Make sure you use devices with microphones, so people can hear each other talk. At virtual reunion time, connect your devices to the video conference link and watch as people from far away sign in to join your party.
This is also the day to think about photos. You don’t need to hire a photographer, but you will want to find someone in the family that will be responsible for taking them. Plan to set aside at least an hour during your reunion for group photos and set up a “photo wall” where everyone agrees to pose for at least one individual or family photo.
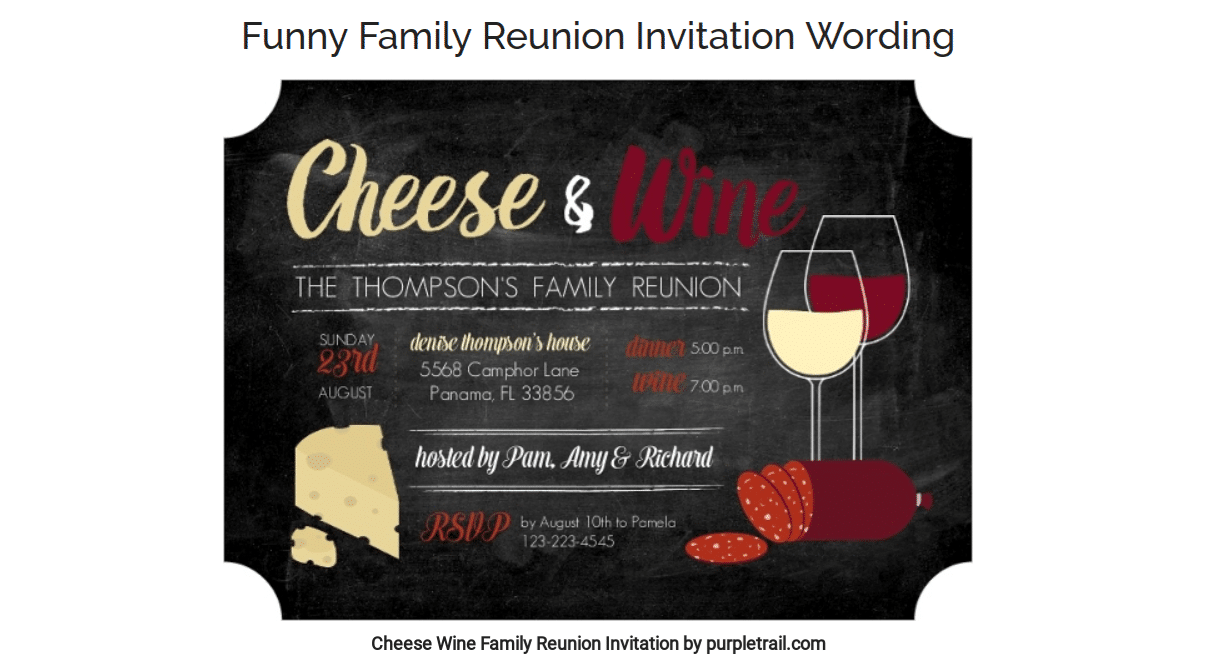
Day 7: Format and Send Your Invitations
While you may need to send the traditional paper flyer to some of your guests, many people can be invited through email and social media and this is much less expensive and easier to handle. Online invitations are fast and can include an RSVP link for quick replies. A virtual reunion link can also be included.
If the extent of your computer experience is finding the “on” button, you may want to delegate this job to the social media guru of your family. Otherwise, create an event on Facebook and ask people to mark if they are attending. Or use an online invitation or ecard service and send invites via email.
If you’ve completed all of the steps above, you’ve got the main elements of your reunion set and ready to go. Good for you! But if you’re interested in making your gathering family history focused, you may also want to add a few extra days of planning to include some genealogy-focused elements. Here are some ideas.
Ideas for adding a Genealogy Display to Your Family Gathering
This is what a family reunion is all about, isn’t it? Sharing family memories.
You’ll want to share your family history research with everyone in a respectful and non-intrusive way and use the gathering as an opportunity to collect more details, stories, records and photos. This might be your most time-consuming task, but you can handle it in several ways.
- Traditional board displays. This will probably be the easiest way for people to look at your display, but it is very time-consuming to set up. If you have motivated family members who volunteer to do this, delegate it to them. Besides a family tree chart and old pictures, include any books or articles that have been written about your family.
- Video display. This option is great if you have already digitized your genealogy documents and photos. Arrange a video slideshow of your genealogy and have it run in a loop so that people can look at it throughout the day. Again, you may want to have a tech-savvy member of the family help you with this one. You can view samples of family reunion videos on YouTube, including this very nice example.
- Story packets. Contact your relatives and ask them to share their memories about family members, places or events via email or letter. You can organize these according to family group. Once you have your story collection, add in family pictures and take your packet to your local printer to have copies made. Pass these out at your reunion as a keepsake for your guests.
Read this article about collecting family stories and this one about how to do it respectfully for help.
Planning a family reunion in such a short time won’t be easy but if you ration your time according to this guide, you can do it. Just remember to take care of yourself too – take a break now and then to celebrate a job well done.
You might also like:
3rd Cousin Twice Removed? This Chart Helps You Sort Out Confusing Cousin Relationships
Janet Meydam is a freelance writer who has over 40 years of experience in genealogy as a hobby. Her knowledge includes researching many different records from the United States, Germany and Poland. She is also a co-author of her parents’ family history book “I Come from a Long Line of Dilleys.” Janet works as an occupational therapist. She and her husband Tim have three adult children and live in Wisconsin.
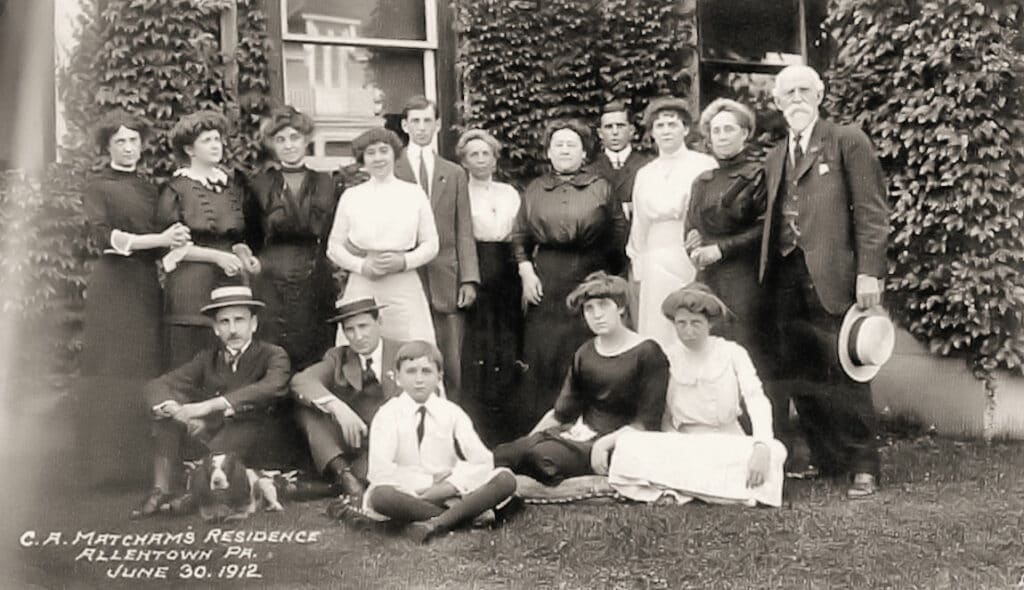
Image: 1912 Ormond Family Reunion
I found the suggestions to be very helpful. I can see how it would be possible to plan a successful family reunion in just 7 days.