
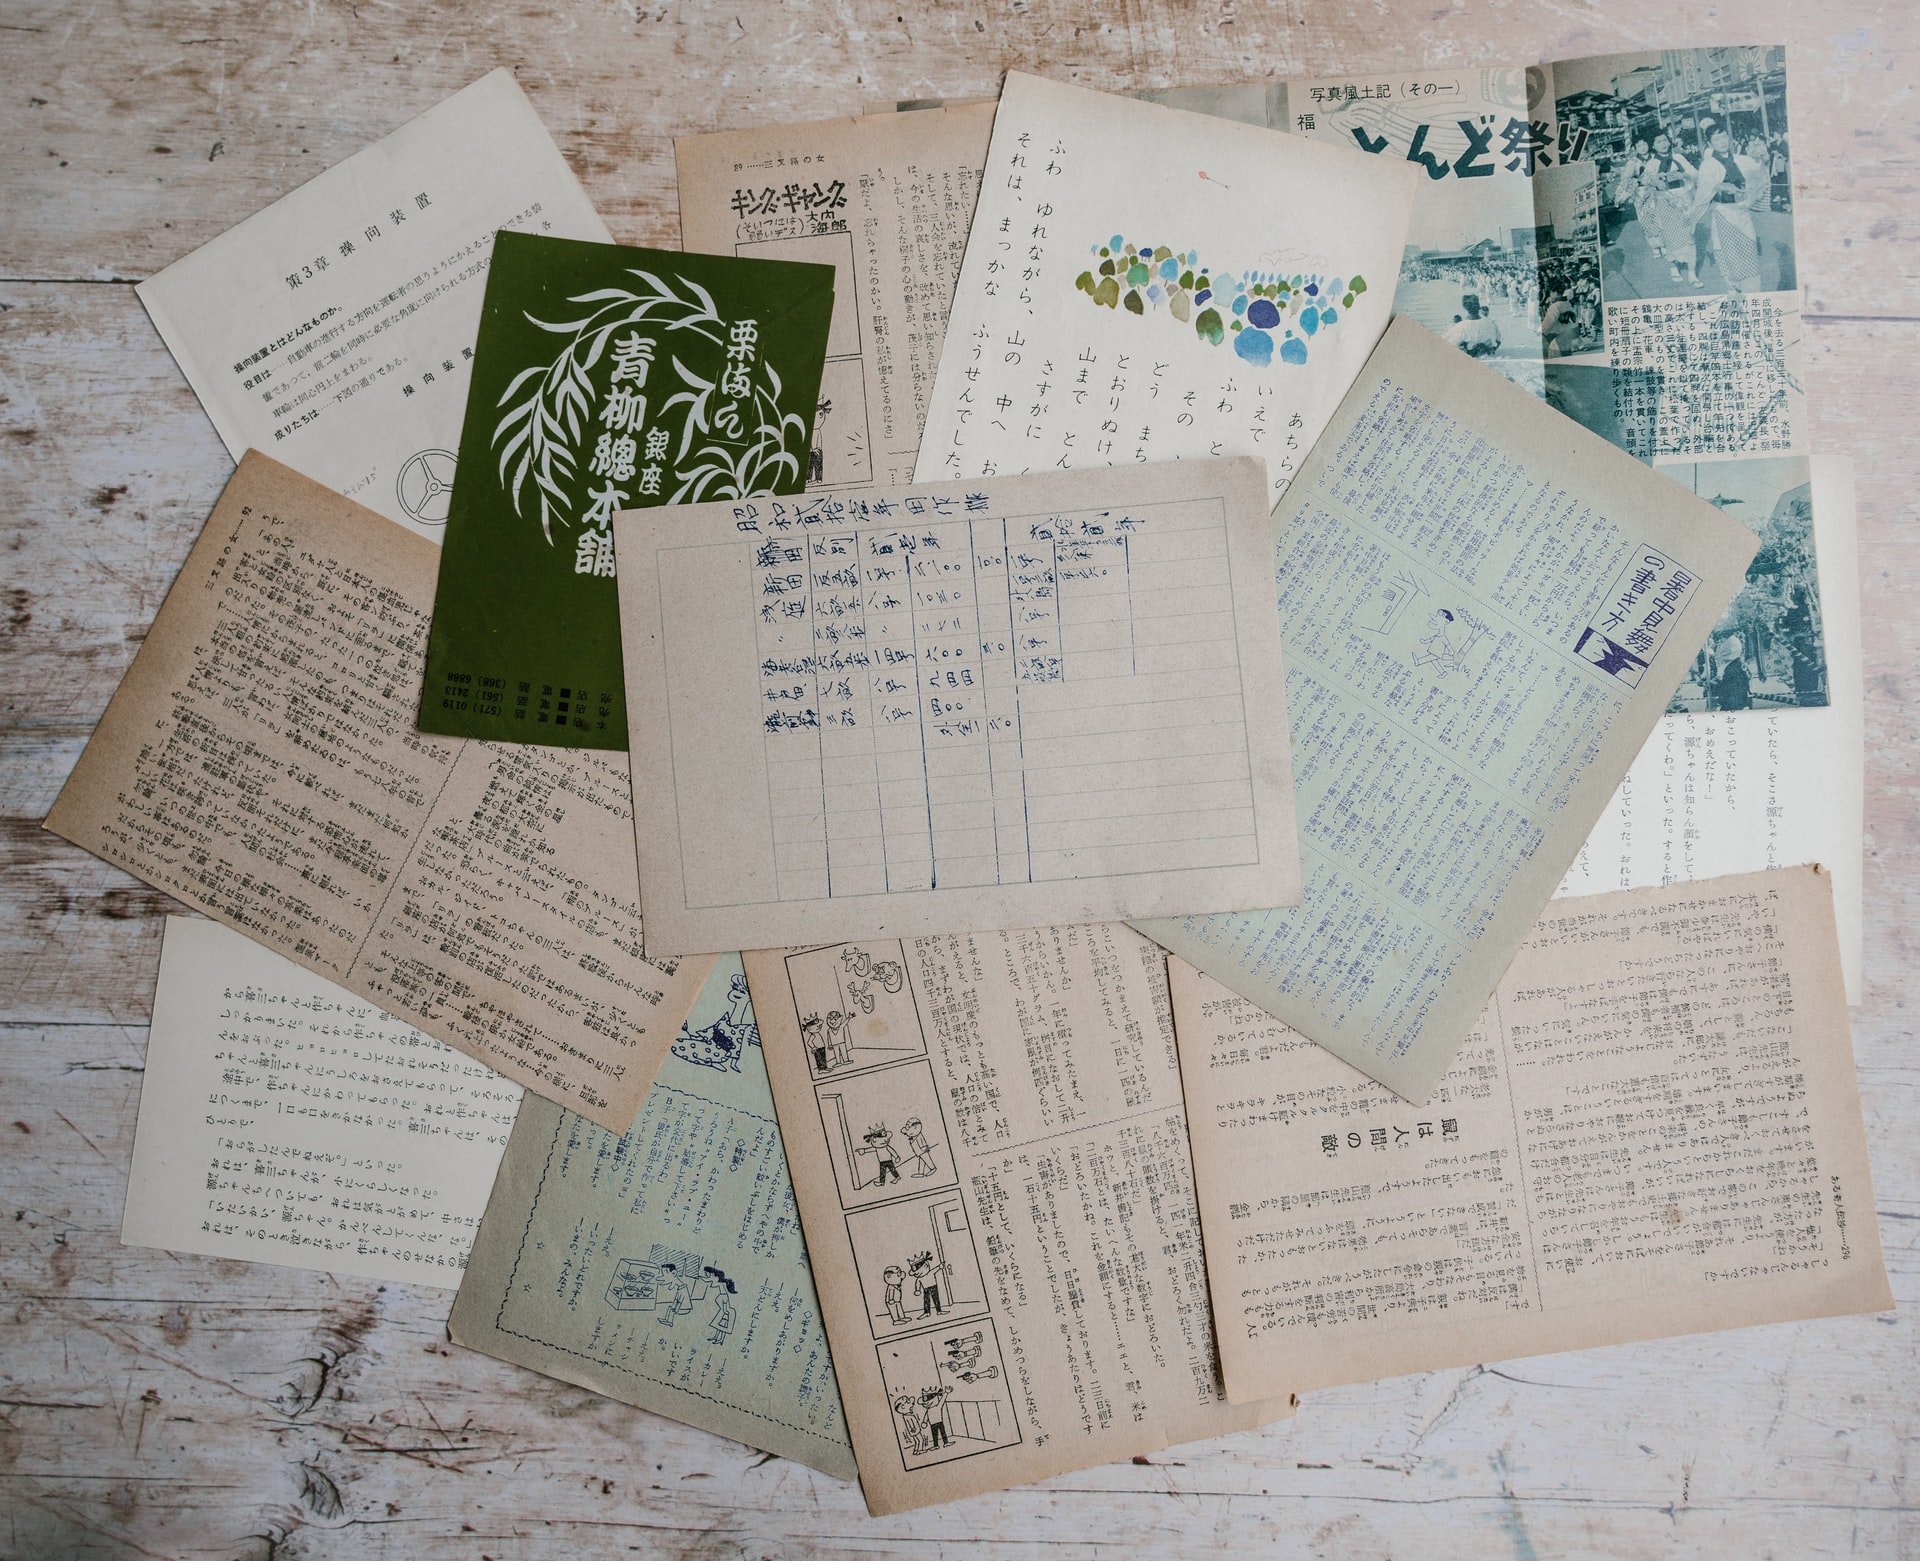
What’s the one thing that all genealogy researchers have in common (besides our undying love for obituaries)? You guessed it – clutter, clutter, and more clutter! Between the precious old family photos, the endless piles of records, and the lovingly accepted family heirlooms – things can get out of hand really fast.
Of course, what we all need in our lives is a complete, well-designed system for organizing our genealogy research – both online and off – but structuring your genealogy research doesn’t have to be an all or nothing thing. For those researchers who dove into their family history without a solid organization system in place, and now find that they need to insert some order into the process, it is best to tackle online and offline collections individually.
In a past article I discussed using Evernote as an online organization tool and that resource, along with others from Family History Daily’s organization section, can help you take on your family tree, digitized records and online research. In this article, however, I am going to focus on tips for sorting your offline collections. So, if you’re ready to take back your dining room table, consider trying these genealogy clutter-clearing tips.
Looking for more help with organizing your research? Check out Family History Daily’s online courses.
6 Simple Steps to Clean Up Your Genealogy “Clutter”
Here are some things you will need as you work through this guide. Each item is explained in more detail as you progress through the article.
- A photo and document scanning app
- Online storage space
- Archival quality storage folders and photo sleeves or albums
- Fire, water and/or pest safe bins
- A safe place in your home to store your genealogy items
1. Create a Space Focused on Family History
Diving in headfirst can be one way to make real headway on any overwhelming job, but it’s also a fast way to get sidetracked. In other words, if your task is to dig into your family history photos and papers, but you end up wading through stacks of the kids’ art projects, piles of “important” mail, or mountains of work files, then you’ve lost the battle before it even began.
To avoid any distractions, consider moving all of your genealogy collections into one space of your home, and removing anything else that may distract you before you begin your organization efforts.
If you are dealing with records or photos, take a few moments to make your space “record-friendly” by having a flat table or clean floor space where you can sort without risk of loss. Remove items like food and drinks (to avoid staining and spillage), stacks of unrelated papers (to reduce the chance of losing a record) and keep pets and kids out until the work is done. Have enough lighting, preferably natural, and turn off fans or vents that may blow your work away.
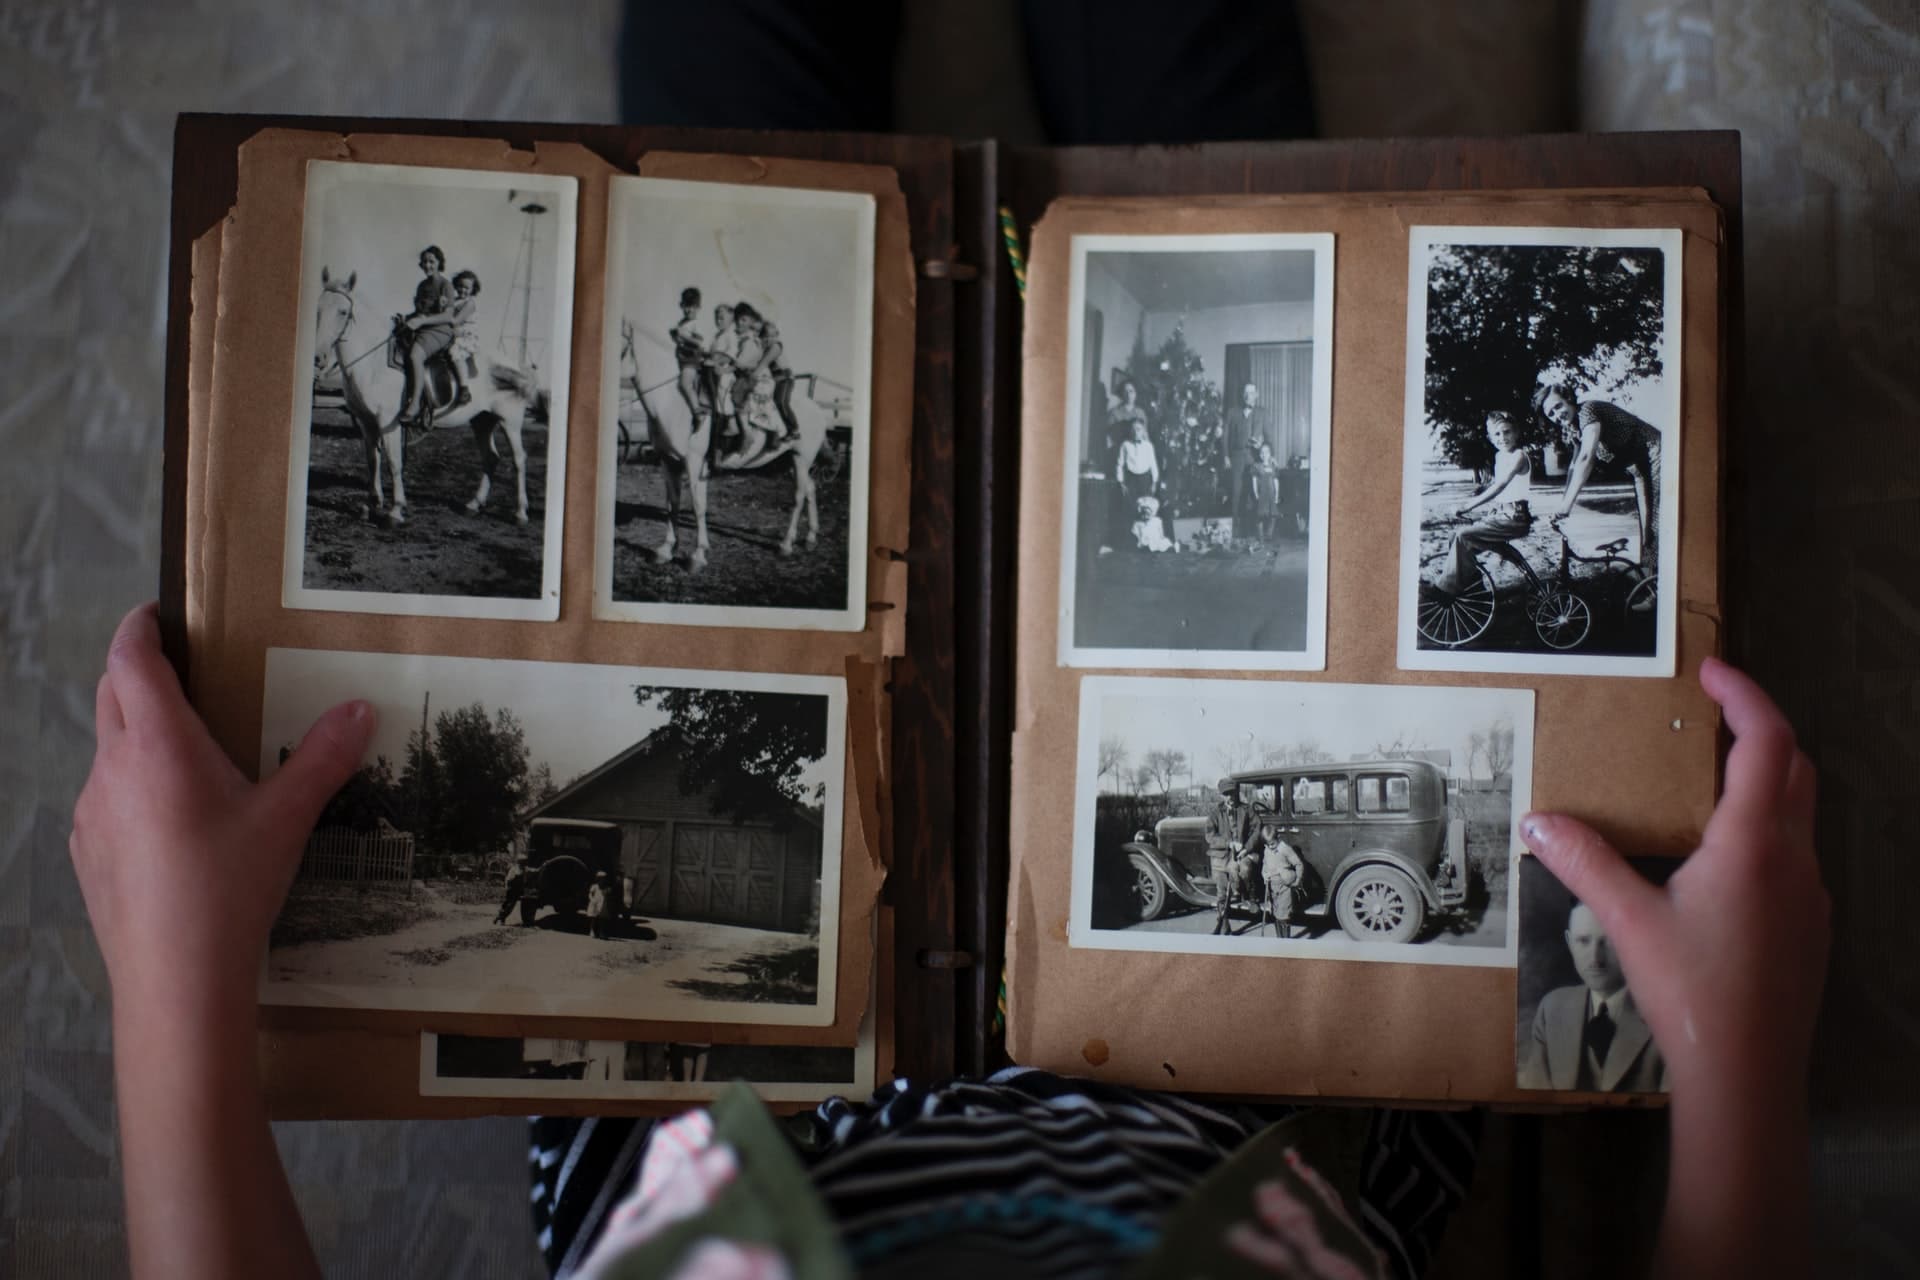
2. Organize Records and Photos and Start Scanning
These days, scanning your old family photos and important documents doesn’t require any special equipment. All you need to start digitizing old family photos, family history records, and other important papers are these three simple things:
- Your smartphone or tablet
- A free photo or document scanning app
- An online place to store your scanned files
Start by taking all of your old photos and records and sorting them into sections by type, family group or future use to get them ready for the next step.
Then, consider where those files will go once scanned. You will likely want to add them to your family tree eventually but, in the meantime, you will need a place to store them online for safe keeping. Family History Daily has created a collection of great places to do this for free right here. Pick one of the online storage areas that works for you or, if you prefer, you can store the records on your computer or another physical drive. Just beware of the potential for loss if there is a computer crash in the future.
Now, you can start scanning. It is best to do this in a well-lit room, preferably with sunlight. As mentioned, you don’t need a physical scanner (although they can work well in some cases), as a app on your phone or tablet will work just fine and can be used even if photos are in a photo album.
Check out three of our favorite photo scanning apps here, most of which are very affordable. All of these apps will sync up with online storage areas to make saving your newly digitized records and photos easy. We also like Photomyne, which offers the app and storage as one.
Once you have a scanner picked out and a storage area online, you scan choose to either scan your records or photos first. To digitize things like old letters, records, and other paper documents, you may want to choose a good document scanner since many photo scanning apps are optimized for images. While there are many good options out there we like the free scanning tool that comes with Evernote. You can read our full review of this wide-ranging genealogy organization tool right here.
Ideally, each and every photo and document should be given a name explaining what it is – such as Brigg Family, Mary, John, James and Lewis, 1901 or James Johnson’s Birth Certificate, 1923. This photo or document should have an accompanying note (named the same) that explains additional details and includes any writing found on the back of the image, or a transcription of the record. However, because this can make the job seem overwhelming, you may want to save this part for later. It is better to get things scanned, and tag them later, then to not scan at all.
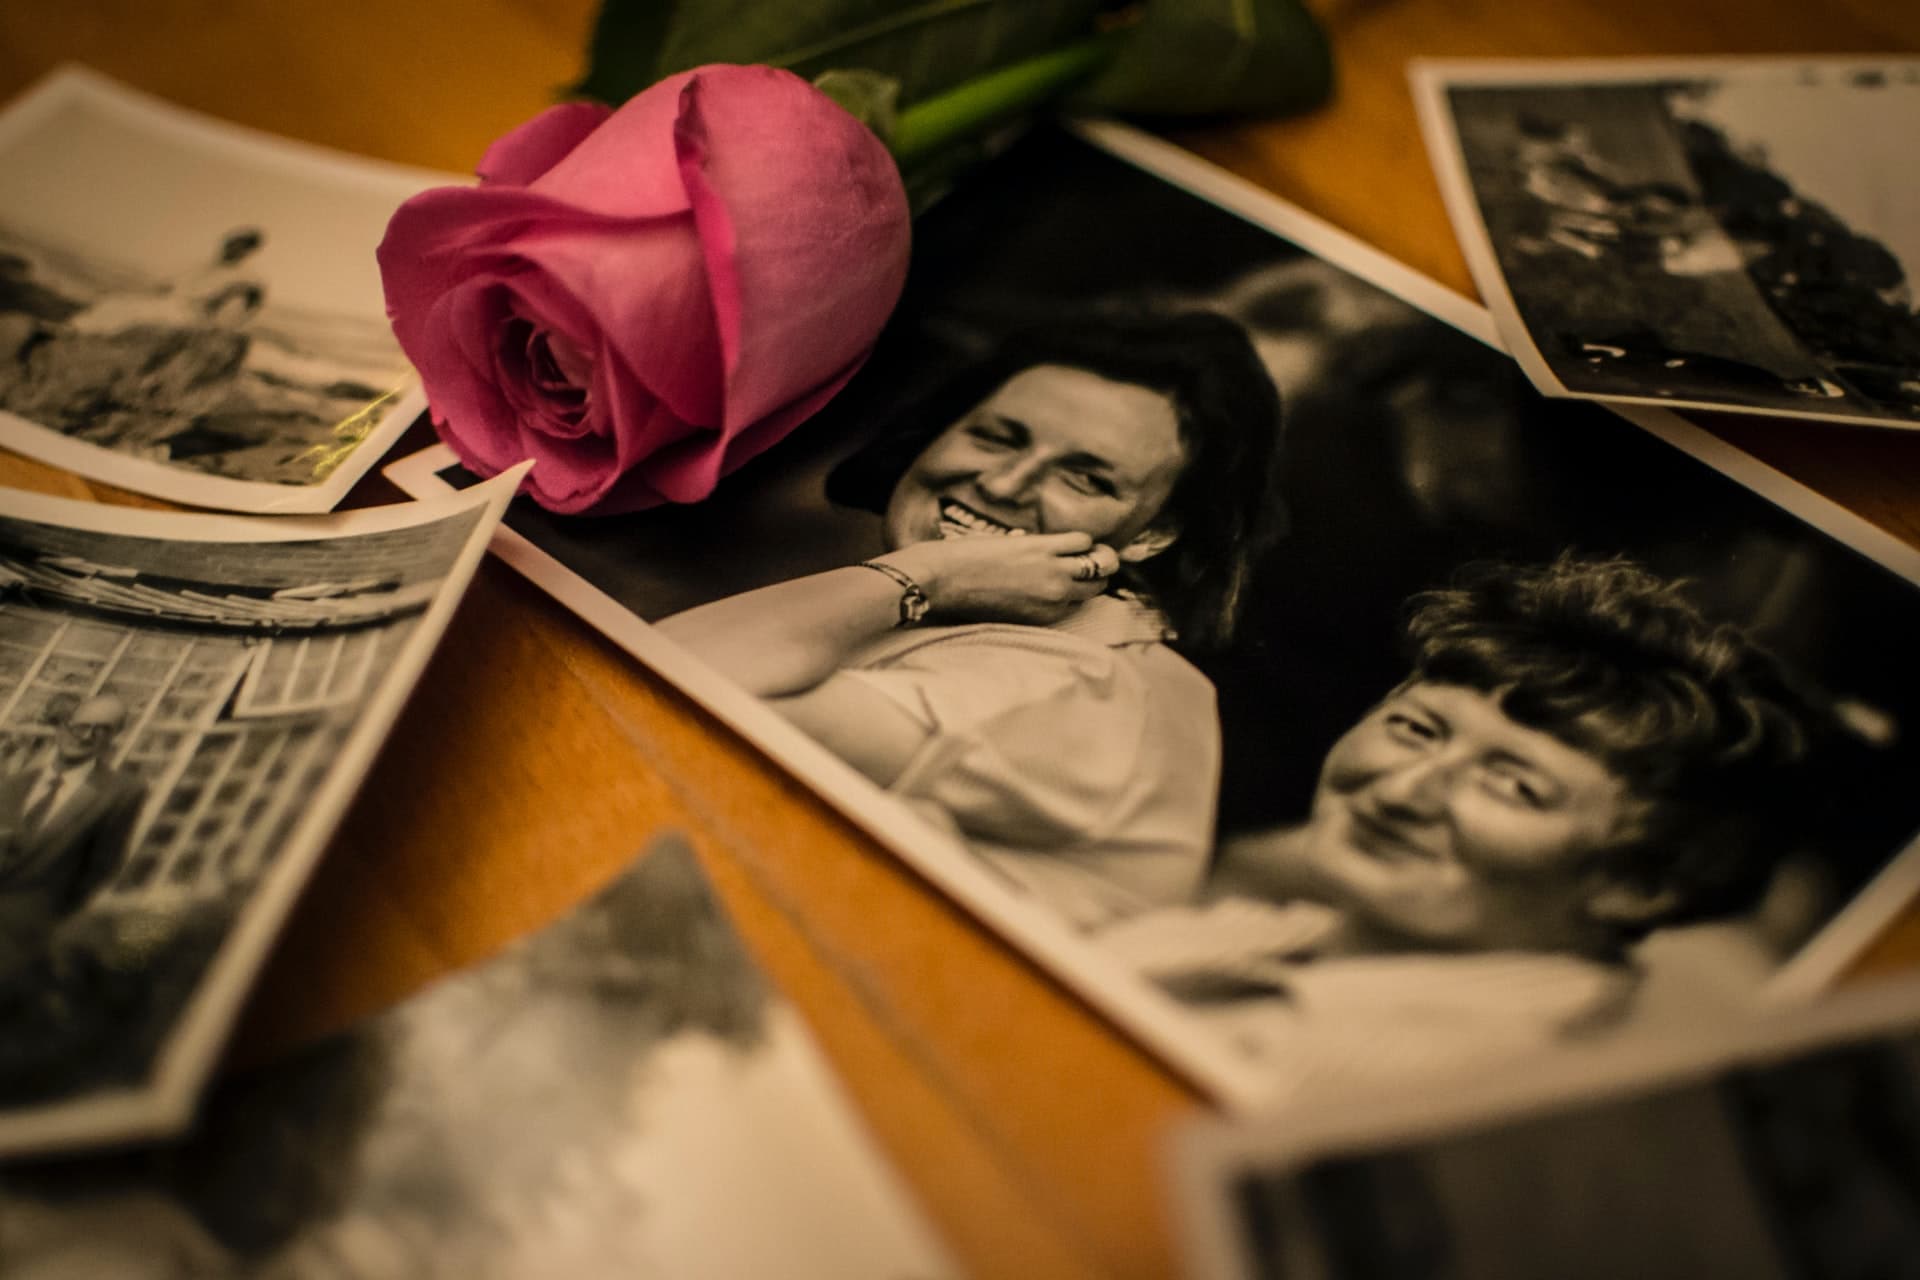
3. Get a Handle on Family Heirlooms
If you are lucky enough to have physical memorabilia from your family, take the time now to lay it out and document it.
Start by creating a special folder in your online storage area and then take a photo of each item to add to this folder. Use a name for the photo that describes the item and add a specific number. Now, create a note in that same folder that describes what the item is, who owned it and any other details you may have. Give the note the same name as the photo – such as Item number 15, Hat Owned by James Arlo.
This will help ensure that there is a record of these important items in case of loss. You can also add the photos to your family tree or share them with other family members.
If you have a large number of items that are similar, you may want to pick and choose only those that seem important enough to document. Selected items from a larger collection (such as a teapot from a special tea seat) can be chosen to represent a whole lot, with the note explaining the collection.
4. Share The Wealth
Now that you’ve gone through the clutter, you should have a pretty good idea of what’s in front of you. The next question? How much of it will you keep?
If the answer is all of it, and it very well may be, then skip this step. On the other hand, there may be certain items like newspaper clippings, letters, certain old photos or other documents that you are happy to retain only a digital copy of. If this is the case, consider whether there might be a family member (child, grandchild, sibling) who would find the item to be special. If the answer is yes, it may be time to pass it on to the next family history lover.
Similarly, if the item is of historical significance, whether locally or beyond, consider donating it to a museum or historical society. You can read more on deciding what family history memorabilia to keep, and what to pass on, here.
5. Put Important Items On Display
While you’re assessing which items you are ready to pass on, you should also be sifting out those one-of-a-kind keepsakes that are most important to you. This may be a selection of very old or very unique family photographs, a collection of letters between your great-grandparents when they were young, documents or heirlooms pertaining to a family member’s military service, or even all of the above.
These special mementos may be items that you’ll want to display in your home or create gifts out of for family members. Maybe you’d like to make a family tree wall gallery, a themed album of old family photos, or a genealogy scrapbook.
There are many options to choose from when displaying family history – start with these 14 ways to display your old family photos and documents. Just remember, it’s very important to use scanned/printed copies of very old or very fragile photos and records for the sake of preserving the originals.
6. Store It All Safely
Now it’s time to make sure the items you need to store are stored safely. This is the fun step, the one where you’ll really start seeing results (and the surface of your table again!). At this stage, you will want to get some storage items. There are many options, and levels of detail you can go into, but most of us will just want a clear and simple method.
You can break your items down into these categories and choose storage bins based on what they hold.
- Old Documents: Store them in archival quality folders and sleeves, which you can find online or in many office supply stores. If you have many records you may want to organize by family. Place these folders in a pest, fire and/or waterproof box (depending on your budget) and keep it a cool, dry location free from dust, light, and pests. An interior closet in your home on an upper floor could work well for this. Avoid basements as they tend to attract moisture, flood more easily and collect pests.
- Old Photos: These will need to be stored in archival-quality photo boxes or photo albums which can also be found online or in stores. Store in the same way and location as your old documents. Read more on how to preserve your old family photos here.
- Family Heirlooms: Different heirlooms require different care (cloth, for instance, must be kept from pests, whereas breakables need to be wrapped properly) but all need to be in storage containers that protect them from water and fire if possible. As with records and photos, choose the best containers you can afford based on your budget. Simple plastic bins found at most big box stores can be a good choice in a pinch, but choose ones made of flexible, thick plastic that will resist cracking. Store these in a dry, safe location.
With all of the above storage items, check them over every few months for signs of moisture and pests to avoid loss.
Once you have completed all of these steps, don’t forget to keep the ball rolling! Scan and file your new papers away as they multiply and you’ll always have a clutter-free workspace to enjoy.
You Might Also Like:
New Tool is Changing the Way We See Old Photos: Here’s How to Use It
The 15 Minute Plan for Achieving Your Genealogy Goals in 2020
Image Credit: Sharon McCutcheon
I would like to navigate my photo storage by touching a name ( leaf – branch ) on my family tree photo.